How to Install a DVD Drive
Looking to install a new DDVD drive for your computer. There are a lot of options out there, and the terminology can get a little confusing. With the addition of Blu-Ray drives to the scene, there are more choices than ever before.....
Method 1 of 3:
Choosing the Right Drive
-
 Learn the different formats. There are a variety of confusing formats for DVD drives, including DVD, DVD+R, DVD-R, DVD+/-R, DVD+/-RW. These all refer to the different read and write capabilities of the drive. Generally, all new drives these days will be DVD+/-RW or just DVD RW. This indicates that it can read DVDs as well as write to all the types of burnable DVD discs.
- Most new drives can write, though you can purchase budget drives that just read DVD discs. These are labeled as DVD-ROM drives.
-
 Determine if you want a Blu-Ray drive. Blu-Ray is the newest form of disc storage on the market, and can store significantly more data than a standard DVD drive. Blu-Ray drives allow you to watch Blu-Ray HD movies and read Blu-Ray data discs, and all Blu-Ray drives also read DVDs.
- Blu-Ray drives have come down in price significantly, and Blu-Ray burners are now much more affordable.
- Even if the Blu-Ray drive does not write (BD-ROM), there's a good chance it will write DVDs.
-
 Compare read and write speeds. When looking at different models, it will be useful to compare the read and write speeds. These tell you how long it will take to read and write various forms of media on the drive.
- Most new DVD drives will read at 16X, and write at up to 24X. These measurements indicate how much faster the drive is than a 1X drive, and is not a measurement of the actual read or write speed.
-
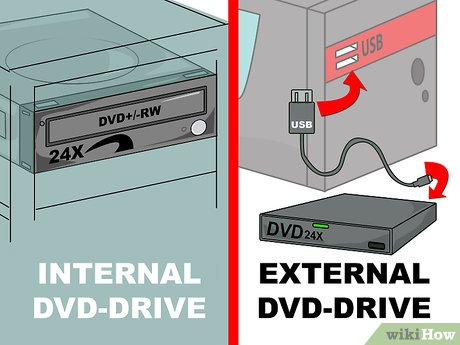 Decide between internal and external. If you are using a laptop computer, you will likely need to purchase an external drive. If you are using a desktop computer, you can generally choose either, but you will get better read and write performance from an internal drive.
- If you decide to purchase an external drive, you can skip down to Part 3 for details on installing the drivers.
-
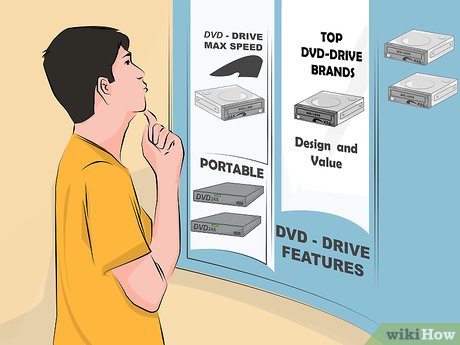 Choose a quality drive. Look for drives from trusted manufacturers. This will help ensure that your drive lasts a long time, and that you get a solid warranty. Below are a few of the most trusted optical drive manufacturers:
- LG
- Philips
- Plextor
- Lite-On
- BenQ
- Samsung
-
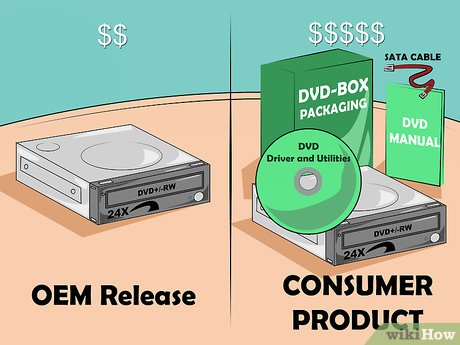 Consider an OEM model. If you have extra SATA cables to install the drive lying around, and you don't mind not having manuals and driver discs, you may want to consider an OEM model. These are typically cheaper than a consumer model, but lack any of the packaged extras.
- If you buy an OEM model, you can still find the drivers and documentation for the drive on the manufacturer's website.
Method 2 of 3:
Installing an Internal Drive
-
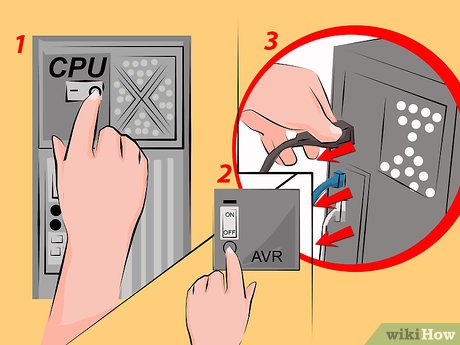 Turn the power off on your computer and detach all the cables. You will need to access the insides of your computer in order to install the drive. For the easiest installation, move your computer to a location that allows you to easily access the case, such as on a table.
- If you are installing an external drive, plug it into your computer via USB and skip down to the next section.
-
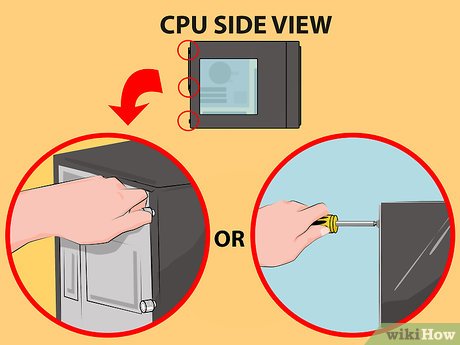 Open the case. Most newer cases have thumbscrews along the back that allow you to quickly remove the panels. If you don't have thumbscrews, you will need a Phillips-head screwdriver. Remove the panels from both sides so that you can access the drive bay on each side.
 -
 Ground yourself. Before working inside the computer, it is always wise to ground yourself. This will help prevent electrostatic discharge from damaging your delicate computer components. The ideal way to ground yourself is to connect an electrostatic wristband to your case. If you don't have a wristband, touch a metal faucet to discharge static buildup.
 -
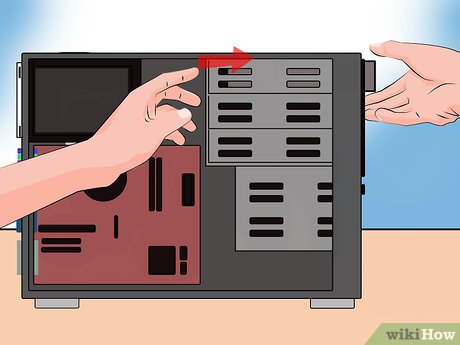 Remove the old drive (if necessary). If you are replacing an old drive, you will need to pull it out before installing the new one. Disconnect the cables from the back of the drive, then remove the screws on each side of the drive. Push the drive slightly from behind, and then pull the drive out from the front of the case.
 -
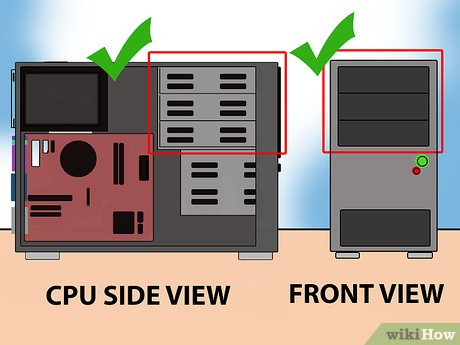 Locate an empty 5.25" drive bay. If you aren't replacing an old drive, you will need to locate an empty bay. These are usually found on the front of the case, towards the top. You may have a drive or two already in this area. Remove the front panel to expose the bay.
 -
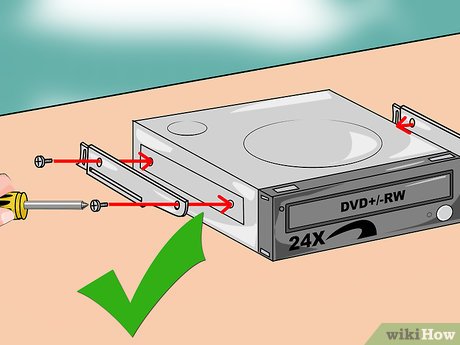 Attach any rails (if necessary). Some cases use rails to secure the drive to the case. If this is the case, the rails will need to be attached to each side of the drive before inserting it in the case.
 -
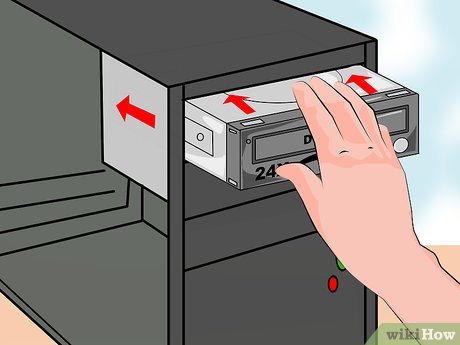 Slide the drive in from the front of your computer. Nearly all drives are inserted in from the front of the computer, though you may need to double-check your computer's documentation. Ensure that you are inserting the drive right-side up.
 -
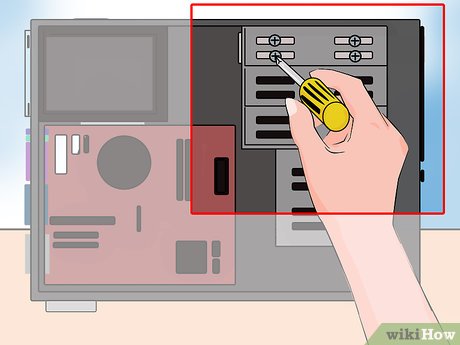 Secure the drive. If you are securing with screws, you should be suing two screws on each side. Make sure to secure the drive on both sides of the case. If you are using rails, make sure that the drive is inserted all the way and clips into place.
 -
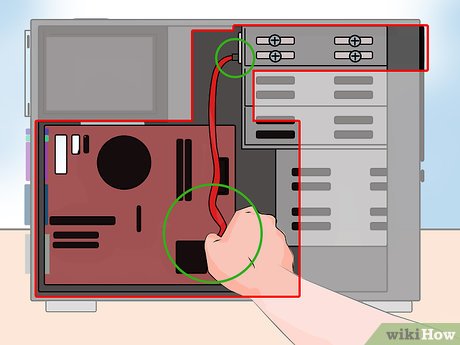 Connect the SATA port to your motherboard. Use the included SATA data cable, or use your own if the drive did not come packaged with any. Connect it to the next empty SATA port on your motherboard. Refer to your motherboard documentation if you cannot find the SATA ports on your motherboard.
- The SATA data cable can only be inserted one way on both the drive and the motherboard. Do not force the connection.
- Be careful not to disconnect any other components, such as your hard drive, or your computer will not boot up.
-
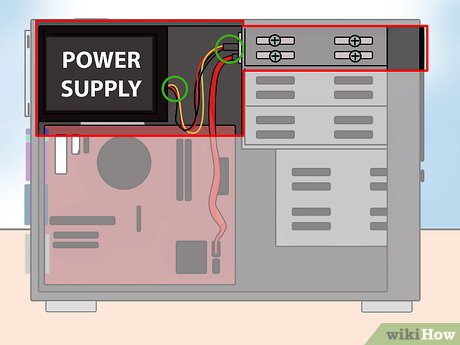 Connect the power supply to the drive. Find a power connector coming from your computer's power supply. This is usually located at the bottom of the case. Connect the power cable to the power slot on the back of the drive. Like the data cable, the power cable can only be inserted one way, so don't force it.
- If you don't have an available power connector, you can buy an adapter that can provide additional connectors.
-
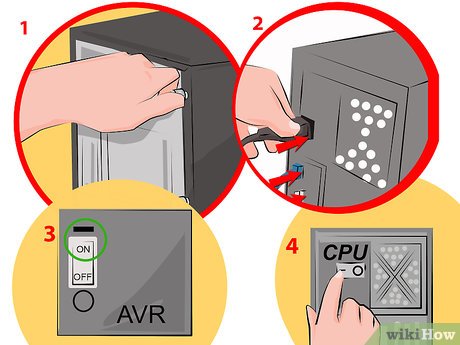 Reassemble the computer and power it back on. Close up the case, return it to its position, and reattach the cables. Power on your computer.[1]
Method 3 of 3:
Installing the Drivers and Software
-
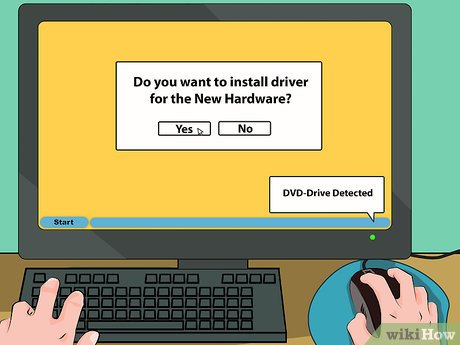 Wait for your operating system to detect the drive. Most operating systems will automatically detect your new DVD drive. Drivers for the drive are typically installed automatically. Your operating system will inform you when the installation is complete.
 -
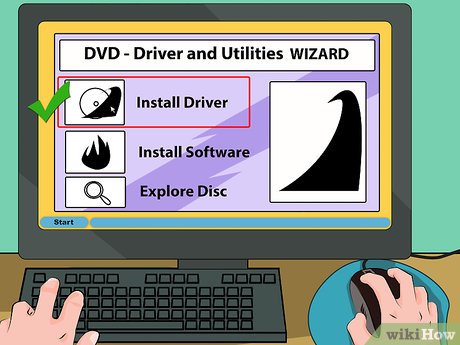 Install the drivers from the included disc (if necessary). If your drive did not install itself, you may need to install the drivers that came with it or that you downloaded from the manufacturer. Follow the prompts to install the drivers. You may be asked to restart your computer after installation.
 -
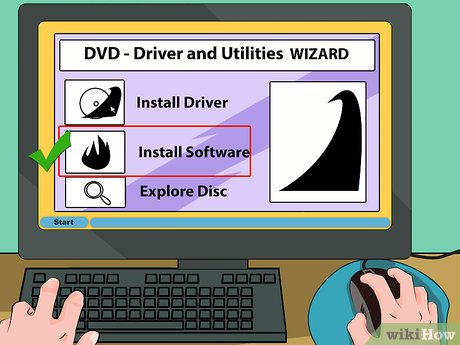 Install any packaged programs, such as burning or media playback software. Many drives come with packaged software that allows you to burn media to blank DVDs, or watch HD video. None of these are necessary, as there are free equivalents available online, but you can install these if you wish.