Table of Contents
Windows normally shows Change a password after you press Ctrl + Alt + Delete. If you manage a shared or restricted PC, you can hide that command for the current user. This does not change the password or prevent every other password-reset method; it only removes this entry from the Windows security screen.
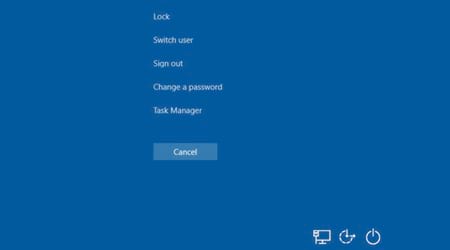
Before you begin
- The Group Policy method is the clearest option on Windows Pro, Enterprise, and Education editions.
- Windows Home does not normally include Local Group Policy Editor, so use the Registry method instead.
- These settings apply to the current user. On a work or school device, an administrator, domain policy, or mobile-device-management policy may control the setting.
- A Windows Hello PIN and an account password are different credentials. Hiding this command does not remove PIN settings.
This setting is also separate from the policy that requires Ctrl + Alt + Delete before sign-in. For more context about that trusted Windows security sequence, see what the Windows Security button does.
Method 1: Use Local Group Policy Editor
- Press Windows + R, type
gpedit.msc, and press Enter.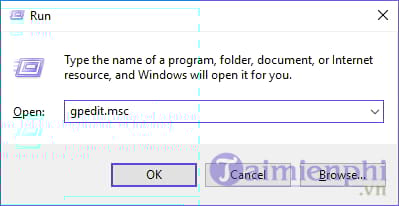
- Go to:
User Configuration > Administrative Templates > System > Ctrl+Alt+Del Options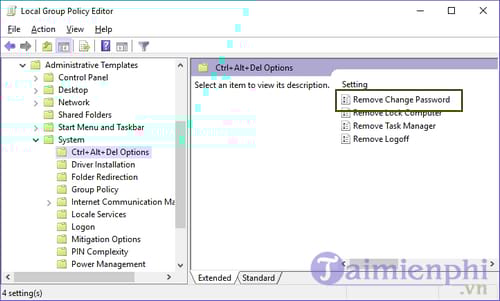
- Open Remove Change Password.
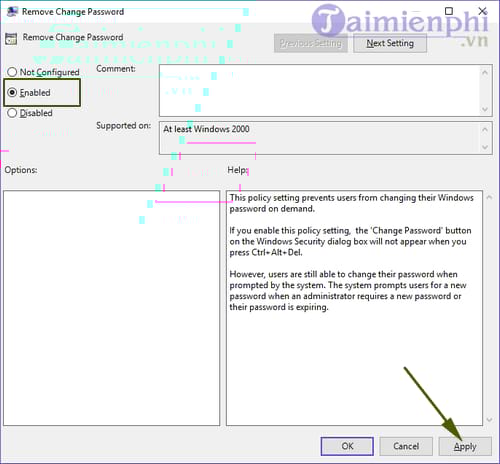
- Select Enabled, then choose Apply and OK.
- Sign out and sign back in, or restart Windows, if the change is not visible immediately.
Despite the wording, enabling Remove Change Password hides the command. To restore it, set the policy to Not Configured or Disabled.
Method 2: Change the setting in Registry Editor
Editing the registry incorrectly can affect Windows. Before proceeding, select the relevant key in Registry Editor and use File > Export to save a backup.
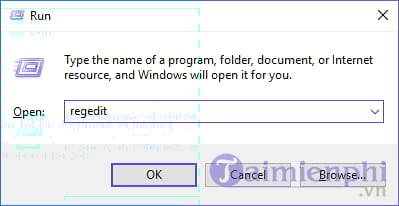
- Press Windows + R, type
regedit, and press Enter. Approve the User Account Control prompt.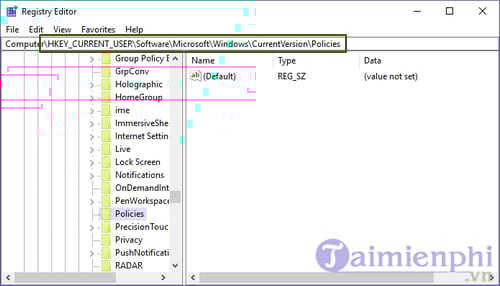
- Navigate to:
HKEY_CURRENT_USERSoftwareMicrosoftWindowsCurrentVersionPoliciesSystemIf the System key does not exist, right-click Policies, select New > Key, and name it
System.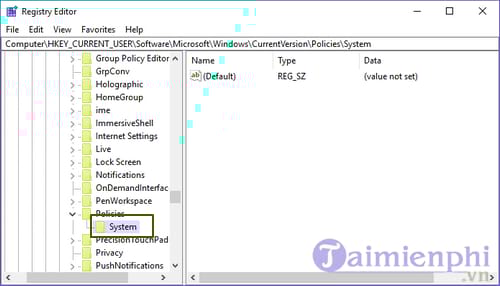
- In the right pane, right-click an empty area and select New > DWORD (32-bit) Value. Name it
DisableChangePassword.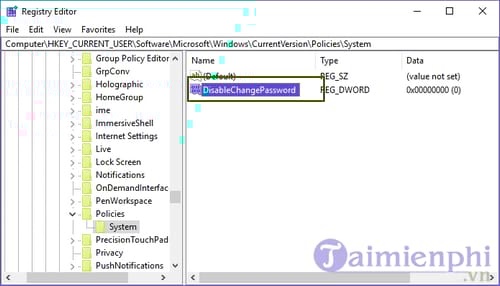
- Double-click the value, set Value data to
1, and select OK.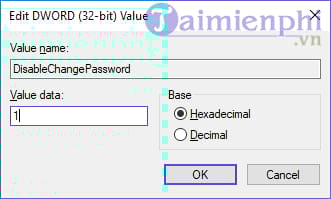
- Sign out and back in, or restart Windows.
To show the command again, set DisableChangePassword to 0 or delete that value. Microsoft documents the same policy name and registry value in its Ctrl+Alt+Del policy reference.
What this setting does not do
The change only hides one interface command. It does not secure an unattended account, stop an administrator from resetting a local password, or prevent a Microsoft account password from being changed online. Use a strong sign-in method and lock the PC when you step away. If you actually need to change a local account password, follow a supported method rather than treating this policy as access control; the Command Prompt password-change guide is relevant only to accounts you are authorized to manage.
Related Articles
 How to Change Your Computer Password for the Most Popular Operating Systems7 minutes read
 How to Change Your Computer, Phone and Mac Passwords4 minutes read
 How to Change Your Windows User Account Password on a Computer5 minutes read
 How to Change or Reset Your Spotify Password7 minutes read
 How to Change Your Viettel Wi-Fi Password7 minutes read
 Top 3 Simple Ways to Change Computer Password on Windows6 minutes read
Reader Comments 0
Sign in with email or Google to join the discussion.