How to fix low light images on iPhone and Android
Low light conditions can cause photos to be underexposed, unclear, and vivid, but you can easily fix it right in the native photo app on your phone. Here's how to fix low-light photos on iPhone and Android!
How to fix low light photos on iPhone
iPhone users can use the pre-installed Photos app to make basic exposure adjustments. There's always the Auto feature that does the heavy lifting for you, but auto features adjust the entire photo, whereas we just want to target underexposure and manual editing gets the results. the best.
Find your photo in the app, tap Edit and follow the steps below:
- The first slider you want to find is Brightness in the Adjust section . Because the Brightness setting brightens both the dark and light parts of the image equally, you can drag it up as much as you like to see exactly what's going on in the image. If you find it a bit too much, you can pull it back.
- Find the Exposure slider . This setting is slightly different from Brightness , it focuses more on the highlights instead of the entire image, and its purpose is to adjust the exposure settings in the camera. Increase the exposure to the appropriate level.
- Find Contrast and increase it a bit to add depth and make your photo stand out. If you go too high, the bright parts of the image will be blown out and the dark parts will almost disappear.
- Next, you'll want to modify the Highlights and Shadows sliders . Increase Shadows to brighten dark areas in low-light photos. If the highlights in the image are fine, you can leave them as they are or reduce the Highlights slider a bit.
- Go back to Brightness and bring it down. You don't need to go all the way to zero, just get to a natural-looking exposure level.


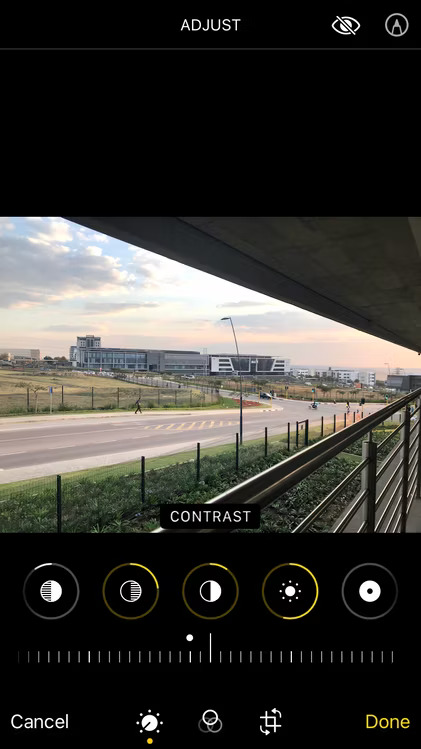

You will now have a correctly exposed photo, ready for further editing. If the lighting looks fine but you still feel like your photo is a bit soft, increase Sharpness , Definition , and Brilliance to get the desired results.
How to fix low light photos on Android
The process is quite similar when using Google Photos on Android. Again, we'll ignore any automatic or AI features to avoid changing the entire image. We only want to target low light, so manual editing is best in this case.
Find your image in the app, tap Edit and follow the steps below:
- Go to Adjust and find Brightness . Try increasing it to see more clearly what's happening in the photo now.
- The next step is to increase the contrast. Don't go overboard as there needs to be a good balance between the light and dark parts of the image.
- Now it's time to touch on Highlights and Shadows . Increase Shadows to brighten dark parts of the image. You might also want to increase Highlights , but if the bright parts in the image are already bright you're better off ignoring it or even turning it down.
- Google Photos' Black point settings are much better than those on the iOS Photos app, so you should use it. If your photo is quite dark to begin with, reduce the Black point . If your photo feels a bit dull and still lacks contrast, tone it up a bit.
- Go back to Brightness and slowly reduce it until you achieve a nice, natural exposure.
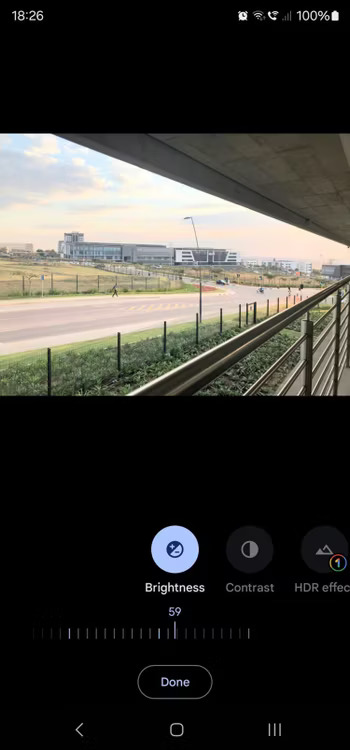
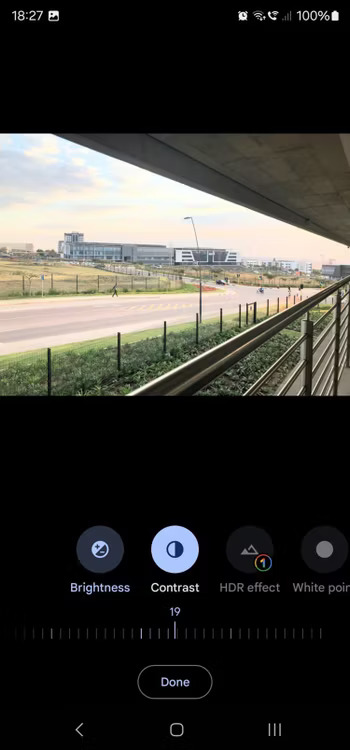
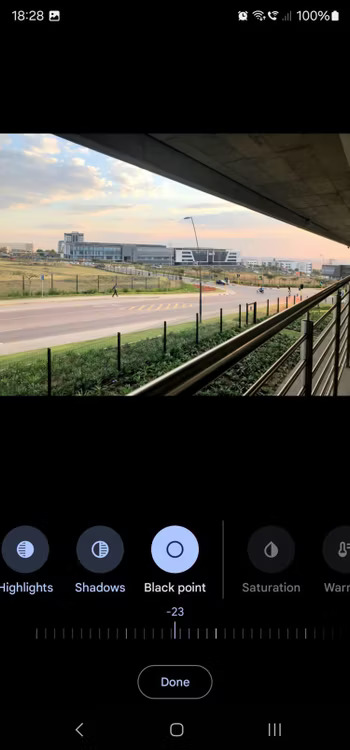
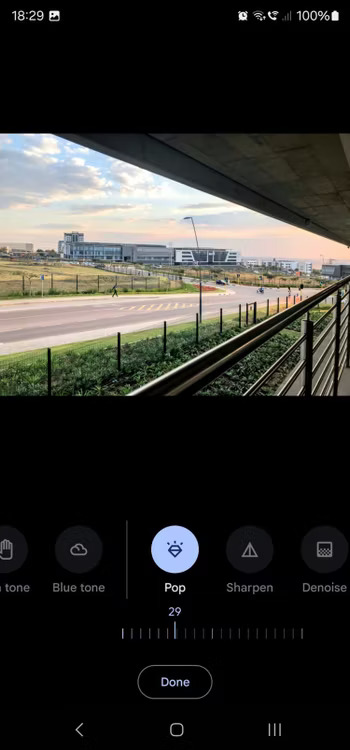
If you feel like your photo needs a little more clarity, increase the Pop and Sharpen . Your photos now not only look brighter, but also more vibrant.

While smartphone cameras continue to improve, noise or blurriness when shooting in low light conditions remains a challenge. But once you know which settings to toggle for better exposure, everything will go smoothly.
You should read it
- ★ 8 tips to take better night photos with Android phones
- ★ Things to know about Light Painting techniques in photography
- ★ Light artist - artist that adjusts sharpness for images
- ★ Do you choose a large aperture or a large sensor when taking photos?
- ★ When you turn off the light in the room, where did the light go?