7 camera settings for low-light photography
There are many settings you can try and today's article will outline the most essential ones.
1. ISO

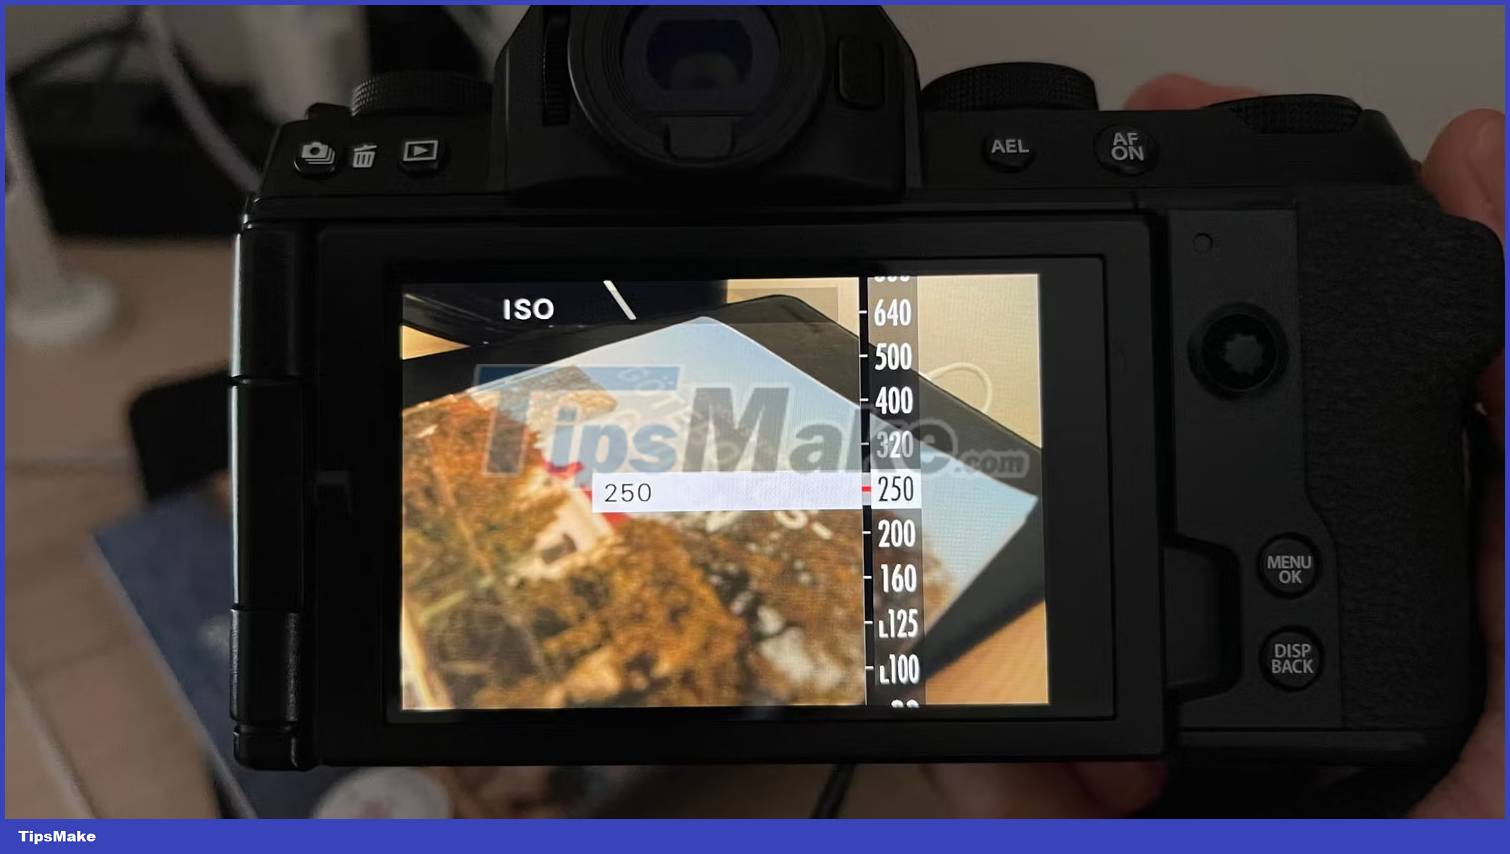
ISO is an important aspect of the exposure triangle in photography. This setting determines how light or dark your photo is, and you'll often need a higher ISO when taking photos in low light.
Many photographers shoot anywhere from ISO 400-1,000 in low light. If you are taking photos in overcast weather, around 400-640 will probably be best. But at night, you may need to increase this number higher (unless you're using a tripod).
Even though you need to increase the ISO, you should still keep this number as low as possible. Past a certain point, your image will become more grainy. You can use the AI features in Lightroom to get around this, along with some manual sliders - but it's much better if you do everything right in-camera.
Note that as you increase the ISO, you will need to compensate by decreasing the shutter speed or narrowing the aperture.
2. Continuous shooting
Holding a camera is usually fine in sunny conditions, but the risk of your photos being blurry is much higher if the lighting is low. Even if you use a tripod, you may still need to deal with some blurry images during your outing.
It's hard to keep your images from looking blurry in low light. However, burst mode can help ensure that you get at least one good photo from your series.
Continuous shooting mode is especially useful if you shoot fast-paced sporting events that take place at night. They are also ideal for outdoor night photography. Some cameras let you use this setting via a mode dial, or you'll need to go to the main menu on others.
You can read our guide on how to fix blurry photos if you're experiencing this problem.
3. Aperture Priority mode
Besides adjusting individual settings in the camera, you can often choose different modes to help you take better low-light photos. Aperture Priority mode is a mode that you should consider carefully.
When you use Aperture Priority on your camera, you can make the aperture - also known as the F-stop - wider. Doing so will allow more light to enter your device, and the ISO and shutter speed will automatically adjust. This mode is especially useful if you're trying to capture unique types of images, such as portraits with a blurred effect.
Aperture Priority mode will still require you to think about what you're shooting. For example, widening the aperture may not make much sense if you want to shoot landscapes at night.
4. Light measuring tool

Beginner photographers often make the mistake of not determining the overall amount of light coming into their camera, but that can be easily resolved by learning how to use a light meter. And the good news is that the light meter is easy to understand.
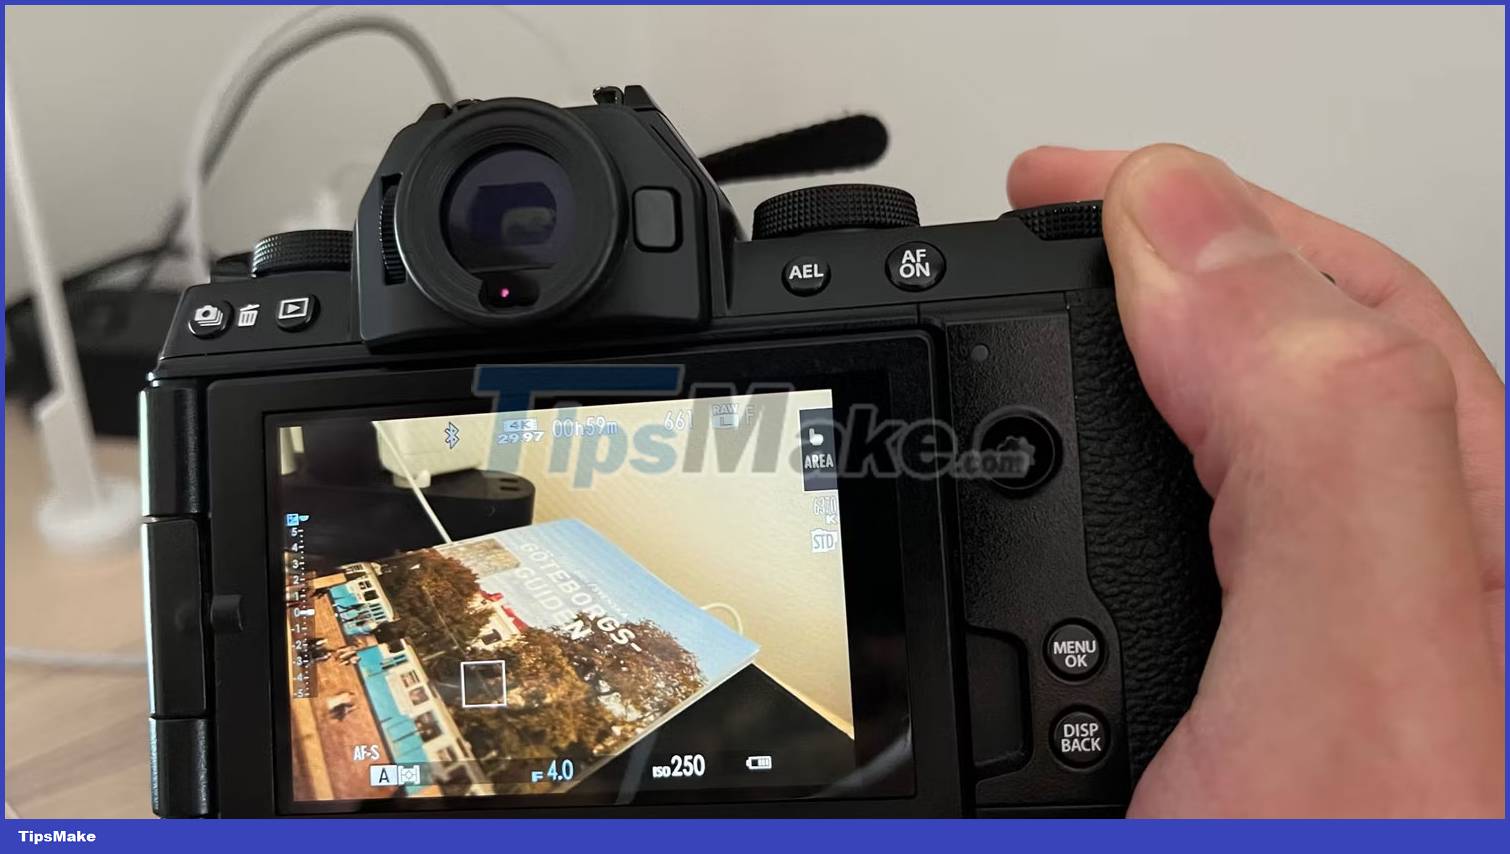
So what exactly is a light meter? Simply put, it's the measuring tool you see between +3 and -3. To get the correct exposure, you usually want to be as close to zero as possible. But in some cases, a drop to around -1 is completely normal.
You can control the light meter in many ways. If you use Manual Mode, the measuring tool will automatically move depending on your aperture, shutter speed and ISO settings. But in Aperture Priority and Shutter Priority, you can change the mode dial on your camera to adjust other aspects to suit this.
The light meter is also known as exposure compensation.
5. Image Stabilization feature
Depending on whether you're shooting handheld or with a tripod, image stabilization and lenses can be a double-edged sword.
When you use image stabilization, your camera will actually shake a bit in the process. For this reason, this feature can ruin your images if you use a tripod. But if you shoot manually, this can really help ensure that your photos are clearer than usual.
Typically, you can adjust image stabilization settings via a button on the camera. You will know whether it is enabled or disabled through the notification on the screen.
6. Self-timer

Even if you mount the camera on a tripod, instant photography can capture the moment while you're on the move. And when that happens, your chances of getting clear photos decrease significantly.
An easy way to minimize this problem is to use the self-timer feature on your camera. You can usually choose whether you want a 2 or 10 second delay after clicking the shutter button. This gives you enough time to move away from the device and enough time for your camera to capture the scene without the device shaking too much.
7. Shutter speed
Shutter speed is one of the first aspects that beginner photographers learn to control their camera with. And in low light conditions, you will often need to use a slower shutter speed than in normally lit situations.
A slow shutter speed lets more light into the camera and allows you to capture the scene accurately. But a problem that frequently arises is that your photos are more likely to be blurry without a stable surface.
Many photographers follow the rule that shutter speed is equal to lens focal length (e.g. 80mm = 1/80 second). But with smaller lenses, you can sometimes halve the shutter speed (e.g. 50mm lens = 1/25 second). You may need to experiment as it will depend on the manufacturer and model of your camera. If you take photos with a tripod, one of the essential photography accessories for beginners, you will have much more flexibility.