How to fix bright photos with iPhone in one click
You can't always take a perfect photo. Therefore, editing after taking photos is not strange. Today, TipsMake will show you how to correct overexposed photos with iPhone so you can 'save' these photos.
To have a beautiful photo, you need to pay attention to many factors, and lighting is also one of them. There have been many iPhone users who have encountered a situation where the model is beautiful, the camera angle is beautiful, but the photo is too bright, so it is less than perfect. At this time, how to adjust bright photos with iPhone will be a trick to help you immediately 'save' these photos. Watch now to know how to do it.

Learn how to quickly and easily correct brightly lit photos with your iPhone - stunningly beautiful
Not everyone is a photoshop artist and has a laptop or computer with professional photo editing software. However, on your iPhone there is still a way to adjust dark, backlit photos as follows:
Note: All measures below are for reference only, depending on your preferences. You can change the individual recipes to suit your needs.
Refer to the formula for adjusting backlit photos on iPhone
Here's the formula for correcting overexposed photos in the iPhone's Photos app. Please apply to see if it is reasonable or not. Or adjust some indicators to make it more suitable.
- Luminance: 80
- Bright area: -80
- Dark area: 40
- Freshness: 10
- Warmth: -10
- Sharpness: 5
- Noise reduction: 5
- Contrast: -30
- Brightness: 10
- Black points: 15
- Saturation: 10
Or apply the formula below:
- Exposure: 30
- Black points: 12
- Saturation: 9
- Freshness: 20
- Warmth: -30
- Luminance: 30
- Bright area: -90
- Dark area: 60
- Contrast: -50
- Brightness: 20
Edit low-light photos with professional photo editing software
In addition to the formula to correct dark photos on iPhone, you can download and use photo editing software to fix your underexposed photos.
How to adjust backlit photos with PicsArt
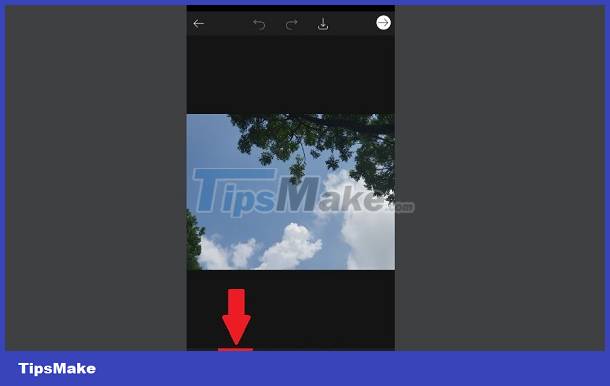
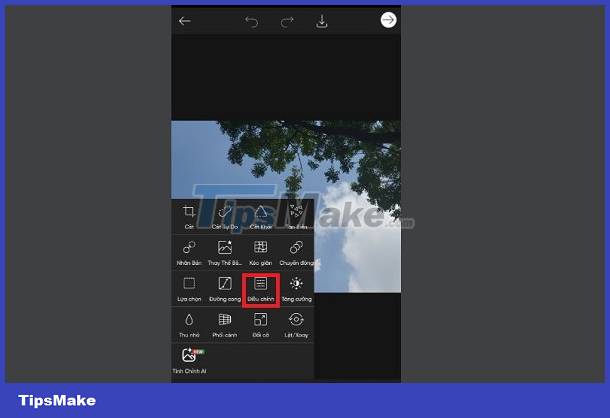
PicsArt is a photo editing software familiar to users and if you have this application available. iFan can apply the following measures to overcome the overexposure of their photos. Go to the PicsArt application > Open the underexposed photo > Click on Tools below.

Continue, click Adjust > Change brightness, contrast, saturation, color, highlight, color temperature and dark areas > Once done, click the tick mark on the upper left of the screen to save. .

Tip: You can try AI Tuning mode to let the machine perform automatic tuning as quickly and easily as possible. This is a new feature that helps you upgrade photos in a snap. However, to use this feature, you must pay a fee.
How to adjust backlit photos with Snapseed
Snapseed is also one of the 'dear' photo editing tools for Android and iPhone users. This application has built-in editing tools to help you edit your images. Open the Snapseed app and upload a backlit photo > you can apply the snapshots or tap Tools > Adjustments under ' Image Correction ', ' Color Graph ' and ' White Balance '.

Above are some ways to correct bright photos with iPhone that TipsMake wants to share. Hopefully these suggestions will help you successfully edit overexposed photos.