How to Fix a Disabled iPad
Today's TipsMake will guide you to reactivate an iPad that has been disabled due to entering the wrong password too many times.
Table of Contents
Use iTunes

Use a USB cable to connect iPad to the computer you synced with. You can use iTunes to reactivate your iPad if it has previously been synced with this computer.
If you don't have access to a computer that syncs with your iPad but you're signed in to iCloud on your iPad, you can reactivate it using iCloud and Find My iPad.
If you do not use iCloud, you need to put the device into Recovery Mode.

Open iTunes. iPad must have previously been synced to this computer using iTunes.
If your iPad asks for a passcode but you can't proceed because the device is disabled, you need to use Recovery Mode.

Wait for the sync and backup process to complete in a few minutes. You can track progress at the top of the iTunes window.
If your device doesn't sync or doesn't appear on iTunes, you'll need to use Recovery Mode.
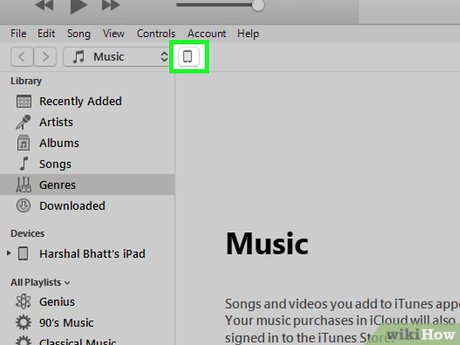
Click the iPad icon at the top of the iTunes window, next to the library selection menu.

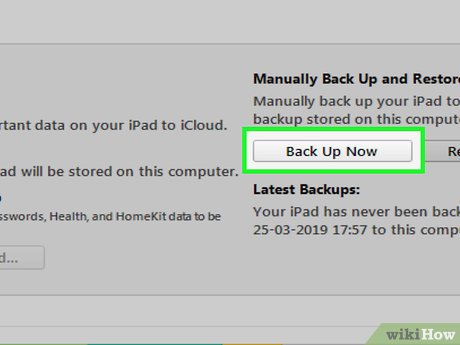
Click Restore iPad . Click "Back Up" when prompted because iTunes does not automatically back up.
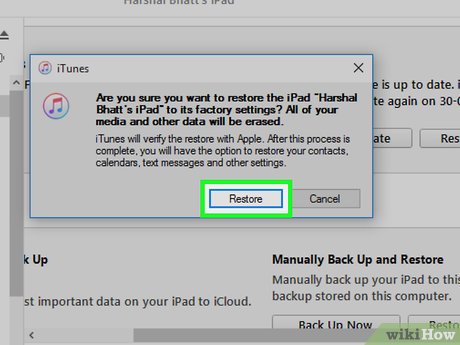
Click Restore to confirm.

Wait for iPad to restore. This process can take about 20 minutes.

Begin the initial setup process. This is the guided process that takes place when the device first boots up.
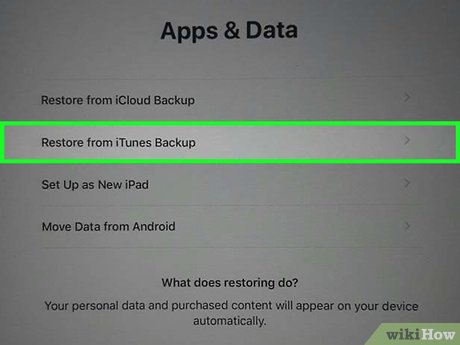
Tap Restore from iTunes backup when prompted.

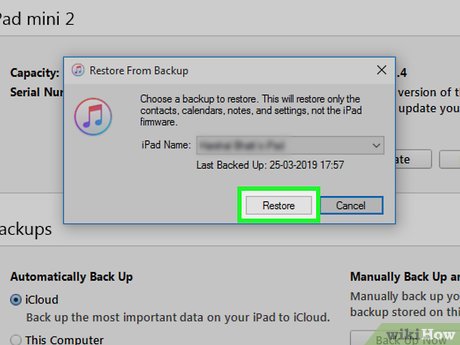
Click the backup list that appears on iTunes.
Click the backup you want to restore. Based on the date and time of the backup to select the appropriate backup.

Click Restore to apply the backup.

Wait for the restore process to complete. The data from the backup will be applied and you can access your iPad again.
Use iCloud

Open a web browser on your computer or other device. If you're signed into your iCloud account on your iPad and have Find My iPad turned on, you can use the iCloud website to restore your iPad.
If you are not logged into iCloud and have not turned on Find My iPad, you need to use Recovery Mode.

Accessicloud.com/find.
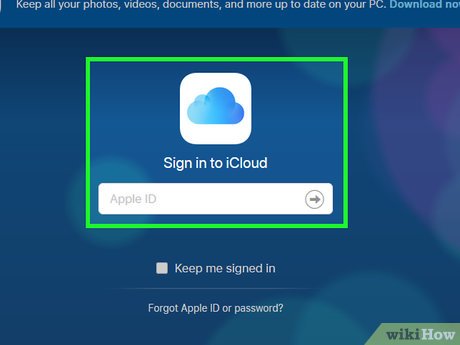
Sign in to Apple ID and password. You need to make sure this is the account used on the iPad.

Click the All Devices menu . This option is at the top of the website.
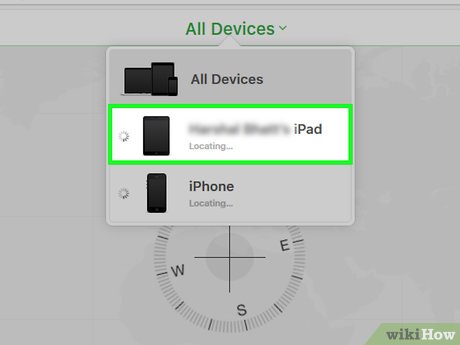
Click iPad. Your iPad's last updated location will appear in the middle of the map with options.
If your iPad doesn't have a Wi-Fi connection or a cellular data network, you'll need to use Recovery Mode.
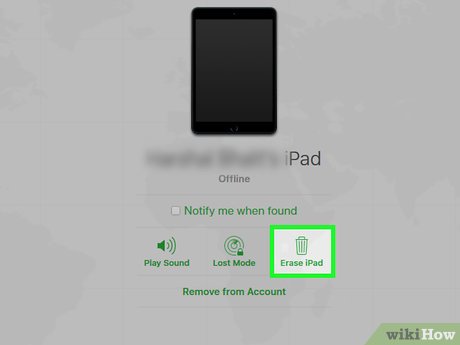
Click Erase iPad . This option is in the lower right corner of your iPad's tab.
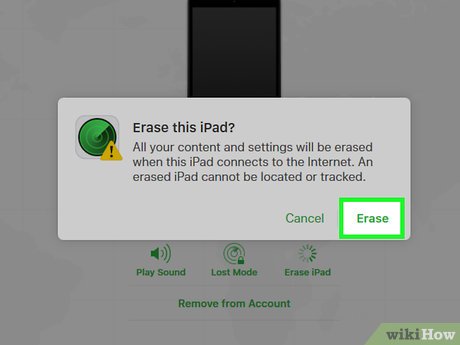
Click Erase to confirm.

Wait for the iPad to finish erasing. This process may take a few minutes to complete.

Start the iPad setup process. Once your iPad is erased, you'll go through the process of setting up your new device. Swipe to get started and follow the instructions.

Restore backup (if possible). If your device was previously backed up to iCloud, you can now restore the backup during setup. Or you can just proceed as you would with a new device.
You can still redownload all iTunes Store apps and content, as well as restore mail and messages, by signing in to the same iCloud account.
Use Recovery Mode
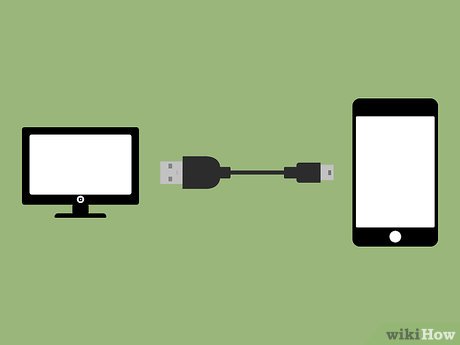
Connect iPhone to any computer via USB. If you haven't signed in to iCloud on your iPad, haven't turned on Find My iPad, or haven't synced your iPad to iTunes, you can use Recovery Mode to restore a disabled iPad.
This process will delete all data.
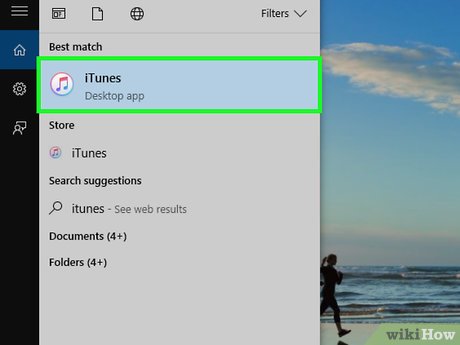
Open iTunes. If your computer doesn't have iTunes, you can download it hereapple.com/itunes/download.
You can use Recovery Mode without having to sync your iPad with your computer first.

Press and hold the power and Home buttons. The power button is usually located along the top right edge. The Home button is located in the middle below the screen.
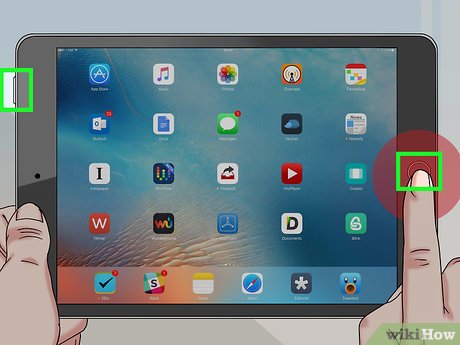
Hold down both buttons to force the iPad to restart. The screen will turn off and then the Apple logo will appear. Continue holding these two buttons.
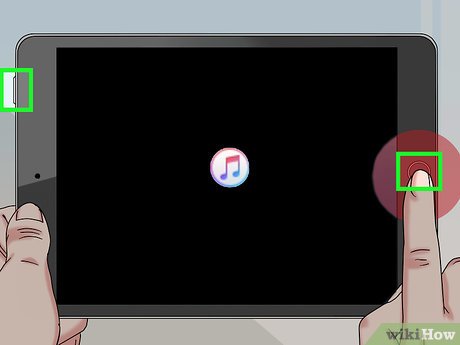
Continue holding these two buttons until the iTunes logo appears. The iTunes logo and USB cable will appear on the iPad screen. This means the iPad has entered Recovery Mode. You can now release the two buttons you are holding.
Click Restore on iTunes. This option is in the window that appears when the iPad enters Recovery Mode.

Wait for the restore process to complete. This process may take a few minutes. You can observe the progress bar below the Apple logo on the iPad screen.

Start the iPad setup process. Follow the onscreen instructions to set up your iPad as it was when you first purchased it.

Restore backup (if possible). If a previous backup is available on iCloud, you can restore during setup.
Was this article helpful?
Your feedback helps us improve.
Related Articles
 Playing with the iPad, the 3-year-old boy locked his father's tablet 49 years3 minutes read
 Instructions to fix iPad errors are disabled4 minutes read
 2 ways to unlock iPhone are disabled on computer fast4 minutes read
 How to Recover a Disabled Facebook Account5 minutes read
 How to fix a disabled iPhone password error5 minutes read
 How to Unlock a Disabled iPhone without iTunes6 minutes read
Reader Comments 0
Sign in with email or Google to join the discussion.