Table of Contents
Install Telnet
Key Takeaways About Enable Telnet on Windows 7
- Install Telnet Open the Control Panel.
- By default, Telnet is not installed on Windows 7.
- Users need to activate it manually before use.
Key Details About Enable Telnet on Windows 7
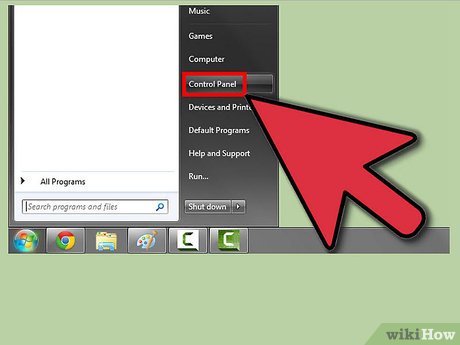
Open the Control Panel. By default, Telnet is not installed on Windows 7. Users need to activate it manually before use. You can do this through the Control Panel located in the Start menu.
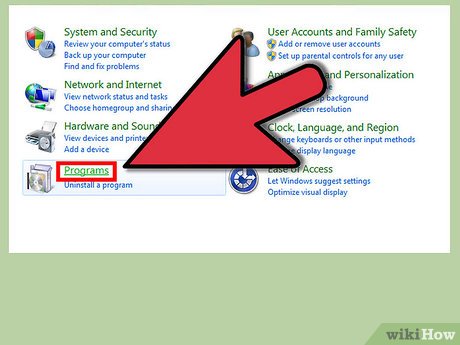
Open "Programs and Features" or "Programs". The options available to you will depend on the view the Control Panel is displaying (Icon or Category), but are generally in the same location.
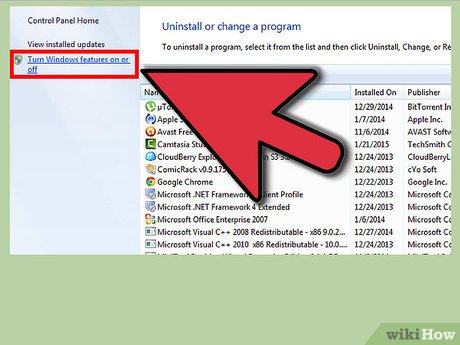
Click the "Turn Windows features on or off" link. You may need to enter the Administrator password.

Look for "Telnet Client" in the list of available features. You may need to scroll down to find it. Then, check the box next to Telnet Client and click OK.
Once selected, you need to wait a few minutes for the client to be installed.
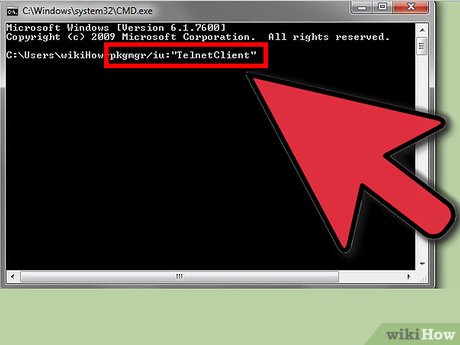
Install Telnet through the command line environment. If you prefer working in Command Prompt, you can install Telnet with one quick command. First, open Command Prompt by typing cmdin the Run box. At the command line, enter pkgmgr /iu:"TelnetClient"and press ↵ Enter. Immediately after, you will return to the command line environment.
Restart Command Prompt to start using Telnet.
Use Telnet
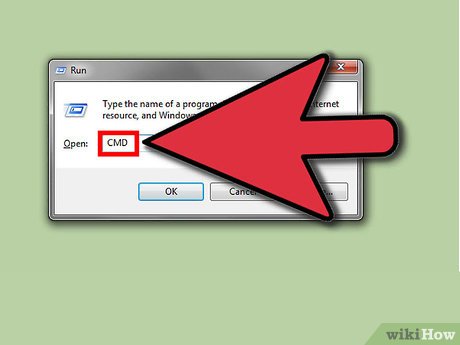
Open Command Prompt. Telnet works through Command Prompt. You can access the command line environment by clicking Winand then entering cmdthe Run data field.
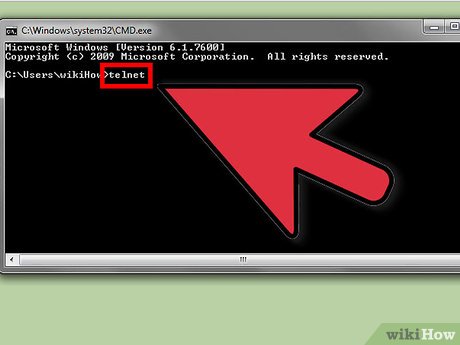
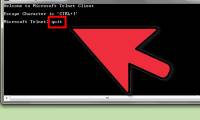
Start the Telnet client. Type telnetin then press ↵ Enterto start Microsoft Telnet. The Command Prompt will disappear and this Telnet command line will appear:Microsoft Telnet>.
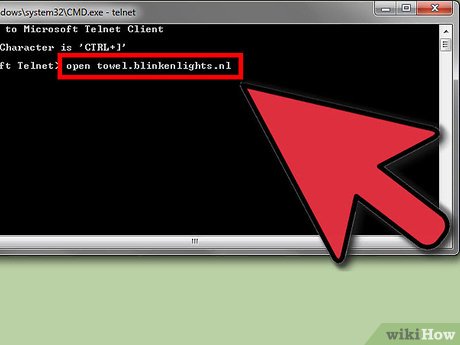
Connect to the Telnet server. At the Telnet command line, type . You will successfully connect to the server when you receive a welcome message or are asked to enter a username and password.open serveraddress [port]
For example, to view the movie Star Wars in ASCII (American character code) format, you type open towel.blinkenlights.nland press ↵ Enter.
You can also initiate a direct connection to Command Prompt with the command .telnet serveraddress [port]
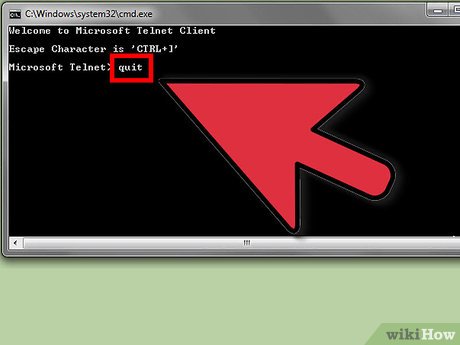
Close the Telnet session. After you finish administering the Telnet server, disconnect before closing the window. To proceed, open the Telnet command line by pressing Ctrl+ ]. Enter quitthen press ↵ Enterto disconnect.
FAQ
How do you Enable Telnet on Windows 7?
Install Telnet Open the Control Panel.
What should you check before working with Enable Telnet on Windows 7?
By default, Telnet is not installed on Windows 7.
What can you do if the first method does not work?
Users need to activate it manually before use.
Related Articles
 Learn About Telnet Protocol: What You Need to Know6 minutes read
 3 Ways to Enable Telnet in Windows 10 & 116 minutes read
 How to Activate Telnet in Windows 74 minutes read
 Instructions for Activating TFTP and Telnet Client on Windows 103 minutes read
 Job Batch: Automate Telnet Commands Using Vb Script4 minutes read
 Connection: How to Use Telnet on Mac Os X2 minutes read
Reader Comments 0
Sign in with email or Google to join the discussion.