Table of Contents
Using Windows Movie Maker
This practical guide explains how to edit youtube videos with clear steps and useful context. It also covers common requirements, potential problems, and the details that can help you get better results.
Windows Movie Maker is similar to the old YouTube editing tool.
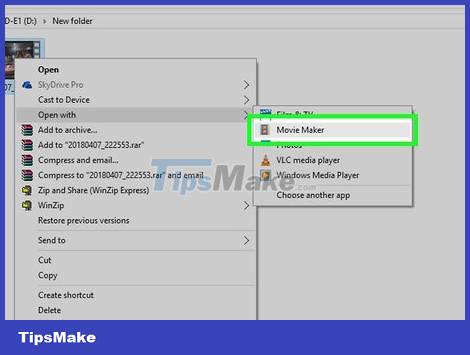
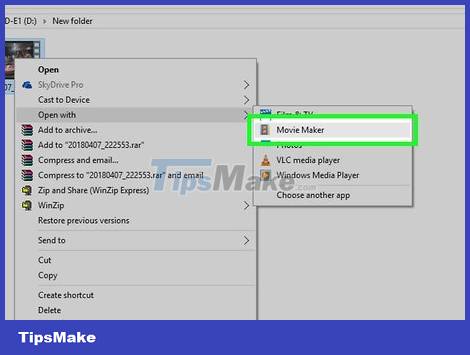
Open video with Movie Maker. Open the folder where the video you want to edit is saved, and then do the following:
- Right click on the video.
- Select Open with
- Click Movie Maker
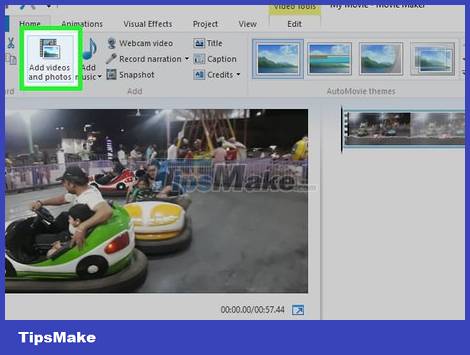
Add more content to Movie Maker. If you want to combine several short movies into one video or add photos to the complete project, you can add the necessary files to Windows Movie Maker:
- Click the Home tab.
- Click Add videos and photos.
- Select a video or photo (or press Ctrl while clicking on each file to be able to select multiple files at once).
- Click Open.
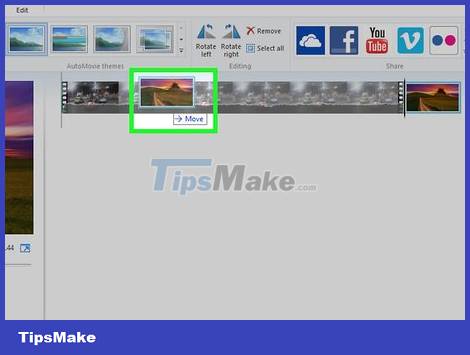
Organize videos and photos. You can rearrange the order of the clips by clicking and dragging them left or right on the timeline.
Dragging a video or photo to the leftmost position places it at the beginning of the video, while dragging to the far right places it at the end of the video.
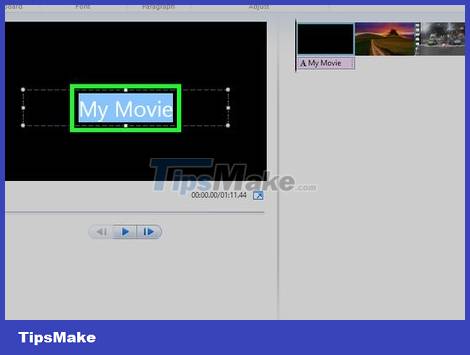
Add title. While not every video needs an intro, placing it at the beginning of the video allows you to list the information or content of the video. You can do the following:
- Click Title on the Home tab of the toolbar.
- Highlight "My Movie" in the preview on the left side of the window.
- Enter the title you want to add to the video.
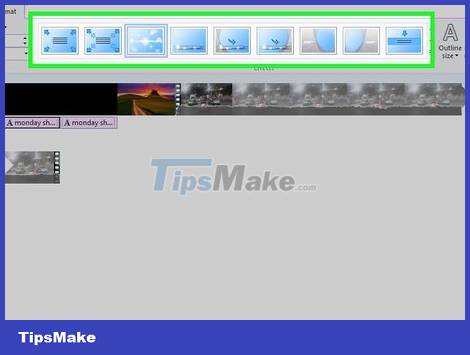
Choose a transition effect for the title. You can do this by clicking a selection in the "Effects" section of the toolbar that appears at the top of the window after you've selected the title.
Placing the mouse pointer over an "Effects" selection allows you to preview the effect on the left side of the window.
You can also adjust the length of the title display by clicking the title icon on the timeline and changing the number in the "Text duration" box.
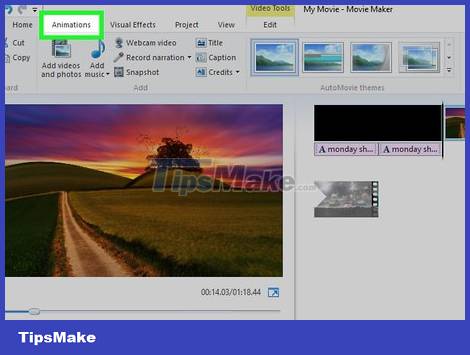
Add effects between pieces of content. Going from one video to the next (or going from video to photo) can be lackluster, but Windows Movie Maker has a variety of options that let you insert smooth transitions:
Click the video or photo in front of the content you want to add the effect to.
Click the Animations tab.
Select an effect, or preview the effect by placing the mouse pointer over it.
If you want to insert a transition in the middle of a certain video, you can click and drag the black vertical line to the part where you want to put the effect, right-click the vertical line, click Split, and insert the effect.
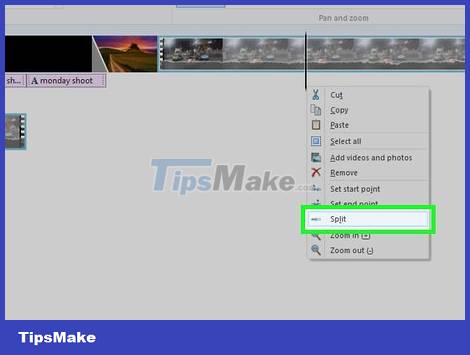
Cut some part of the video. Many YouTube videos have been trimmed to uninteresting or lengthy parts to create a neater and more organized product. Here's how to edit the collage, and you can also do it in Windows Movie Maker:
- Move the vertical line to the starting position of the part you want to cut.
- Right-click the vertical line, and then select Split.
- Move the vertical line to the end position of the part you want to cut.
- Right click on the vertical line and click Split again.
- Click the part you want to cut, and then press Delete.
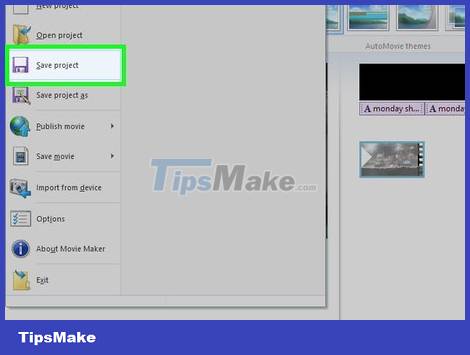
Export video. After the video editing is complete, you can save the video as a complete file in the following way:
- Click the Home tab if you haven't already opened it.
- Click Save movie.
- Click Recommended for this project in the menu that appears.
- Name the video file.
- Click the folder where you want to save the file (such as Desktop) on the left side of the window.
- Click Save.
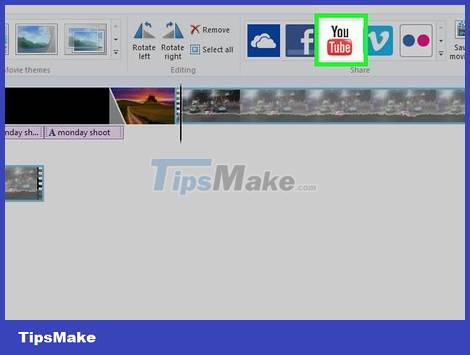
Upload videos to YouTube. After exporting the video to a file is complete, all that remains is to upload the file to YouTube and share it with the community.
If you haven't verified your YouTube account, you can't post videos longer than 15 minutes.
Using Imovie
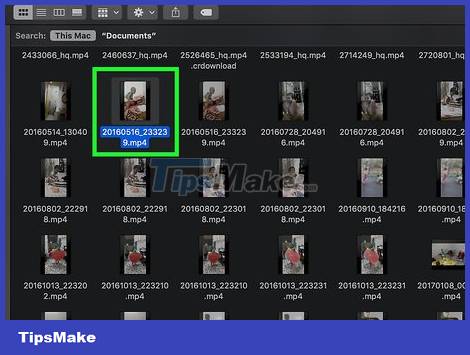
Open the video with iMovie. Find the video you want to upload to YouTube, and then do the following:
- Select the file by clicking on it once.
- Click File
- Select Open With
- Click iMovie
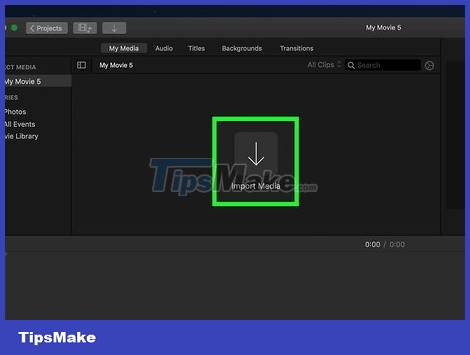
Add another file to the iMovie program. If you want to add more movies or photos to iMovie, do the following:
- Click the Media tab above iMovie.
- Click the "Import" button with the down arrow icon.
- Choose where to save the content (such as a certain folder on the Mac).
- Select a video or photo (or hold down the ⌘ Command key while clicking each file to select multiple files at once).
- Click Import Selected.
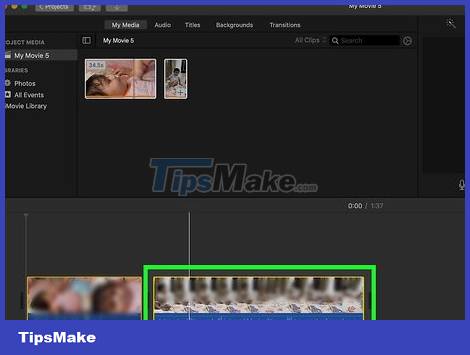
Rearrange content. In the content timeline displayed near the bottom of the iMovie window, you'll click and drag clips or photos left or right to move them closer or farther from the beginning of the video.
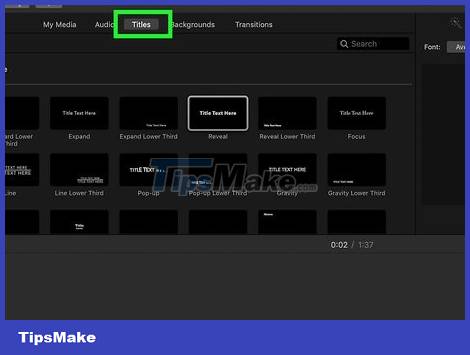
Add title. While not required, adding a title helps you organize and annotate the video content:
- Click the Titles tab above the iMovie browsing section.
- Select a title template to preview the effect.
- Click and drag the title template to the timeline above the video, where you want the title.
- Double-click the title in the preview, and then replace it with what you want.
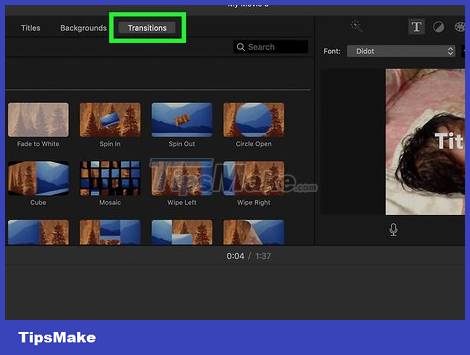
Insert effects between pieces of content. When processing multiple clips at once, you'll need to add transitions to make the video look smoother:
Click the Transitions tab above the browse.
Select a transition to preview.
Click and drag the effect so that it's between the two clips, then drop the effect there.
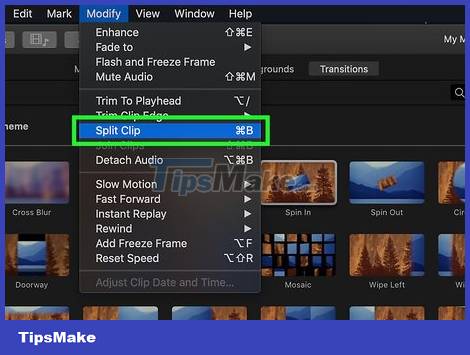
Cut some part of the video. Many YouTube videos have been trimmed to uninteresting or lengthy parts to create a neater and more organized product. Here's how to edit the collage; you can also do this in iMovie in the following way:
Select the clip that you want to trim the content.
Move the vertical line (also known as the "Playhead") to the start of the part you want to crop.
Click Modify, then click Split Clip or press ⌘ Command+B.
Move the vertical line to the end of the part you want to cut, and then split the clip there.
Select the section you want to cut, and then press the Control key while you click the section to open a menu.
Click Trim Selection in the menu that appears.
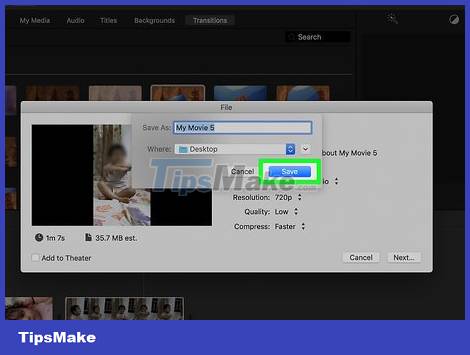
Export video. Once you are satisfied with adding and editing the content of the video, you can save the video as a complete file in the following way:
- Click Share.
- Click File
- Click Next (Continue)
- Select a folder on your Mac (such as Desktop)
- Click Save.
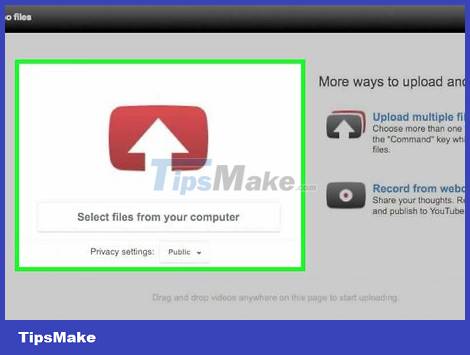
Upload videos to YouTube. After exporting the video to a file is complete, all that remains is to upload the file to YouTube and share it with the community.
If you haven't verified your YouTube account, you can't post videos longer than 15 minutes.
Conclusion
Understanding YouTube makes it easier to compare options, avoid common mistakes, and apply the information in this guide more effectively. Review the relevant requirements before making changes or choosing a solution.
FAQ
How do you edit youtube videos?
Follow the steps in this guide in order, confirm the required settings or tools, and verify the result before making additional changes.
Is it safe to edit youtube videos?
It is generally safe when you follow the recommended instructions, use trusted tools, and avoid changing settings you do not understand.
What should you do if the process does not work?
Recheck the requirements, restart the device or application when appropriate, and review each step for missed settings or compatibility issues.
Related Articles
 How to Edit Videos on YouTube?10 minutes read
 Instructions for Deleting a Video on YouTube3 minutes read
 Useful Tips with URL YouTube You May Not Know7 minutes read
 Top 15 Most Viewed YouTube Videos5 minutes read
 Youtube Ban: Youtube Extends the Ban on Uploaded Videos2 minutes read
 Upload Videos to YouTube, How to Upload Videos to YouTube from the6 minutes read
Reader Comments 0
Sign in with email or Google to join the discussion.