How to Design a Quadcopter Using Siemens NX
This article will explain how to design a quadcopter with Siemens NX, a computer-aided design software. You may then want to implement it into a 3-D printer for your desired use and creation. Understand what a quadcopter is. It's a machine....
Part 1 of 3:
Understanding How a Quadcopter Works
- Understand what a quadcopter is. It's a machine that uses four rotors to maneuver through the air. It also requires a computer system to receive commands from a controller to control where the quadcopter will be moving.
-
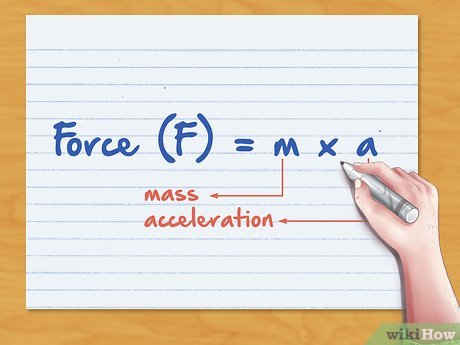 Understand the forces acting on the quadcopter. They're called gravity, lift and drag. A quadcopter is under forces when operated, so it is important to understand these three forces. They are described below. [1]
- Gravity is acting on the quadcopter. Specifically, it's the force that pulls the quadcopter down to the ground due to its mass.
- Lift is the upward force that is the result of the propellers. Thrust refers to the horizontal forces that occur due to the direction of the propellers.
- Drag is the force pushing back onto the quadcopter by the air; this happens when it's flying.
-
 Understand how a quadcopter maneuvers. It changes direction by reducing or increasing how much a propeller is spinning, causing it to go into the direction commanded by the controller. The movement directions are described below:
- Moving forward and backward: Front propellers decrease in revolutions per minute (RPM) while the back propellers increase in RPMs. The opposite occurs when the quadcopter moves backwards through the air.
- Moving left and right: When moving left, two propellers decrease in RPMs and the right two increase. Moving right occurs when the opposite happens.
- Moving up and down: To move up, the quadcopter must increase RPMs to all propellers to create a lift force that is greater than the gravitational force acting on the drone. To move down through the air, RPMs are decreased to all propellers where the lift force is less than the gravitational force causing the quadcopter to move downward.
Part 2 of 3:
Starting the Design Process
-
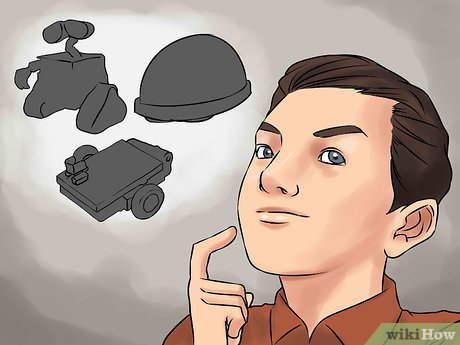 Begin brainstorming your design. Brainstorming is essential for beginning the design process of your quadcopter. Make sure you decide what your quadcopter would accomplish if it were to be created through the parts created using a CAD software. Make sure you can answer the following questions:
- What is the quadcopter's size?
- Will the quadcopter have to lift objects?
- What is the quadcopter's speed? Will it be fast or slow?
-
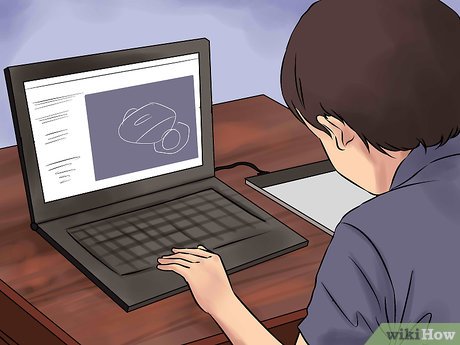 Decide on the parts for the quadcopter. Parts like motors, fasteners, propellers and electrical units should now be picked out to fit your brainstormed ideas. You'll need to choose the parts before designing in order to get an idea of the dimensions that will be incorporated into the quadcopter design. That way all the parts will fit together properly.
- Try to find a kit with all your necessary materials. This will make it easier for you to find parts.
- Choose motors that provide enough thrust to the quadcopter to hover at %50 throttle. This will make the quadcopter more efficient by making the battery last longer. For example, if the total frame of the quadcopter is 500 grams, each motor should produce 250 grams of thrust totaling in 1000 grams.[2]
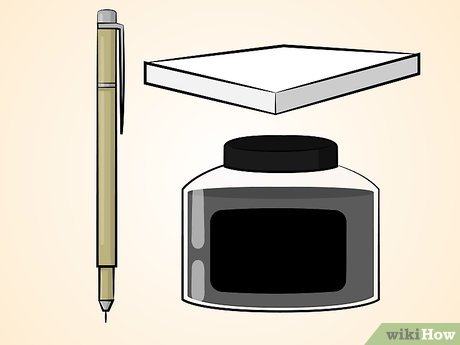
- When you've decided on the parts, write down the dimensions of the type of fasteners that will be used to attached the different parts of the quadcopter together. Note the size of the electrical components and the locations of set holes are on the motors. This all will help you put the motors onto fasteners for the quadcopter.
- Create a rough sketch of the quadcopter. The rough sketch should have your brainstormed ideas and parts sketched onto paper; that way you'll get an idea of what your design will look like. The sketch, too, should incorporate the dimensions of each part of the quadcopter. Keep in mind that a lighter drone will be more efficient and reduce the amount of lift needed to fly, too. That will make the battery last longer.
- Drag will occur in areas where air cannot go through. If you make holes or open areas, though, they will reduce drag and the amount of lift needed to get the quadcopter into the air.
- For the frame of the quadcopter, sketch the legs. Connect plates and arms in the design that will fit the needs of what the drone should accomplish.
- Sketch the motor and electrical units that have been picked out.
- Drag will occur in areas where air cannot go through. If you make holes or open areas, though, they will reduce drag and the amount of lift needed to get the quadcopter into the air.
-
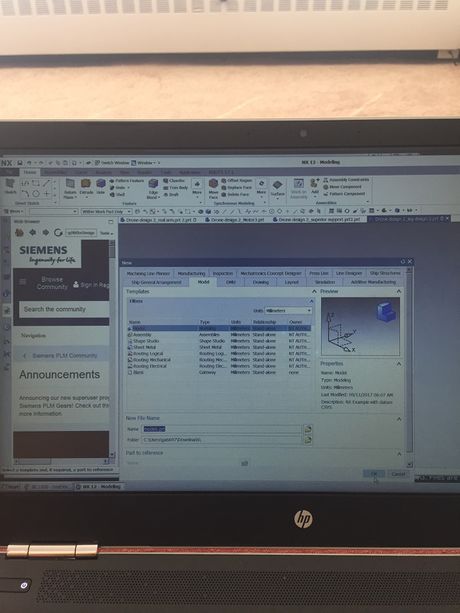 Open Siemens NX, then click on the new file button in the top left portion of the screen. There a tab will appear to create a model. Apply units of measurements and name the file that will be created.
- The file tab in Siemens NX will allow you to save and create new files as well.
-
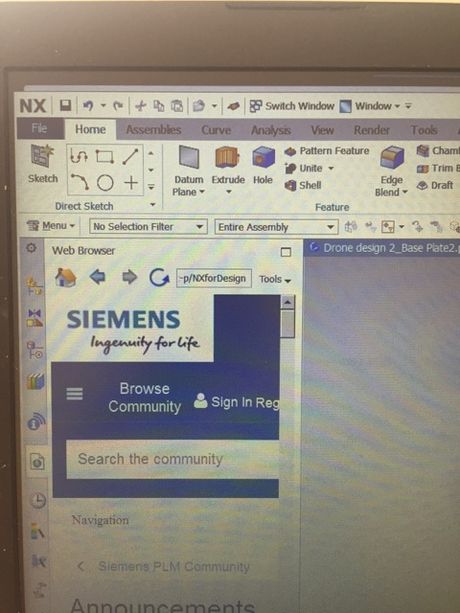 Click on the home tab. Within this tab, there will be a sketch button to click on and you can begin to create your quadcopter parts. NX has commands to use to create the parts and set dimensions. They are described below:
- Extrude: This will extrude your sketch in the software to a specified length.
- Direct sketch: This set of commands includes lines, circles, points and trimming that can be incorporated into the design process.
- Hole command: This will create holes in your extruded objects.
- Revolve: Once an outline object is created, the revolve command will revolve the outline along a specified axes for a certain number of degrees to obtain a certain shape.
-
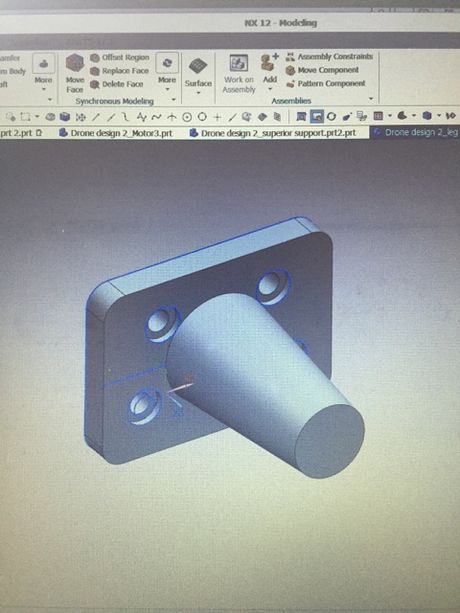 Create the legs for the quadcopter. The legs should be designed in a way that fits your needs for the quadcopter. Short legs offer little protection from the frame of the drone to the ground, but they also reduce the weight of the quadcopter and increase the amount of lift that can be produced. Longer legs can help protect the frame of the drone from the ground and allow objects to be picked up.
- Design the place where the leg will attach the bottom plate to the arms of the drone. You'll need this in order to determine the correct dimensions of holes needed to fasten a screw through. When doing so, apply counter sunken holes where the screws will go through to create a clean surface on the leg. Maximize the distance that the screw can reach to connect the legs, bottom plate and arms together.
- Create at least two fastener holes.
- Finish the sketch, then apply another one to the leg plate to create the design of the leg's actual shape. Design the shape of the leg from your rough sketch.
- Save the file as leg.prt for simplicity once you're done.
-
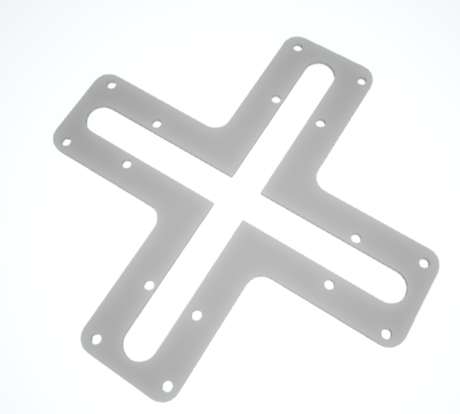
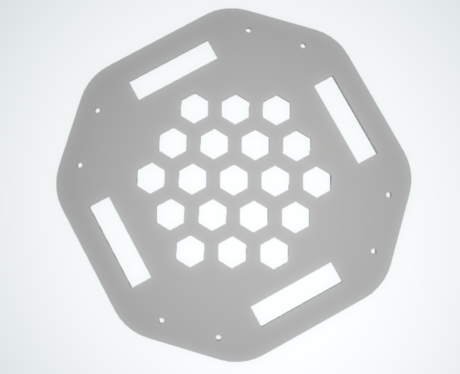 Create the bottom plate of the quadcopter. The bottom plate will be attached by the legs to the arms. The purpose of this plate is to create stabilization so that the legs and arms do not move freely when in flight.
- Create a new sketch and sketch the outline of the plate first. Circle shaped plates are best as they offer the most rigid stability if a crash occurs. The first fractures in crashes occur in areas with sharp corners or edges. Try implementing rounded edges in case your quadcopter crashes.
- Sketch the holes with the right dimensions; do this in the outer regions of the plate where the legs will go. Make sure that if four legs are applied, all the holes are equally spaced from each other.
- Apply weight reduction areas to the plate. Start in the center of the plate and avoid areas close to the holes for the legs and near edges where cracks can occur. When applying areas of weight reduction, make sure to apply evenly on the plate. Applying to make weight reduction to one side can cause the actual quadcopter to tilt in flight without it being told to. Overall, reduction should be made equally.
- This plate should not be thin. If it's thin, it's easily susceptible to cracks when landing.
- When you're done, save the file as bottomplate.prt for simplicity.
-
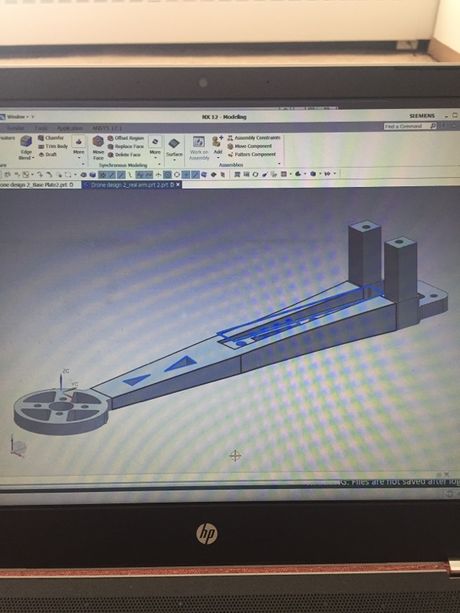 Create the arms of the quadcopter. They should be designed in a way that air can move freely on top and bottom; this design will reduce drag. The arms also must be sturdy and rigid in order to hold the motors away from the quadcopter for stability.
- Create the initial outline of the arm. Include weight reduction, holes for the motor fasteners, and make sure the leg fasteners connect the arm to the bottom plate (and on the top to connect to the top plate). The extrusion of the arm needs to be designed where fasteners can reach through the part to fasten the motor to the arm.
- Where the arm connects to the bottom and top plates, create two rectangular pillars with set holes to fasten the quadcopter together.
- Keep in mind the length of the propellers when designing the length of the arm. Arms that are too short may cause the propellers to interfere with each other and flight will not occur. Creating arms that are too long will cause the drone to become unstable.
- When finished, save the file as arm.prt for simplicity.
-
 Create the top plate of the quadcopter. This will be used to hold certain parts of the electronic components. They'll also be necessary for you to connect the arms together to keep the arms from bending out and stabilizing the frame. The plate should also incorporate weight and drag reduction for better flight efficiency.
- The outline of the plate should be created and holes applied to accept the fasteners to the four arms of the quadcopter. The holes should line up with the ones created on the arms.
- Apply weight and drag reduction shapes equally to the plate then extrude to the desired length which should be about half that of the bottom plate.
- When finished save file as top plate.prt.
-
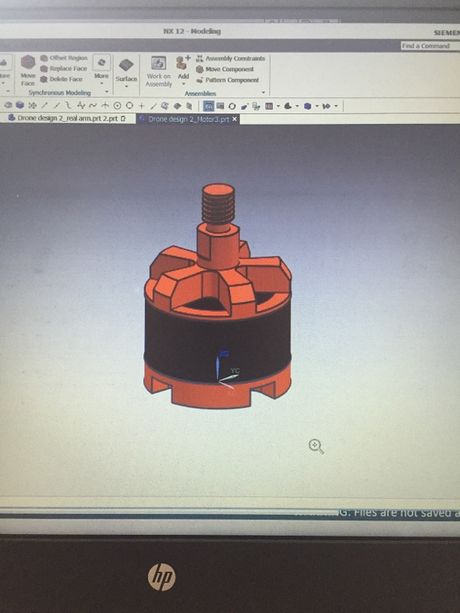 Create the components using specifications. These components will be the motors, propellers, fasteners and battery and main controller. The components will be designed with the dimensions give in the parts found.
- Create the parts to your desire in separate files. Name the files accordingly to the part's name.
Part 3 of 3:
Creating the Assembly of the Quadcopter
-
 Open all the part files in NX. Make sure each one is open for viewing after you click on them.
 - Apply the constraints. Do this between the parts to align the holes together. You can add, rotate and move parts by clicking on the assembly commands at the top right of the screen.
- View the assembly. When looking at the assembly, make sure all parts line up together and that they're well-fit between one another. This will allow you to see if any parts need to be modified to fit the other parts.
- Save the assembly file as assembly.prt. This will make the file easier to find. You'll have to open it to see what the quadcopter looks like.
-
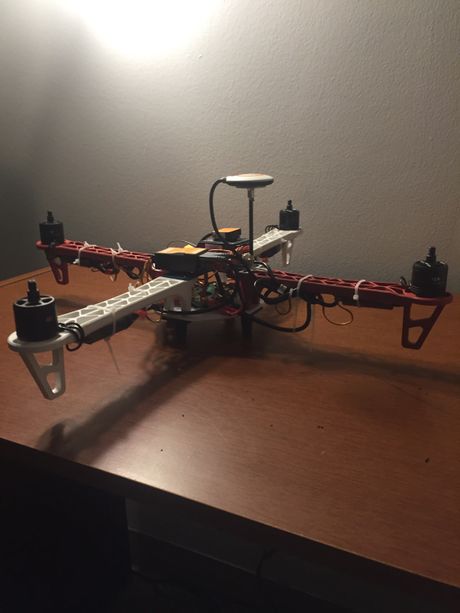 Create a viewing folder of the design. Save all the files you created into a zip folder (a zip folder is best because with it, you can easily upload your file to NX to view the assembly). You can use the finished design in the future to 3D print the parts and make the quadcopter suitable for flying.