Table of Contents
Photoshop can export a document as PNG or JPEG without replacing the editable PSD. Use PNG when you need transparency, sharp interface graphics or lossless compression; use JPEG for photographs that benefit from a smaller file.
PNG vs JPEG
| Feature | PNG | JPEG |
|---|---|---|
| Transparency | Supported | Not supported |
| Compression | Lossless | Lossy |
| Best for | Logos, screenshots, icons, graphics with hard edges | Photographs and continuous-tone images |
| Animation | A normal Photoshop PNG export is static | Static |
Export a PNG
- Make sure any area that should be transparent displays the checkerboard. Hide or remove an unwanted background layer.
- Choose File > Export > Export As, select PNG, and enable Transparency if required. You can also use File > Save a Copy and choose PNG.
- Confirm the dimensions, scale and color-space options, then choose a new filename and export location.
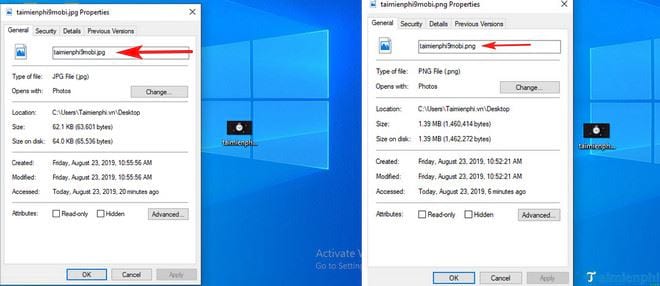
- Open the exported PNG to verify transparency, edges and final size.
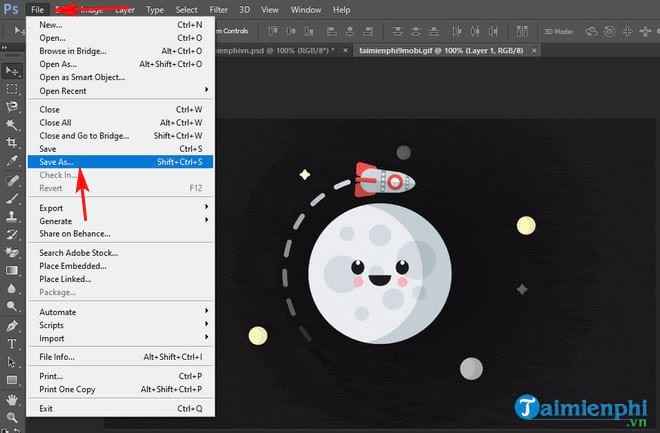
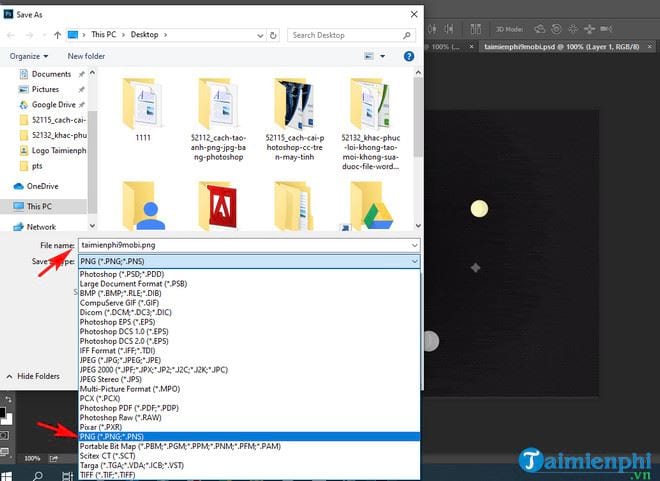
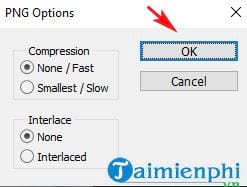
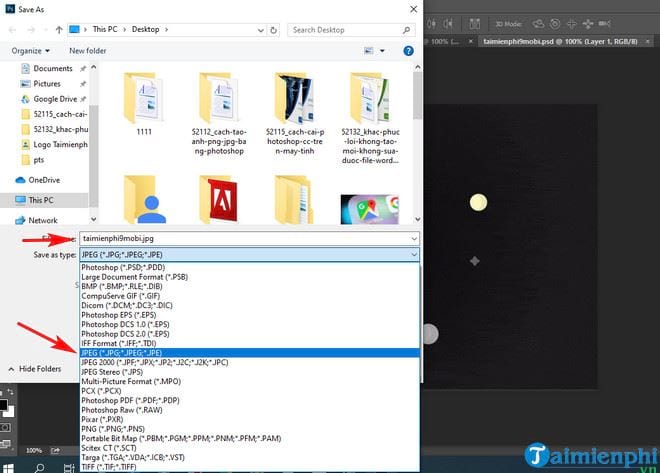
The legacy screenshots use File > Save As. Depending on the Photoshop version and document features, PNG or JPEG may instead appear under Save a Copy or Export.
Export a JPEG
- If the document contains transparency, add or confirm the background color you want. JPEG cannot store transparent pixels.
- Choose File > Export > Export As or File > Save a Copy, then select JPEG.
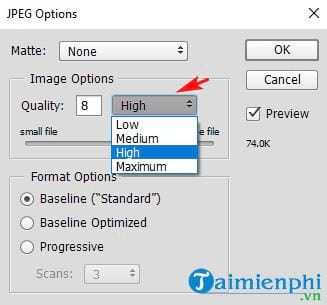
- Choose a quality level while previewing both file size and visible artifacts. Use the lowest setting that still looks clean at the intended display size.
- For common web use, convert to sRGB when appropriate and retain copyright metadata only if you need it.
Important limits
- Layers: PNG and JPEG are delivery formats; save a PSD or PSB master if you need editable layers.
- Animated GIF input: exporting an animated document as PNG or JPEG creates a still image, not an animation.
- Repeated JPEG saves: each lossy re-encoding can introduce more artifacts. Return to the master file for a new export.
- Unexpected format list: document bit depth, color mode or unsupported features may limit available formats. Save a master copy before converting.
Export many files at once
For a batch, choose File > Scripts > Image Processor. It can create JPEG copies, resize them, and apply sRGB conversion consistently. Test the settings on a few files before running a large folder.
Adobe's Save a Copy guide explains the current non-destructive save workflow, while its graphics-format reference covers JPEG details. For related tasks, learn about creating animated images, compare beginner-friendly photo editors, or follow the Photoshop print-export guide.
Related Articles
 How to Create GIF Animations in Photoshop5 minutes read
 How to Create a Snowman in Photoshop3 minutes read
 How to Create SVG from PNG or JPG in Photoshop4 minutes read
 How to Integrate Images into Text on Photoshop5 minutes read
 How to Split Photos with Photoshop: Edit Photos11 minutes read
 Instructions for Creating Animated GIF Images in Adobe Photoshop12 minutes read
Reader Comments 0
Sign in with email or Google to join the discussion.