Table of Contents
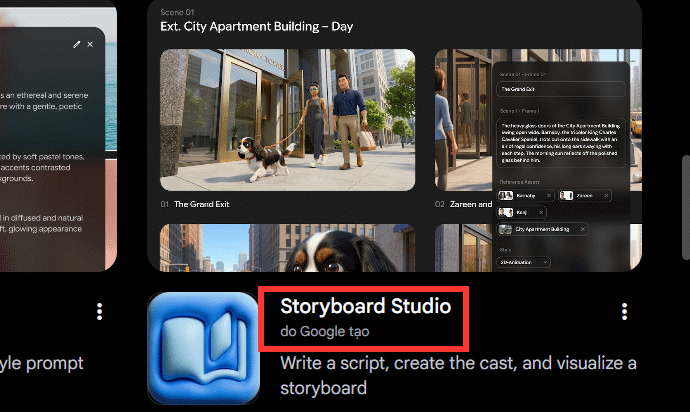
Google Flow's Storyboard Studio turns a written script into a visual sequence of scenes. You can define the story, generate a cast and locations, choose how many images each scene needs, and then review the complete storyboard before using the assets elsewhere in Flow.
Before you begin: Sign in to Google Flow and create a project. Tool access, credits, and interface details may vary by account, subscription, platform, and region. If you need help shaping the initial script, these ChatGPT prompt templates offer a useful starting point.
How to create a storyboard in Google Flow
1. Open Storyboard Studio
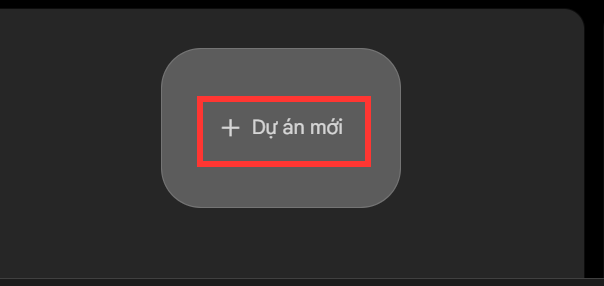
Go to Google Flow, create a new project, and open Tools from the left side of the workspace.
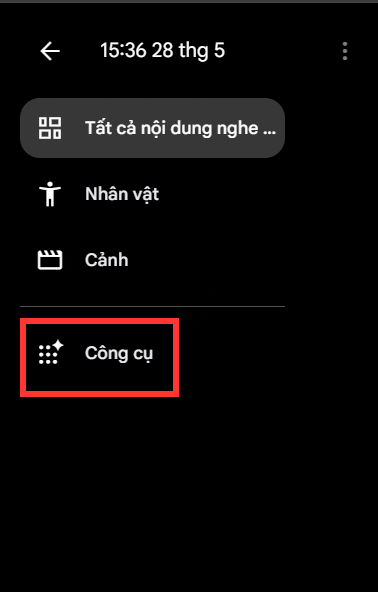
Scroll to the Prompting section and select Storyboard Studio.
2. Prepare a scene-by-scene script
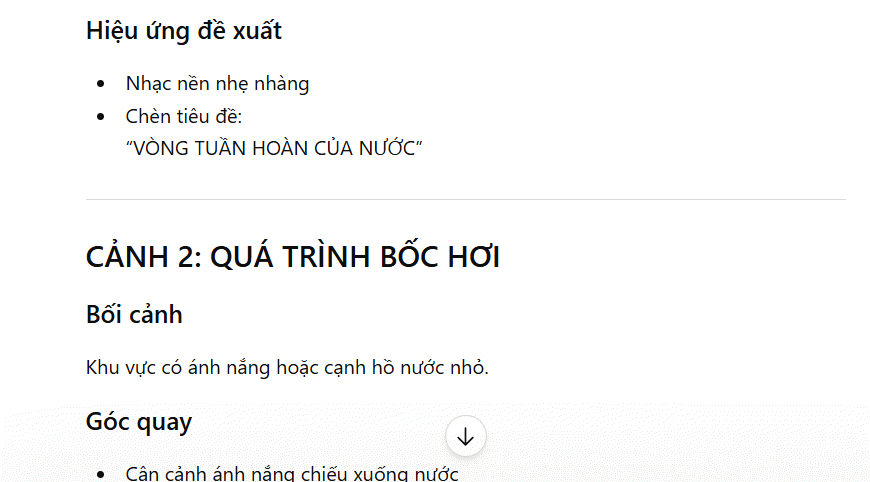
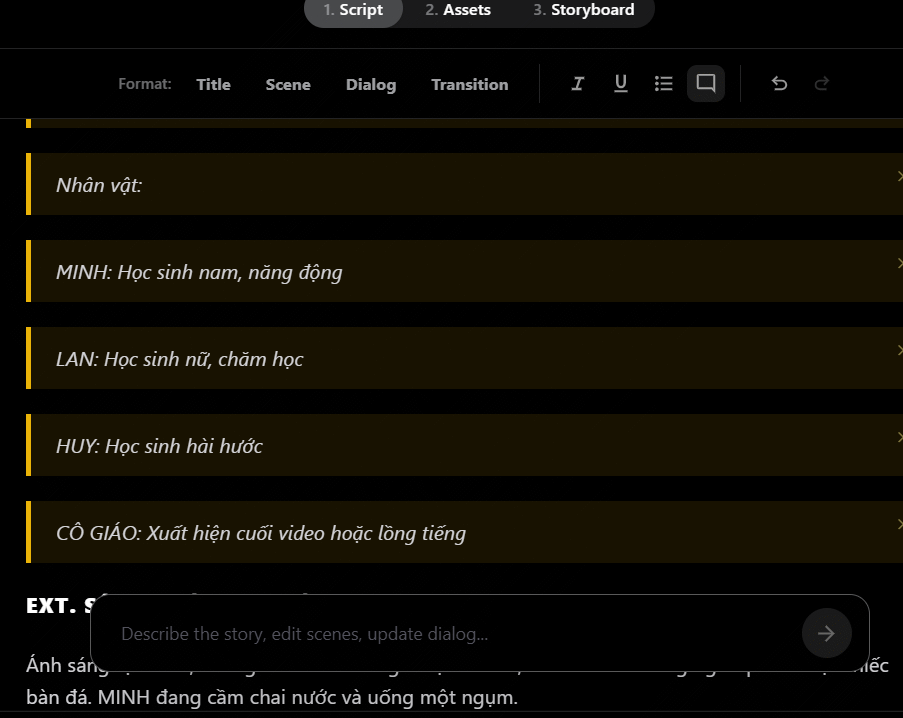
Write or generate a short script that clearly separates the story into scenes. Each scene should state the action, setting, characters, and any important camera or mood instructions. The original workflow shown below uses ChatGPT to draft the script, but you can also write it yourself or use another writing tool.

Review the generated script before copying it. Correct character names, remove repeated details, and make sure the scene order is logical; a clean input gives Storyboard Studio a better structure to work from.
3. Add the script to Storyboard Studio
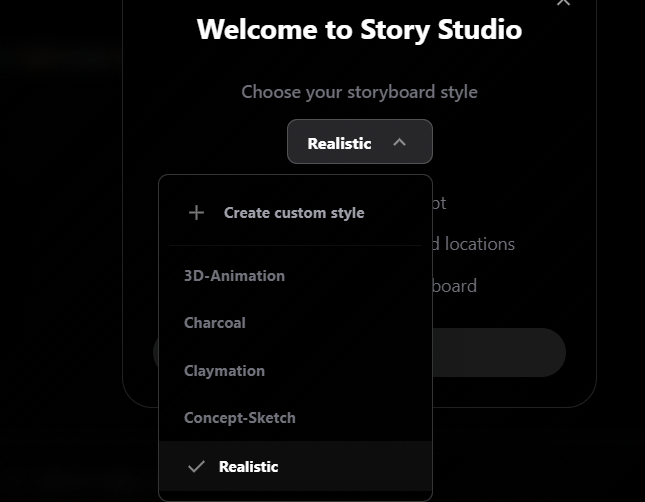
In Storyboard Studio, choose a visual style and click Get Started. Paste the full scene-by-scene script into the prompt area, then submit it.
4. Generate characters and locations
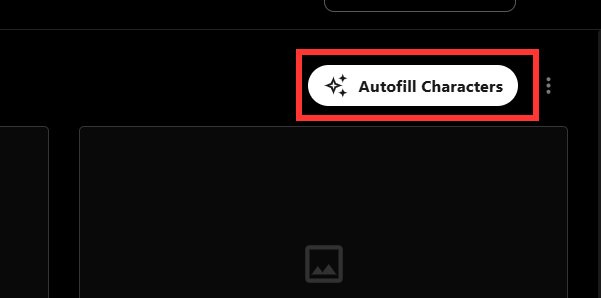
Open Assets, then select Autofill Characters to create a cast from the script. Review the results before continuing so the same character is represented consistently across scenes.
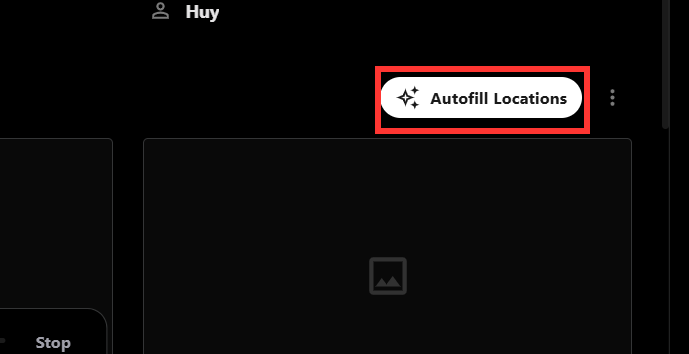
Next, select Autofill Locations to generate the backgrounds and settings identified in the script.
5. Generate and review each scene
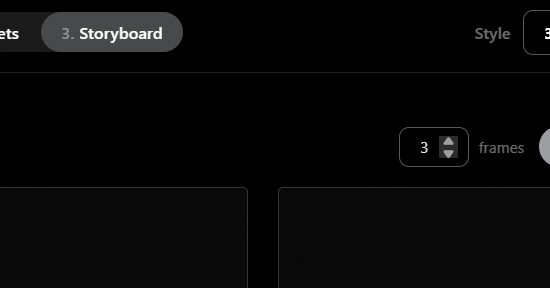
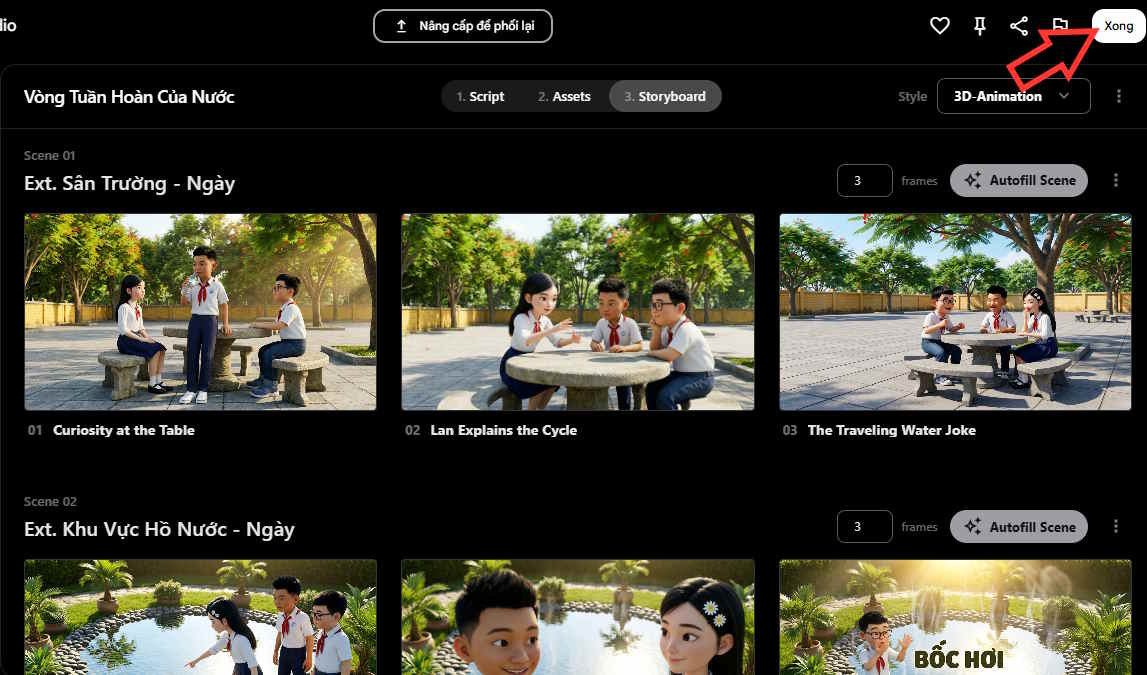
Open Storyboard to see the scenes created from your script. Choose the number of images required for each scene, then use Autofill Scene to generate the visuals.
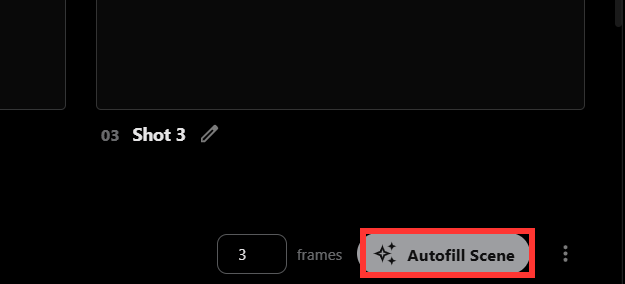
Check the generated sequence for continuity: characters should look consistent, locations should match the script, and the framing should support the action. Regenerate individual results if necessary. When the sequence is ready, click Done to save the storyboard images.
6. Use the storyboard assets in Flow
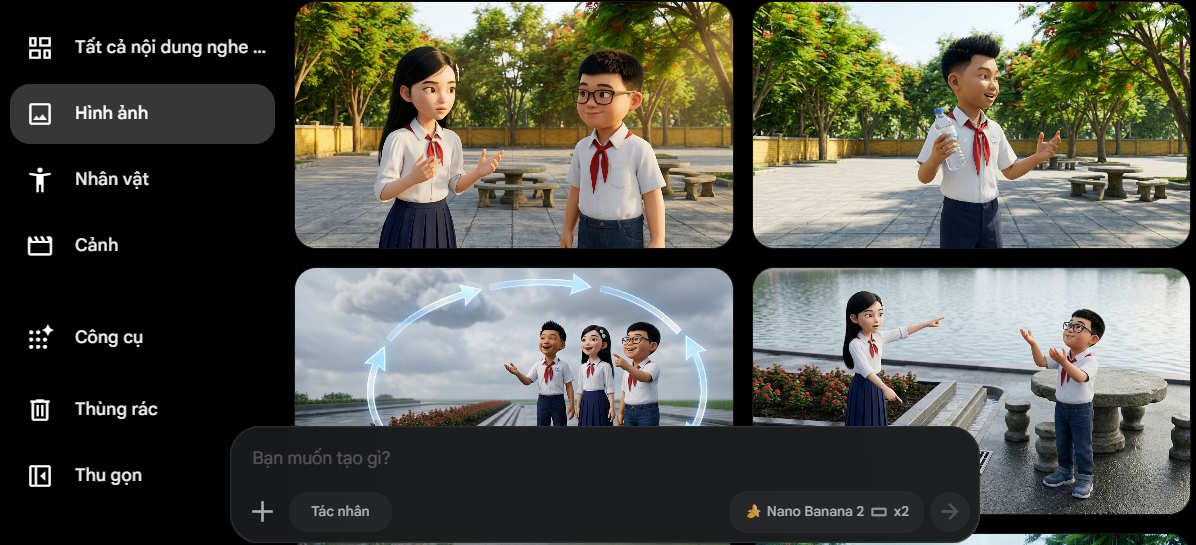
Open the Images section in Flow to find the saved results. You can now use these images as planning references or as source assets for a video workflow. For other approaches and tools, see this comparison of AI video creation tools.
Related Articles
 How to Create a Video from Photos Using a Storyboard on Flow4 minutes read
 How to Create AI Videos Shot with Drones on Google Flow: Step-by-Step Guide5 minutes read
 How to Create a Video from a Single Image Using Google Flow3 minutes read
 How to Combine Photos Using Google Flow3 minutes read
 How to Create a Dialogue Video from Just Two Images Using Google Flow6 minutes read
 How to Create Your Own Video Editing Tools Directly on Flow?4 minutes read
Reader Comments 0
Sign in with email or Google to join the discussion.