Table of Contents
This updated guide examines File: How to Convert Mov to Mp4 and Hd Mp4 with Quicktime Pro 7 and organizes the essential facts, background, and practical takeaways in clear American English.
Method 1of 3:
Renaming the File
 Open the folder containing the MOV file. The quickest way to change an MOV file to MP4 is to simply change the extension. MP4 is a subset of the MOV format, so no conversion is actually necessary.[1]
- This will work on any operating system, and doesn't require any additional software. This is especially useful because QuickTime 7 Pro is no longer available for sale, and this method is free.
 Make sure extensions are displayed (Windows only). Windows may be hiding the extensions of your files. The extensions will need to be visible to change them.
- Windows 10 and 8 - Click the "View" tab at the top your Explorer window and check the "File name extensions" box.
- Windows 7 and earlier - Open the Control Panel and select "Folder Options." Click the "View" tab and uncheck "Hide extensions for known file types."
 Right-click on the MOV file and select"Rename." This will allow you to change the name of the file, as well as the extension.
 Change.movto.mp4at the end of the file name. When you press↵Enteror⏎Return, you'll be prompted to confirm that you want to change the extension.
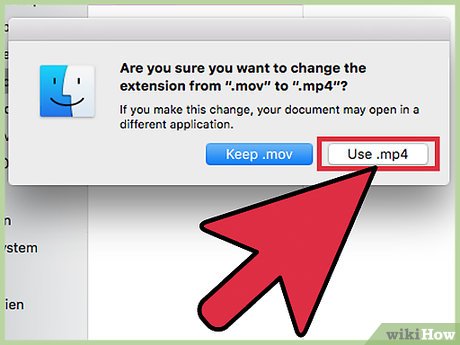 Confirm that you want to change the extension. Your operating system will warn you that changing the file name can make the file unreadable. You can ignore this warning and proceed.
- In macOS, click "Use.mp4" in the window that appears.
- In Windows, click "Yes" in the window that appears.
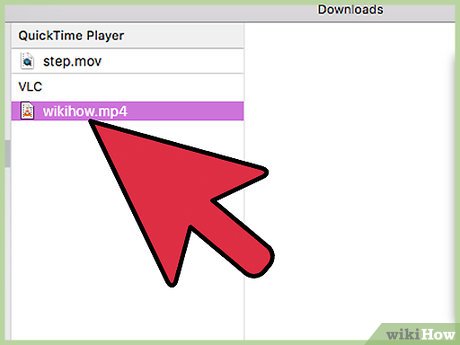 Test out your file. Double-click the renamed file to confirm that loads in your media player. The file is now in MP4 format, and will work with any player or device that supports it.
- You can always change the extension back to.mov to revert it to its original form.
- This will work for 99% of MOV files you come across. If this doesn't work, see one of the following methods.
Method 2of 3:
Using QuickTime 7 Pro
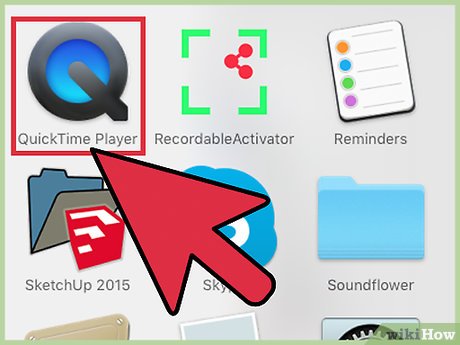 Install QuickTime 7 Pro. It is no longer possible to activate QuickTime Pro from within the QuickTime Player included in macOS. You'll need to download the older version of QuickTime 7 and then enter your Pro registration key to activate Pro features.
- Download QuickTime 7 from Apple and install it. You can download it here.
- Open the Utilities folder and launch QuickTime Player 7.
- Click the "QuickTime Player 7" menu and select "Registration."
- Enter your Pro registration key to unlock the Pro features.
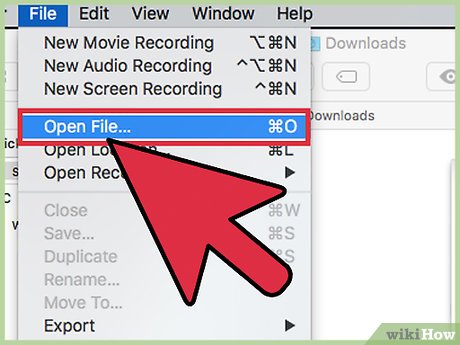 Open the MOV file in QuickTime 7 Pro. Since the MOV file will default to open in QuickTime Player X, you'll need to right-click it, select "Open With," and then select QuickTime 7 Pro.
 Click the "File" menu and select"Export." This function requires a registered version of QuickTime Pro.
 Click the "Export" menu and select"Movie to MPEG-4." This will allow you to save the video in MP4 format.
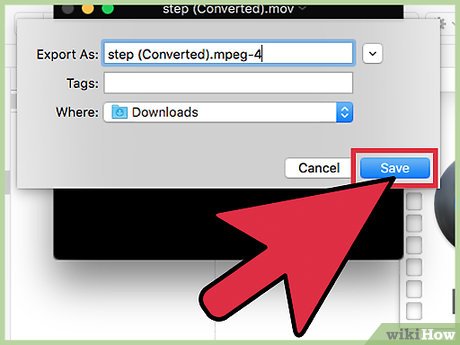 Click "Save" to make an MP4 copy of the file. The file will export to MP4, which may take a few minutes for larger movies.
Method 3of 3:
Using Adapter
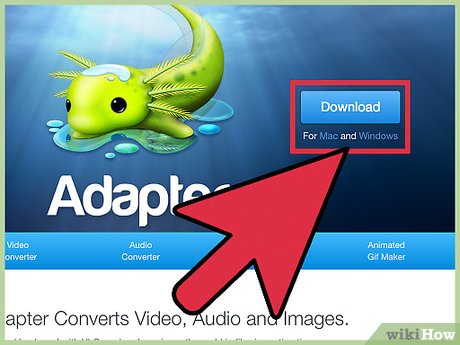 Download and install Adapter from Macroplant. This is a free, ad-free program that will convert your video files into different formats. It is available for Windows and Mac. You can download it frommacroplant.com/adapter/.
- After downloading the installer, run it to install Adapter. You can leave the settings at their defaults. Make sure to keep the "FFmpeg" installation option enabled, as this is required for converting videos.
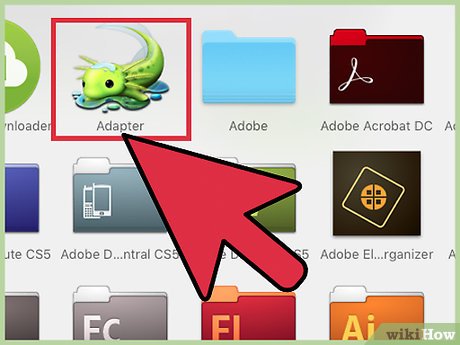 Launch Adapter after installing it. You'll find it in your Start menu (Windows) or in your Applications folder (Mac). It may have started automatically after installation finished.
 Drag your MOV file into the Adapter window. This will add it to the conversion queue. You can also click the "Browse" button in Adapter and navigate to the file.
- Sometimes Adapter may say "Error" when adding a file. Just right-click the file and select "Remove" and then try adding it again. This will usually fix the problem.
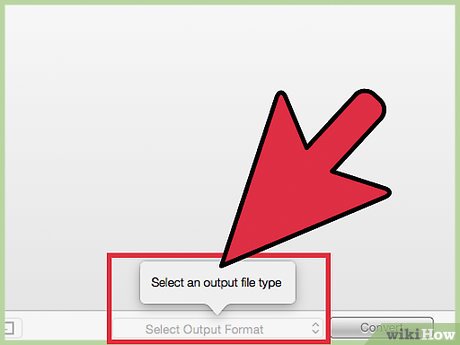 Click the drop-down menu at the bottom of the Adapter window. This will let you choose different formats to convert to.
 Select "Video" → "General" →"Custom MP4." Alternatively, if you're converting the file for a specific device, you can select it from the Video menu instead.
 Select your quality settings (optional). After selecting Custom MP4, you'll see several options appear in the right frame of the window. The "Quality" dropdown menu in the "Resolution" section can be changed to "Very High (Lossless)" to preserve the original video quality.
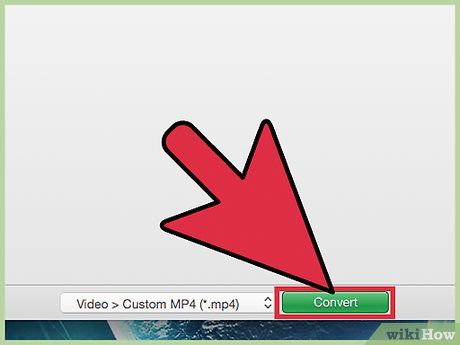 Click "Convert" to convert the MOV file to MP4. The time this takes will vary depending on the size of the original video. By default, the new file will be located in the same folder with the same file name and the new MP4 extension. The original file will not be altered.
FAQ
What is File: How to Convert Mov to Mp4 and Hd Mp4 with Quicktime Pro 7 about?
It provides a structured overview of file, explains the main context, and highlights practical takeaways for readers.
Why does this topic matter?
Understanding the main concepts helps readers evaluate the issue, avoid common mistakes, and make better-informed decisions.
How should readers use this information?
Use the guidance as a practical starting point, confirm details that may have changed, and follow current product, safety, or security recommendations.
Related Articles
 How to Convert MOV to MP4 and HD MP4 with Quicktime Pro 7: Clear Instructions8 minutes read
 How to Uninstall QuickTime on Windows2 minutes read
 How to Record Videos with QuickTime Player on Mac5 minutes read
 How to Join Videos on macOS Using QuickTime Player5 minutes read
 Why Can't QuickTime Player Open Videos? Find Out Now: Main Insights7 minutes read
 Convert PDF to Word, Convert PDF Files for Free12 minutes read
Reader Comments 0
Sign in with email or Google to join the discussion.