How to configure color temperature in GNOME Night Light
You may already know that screens from electronic devices emit blue light, fooling the user's brain into thinking it is daylight. This can disrupt sleep, cause eye strain, and is certainly unhealthy. This is not too unfamiliar in today's life at work and school, where people look at a computer screen 8 hours a day.
Activate GNOME Night Light
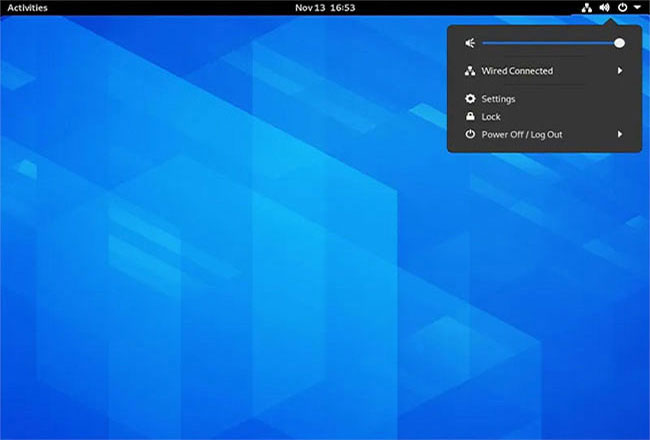
It's easy to activate GNOME Night Light. Find GNOME Settings in the upper right corner, then click the 'Displays' icon. At the top of the pop-up window, click the submenu for Night Light.
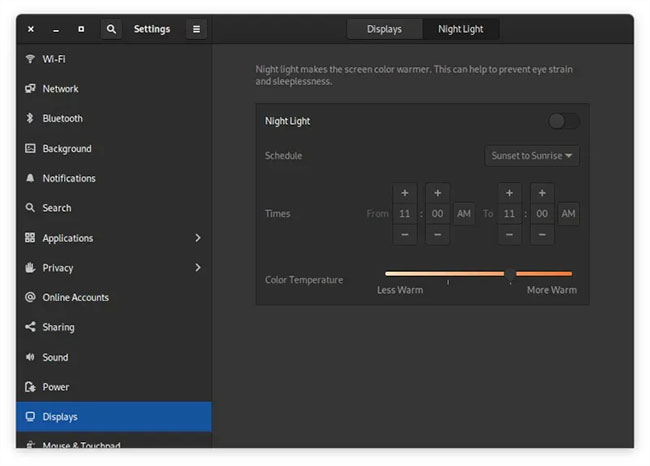
To turn Night Light on, click the toggle button to put it on the On state.
To schedule Night Light, you have two options. First, you can click on 'Sunset To Sunrise'. This option uses the clock on your computer to approximate when the sun rises and sets, and turns on Night Light between after sunset and before sunrise the next day.
If you want to set the time manually, you can do that too. Just click that button and use the two controllers below to adjust the time. Remember that GNOME uses a 24-hour clock by default. To change that, go to the 'Date and Time' section of the settings app and change '24 -hour 'to' AM / PM '.
Adjust the color temperature in GNOME Night Light
You can manually set the 'temperature' of the color that GNOME Night Light sets for your monitor. If you've ever used LED bulbs, you are probably familiar with the concept of color temperature. Lower temperatures are generally warmer and more red in color. The higher temperature is in the blue / white spectrum. The aim here is to move the screen down to a lower, redder temperature.
To do that, all you have to do is move the small slider at the bottom of the screen. Unfortunately, it is difficult to show you the color difference, as it doesn't actually change the color of the pixel, it just changes the warmth of the color. Here are some pictures taken on the screen of the article author. They aren't of great quality but do help illustrate how much control you can control the color settings with.
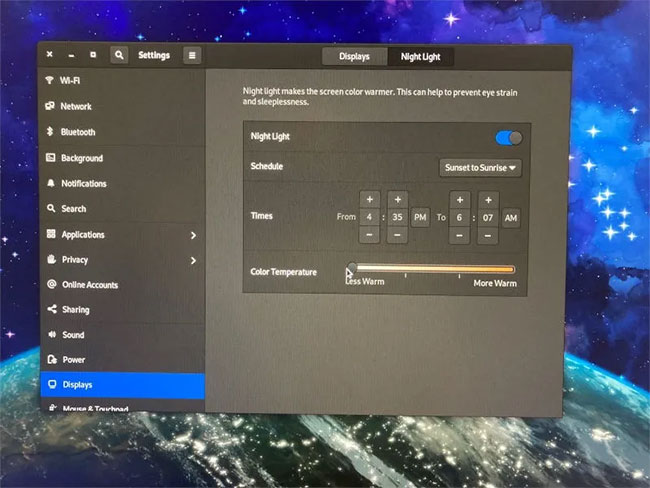
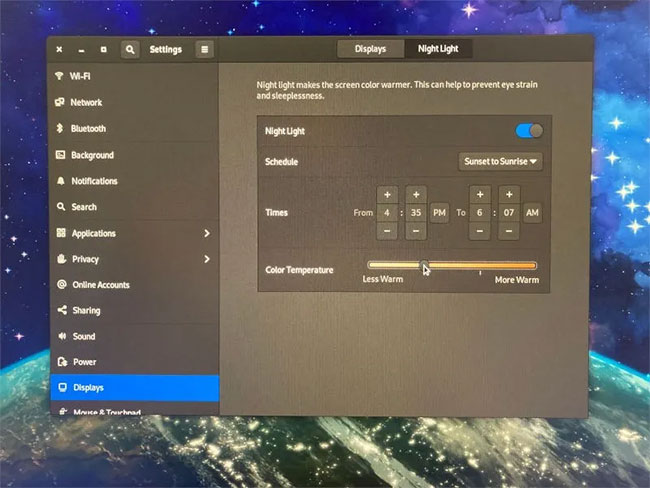
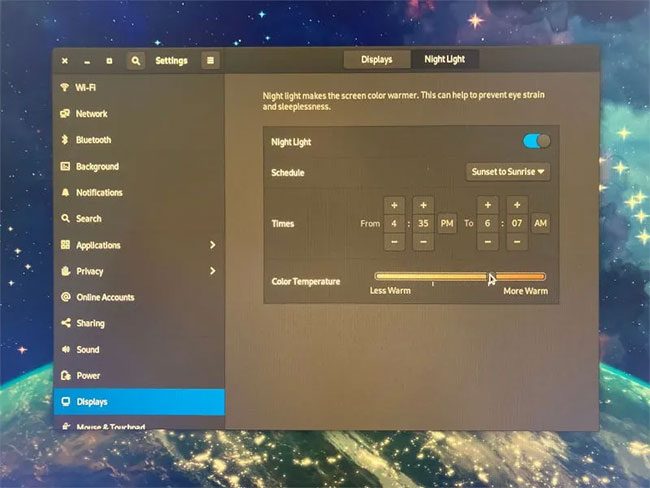
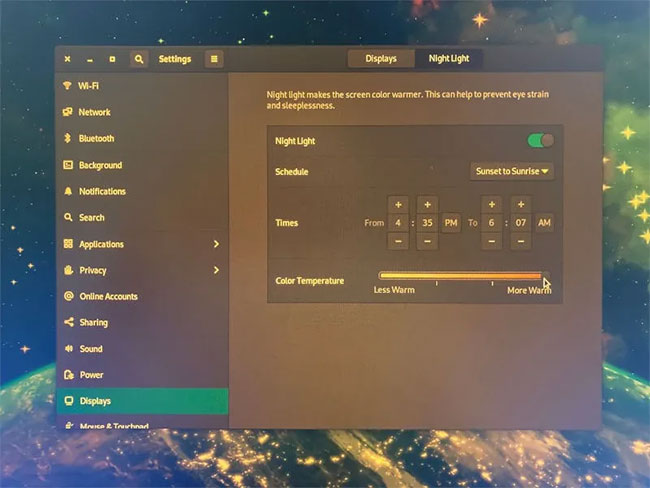
Usually the warmest color setting will be a bit excessive. You can try to set the settings as shown in the illustration and see if they match.
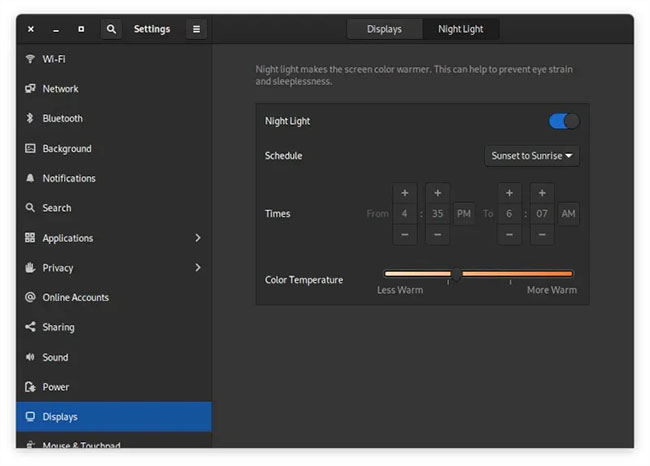
You should experiment with different degrees of warmth in your most used applications and see which looks best. On predominantly white apps, you may be more sensitive to the warmth of the light, as it can make your app look more orange. However, you can adjust the colors to a warmer level for dark applications without affecting the experience.