How to clean the laptop heatsink fan
How often should you clean the laptop fan?
Cleaning every 6 months should be enough to keep your laptop cool and running at peak performance (if using compressed air). If you plan to take it apart, do so only when absolutely necessary to avoid the possibility of damaging or creating problems when reassembling the parts.
How to clean the laptop heatsink fan without removing it
The best way to clean the laptop cooler fan without taking it apart is to use compressed air. Compressed air is cheap, readily available, providing the safest and easiest ways to remove dust and debris from your laptop without taking it apart.
Do not use your mouth to blow into the vents because moisture and liquid can get inside the laptop.
Step 1. Turn off your laptop and unplug it from the charger. If possible, remove the laptop's battery.
Step 2. Locate the fan vent (s) on the laptop. They are usually on the underside, but can also be located differently, depending on the laptop type and model. If in doubt, refer to the machine's instruction manual or the manufacturer's website.
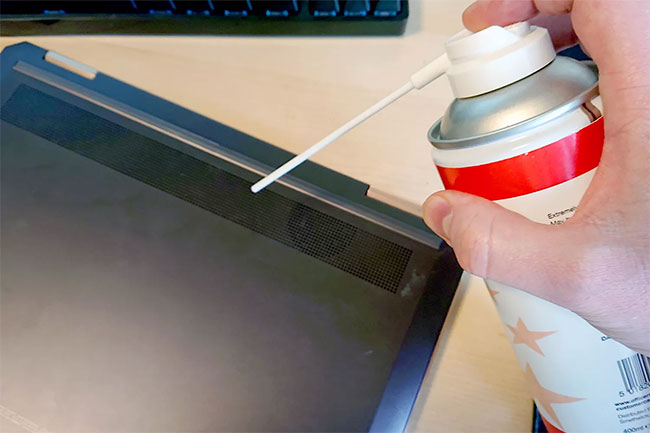
Step 3. Direct the nozzle of compressed air into the vent, but do not push it deep inside, but just spray quickly to create short air jets. Switch to another vent and do the same. If possible, blow compressed air directly into the blades.

Note:
Spraying long air blows has the potential to cause condensation due to the low temperature of the expanding air, so only short and quick air sprays.
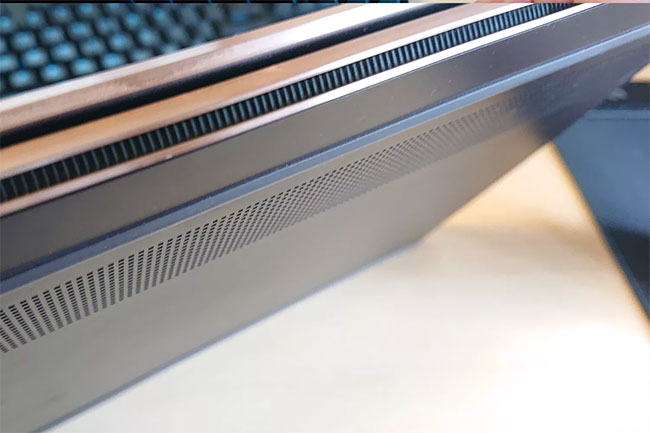
Step 4. If your laptop fan is particularly dirty or dusty, you can also blow compressed air through the air vent. They are usually on the side or back of the laptop, but depends on the model.

Blow compressed air through the air vent if the fan becomes too dirty
The next time you turn on your laptop, you can see some dirt coming out of it. For a deeper cleaning, turn it off and repeat the steps above.
How to clean a laptop heatsink fan without compressed air
If you don't have compressed air or want to avoid generating extra waste by disposing of used air cans, you can clean the laptop heatsink without it. Note, however, that this method is much more manual and involves dismantling of laptop components, which may void the warranty and risk permanent damage to the machine. Proceed only if you are working on a computer that does not contain valuable data or if you feel confident in fixing it.
Step 1. Like above, please turn off your laptop and unplug it from the charger. If possible, remove the laptop's battery,
Also, use the motherboard user manual or the manufacturer's website for disassembly instructions.
Step 2. Locate the screws on the bottom of the laptop and remove them.
Step 3. Remove the protective plate below, taking care not to damage any ribbon cables (remove them first if necessary).
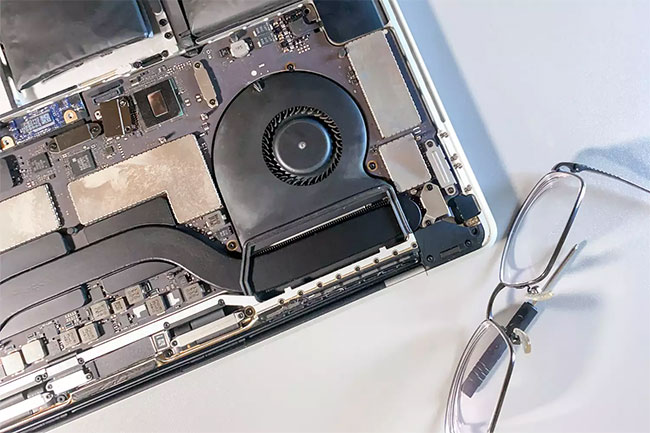
Step 4. Locate the laptop heatsink fan and if you can reach it, use a lint-free cloth to remove dust visible to the naked eye.

If your laptop has an accessible heatsink, use the same cloth to remove any dust that gets on it.
Step 5. Reattach the rear guard, with all appropriate screws and cables.