Table of Contents
This practical guide explains how to change hdr settings on smart tv for better picture quality. Follow the steps in order, review the requirements first, and use the troubleshooting notes when a setting or option does not work as expected.
Make sure you're actually watching HDR content

You've set up your new HDR TV and are looking forward to seeing every show come to life in vivid, lifelike detail. But before you get into the settings and tweaks, there are a few important things to check: Are you actually watching HDR content?
Streaming services like Disney+ often label HDR shows and movies with HDR or Dolby Vision labels. If you don't see those labels, you're probably getting SDR (Standard Dynamic Range) quality, no matter how sharp it is. You might also want to check your subscription plan, as some platforms reserve HDR streaming for higher-tier subscribers.
But content isn't the only factor here. Your streaming device needs to support HDR output, too. Whether it's a streaming stick, a console, or a built-in app on your TV, it needs to be able to send an HDR signal. Older or cheaper devices may only handle HD, so checking your device's specs can save you from wondering why the picture isn't what you expected.
Turn on HDR and use an HDR-compatible HDMI input
Next, dig into your TV's settings to make sure HDR is turned on. Many TVs don't turn it on by default, especially on certain HDMI inputs. If you're using an external device, like a streaming stick or game console, it needs to be plugged into an HDR-capable HDMI port, as some ports aren't designed for it.
Check your TV's manual or the label near the ports to find the HDR-compatible ports, which are usually marked HDMI 2.0, HDMI 2.1, or sometimes HDMI (ARC) with HDR written on it. If you're not sure, take a quick look at your TV's manual or brand's website to see exactly which ports support HDR.
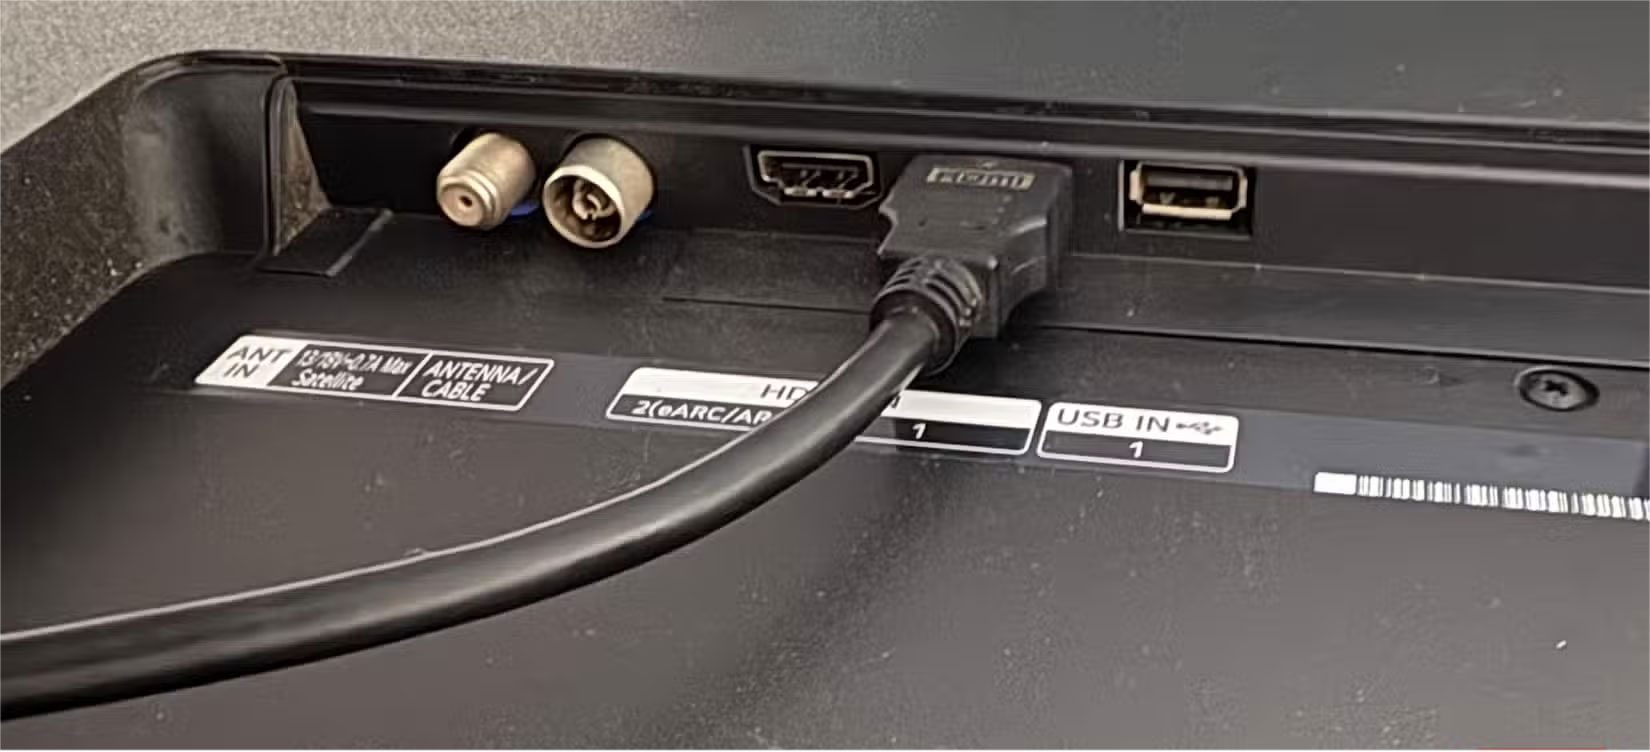
Once you've plugged in your device, go into your TV's settings and look for options like HDMI Deep Color, Enhanced Format , or Input Signal Plus , then enable them for the ports you're using. On an LG TV, for example, you'll find this option under Settings > General > External Devices > HDMI Settings > HDMI Deep Color .
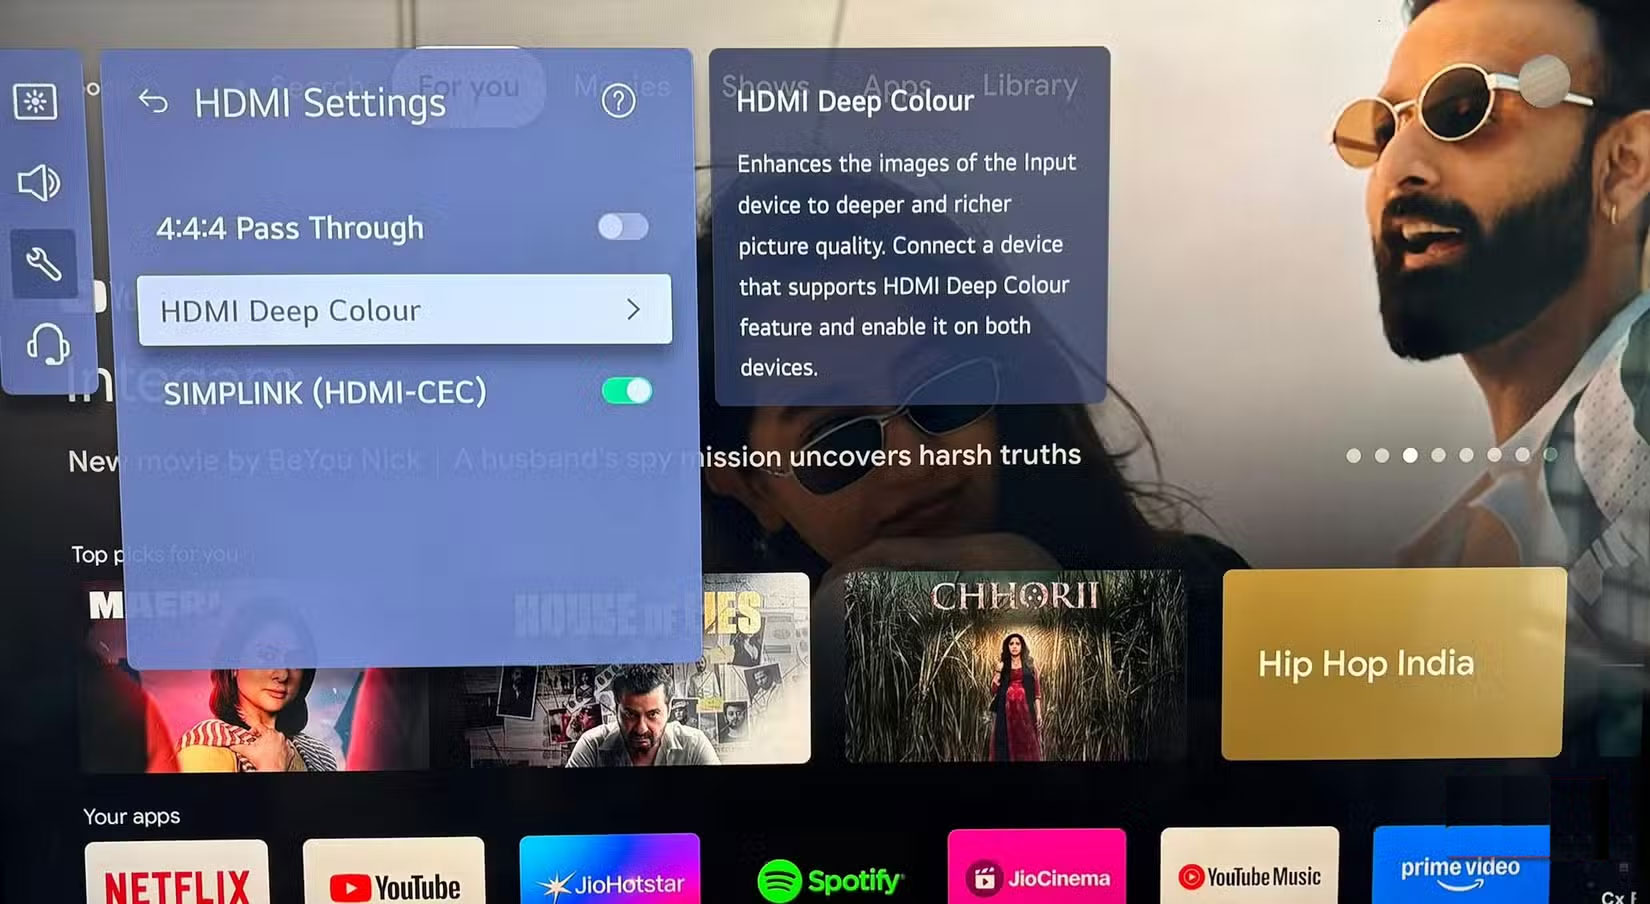
Other brands use slightly different names. Samsung often labels it HDMI UHD Color , Sony calls it Enhanced Format , and some models may simply list it as HDR Mode . If you can't find it, do a quick Google search for your TV model and the keywords 'enable HDR input' to get you in the right direction.
Finally, make sure your connected device is set to output HDR. Consoles like the PlayStation and Xbox offer an HDR option in their video settings that must be enabled. Without this option, even if your TV is fully configured, you'll only get standard dynamic range and miss out on the brighter highlights and deeper shadows that HDR offers.
Use a certified high speed HDMI cable
HDMI cables may seem like an afterthought when setting up a TV, but they're actually a crucial part of making HDR work properly. HDR content requires more bandwidth than standard video due to its higher brightness levels, deeper contrast, and wider color gamut. If the cable can't handle this extra load, HDR may not be enabled or the picture may not look as impressive.
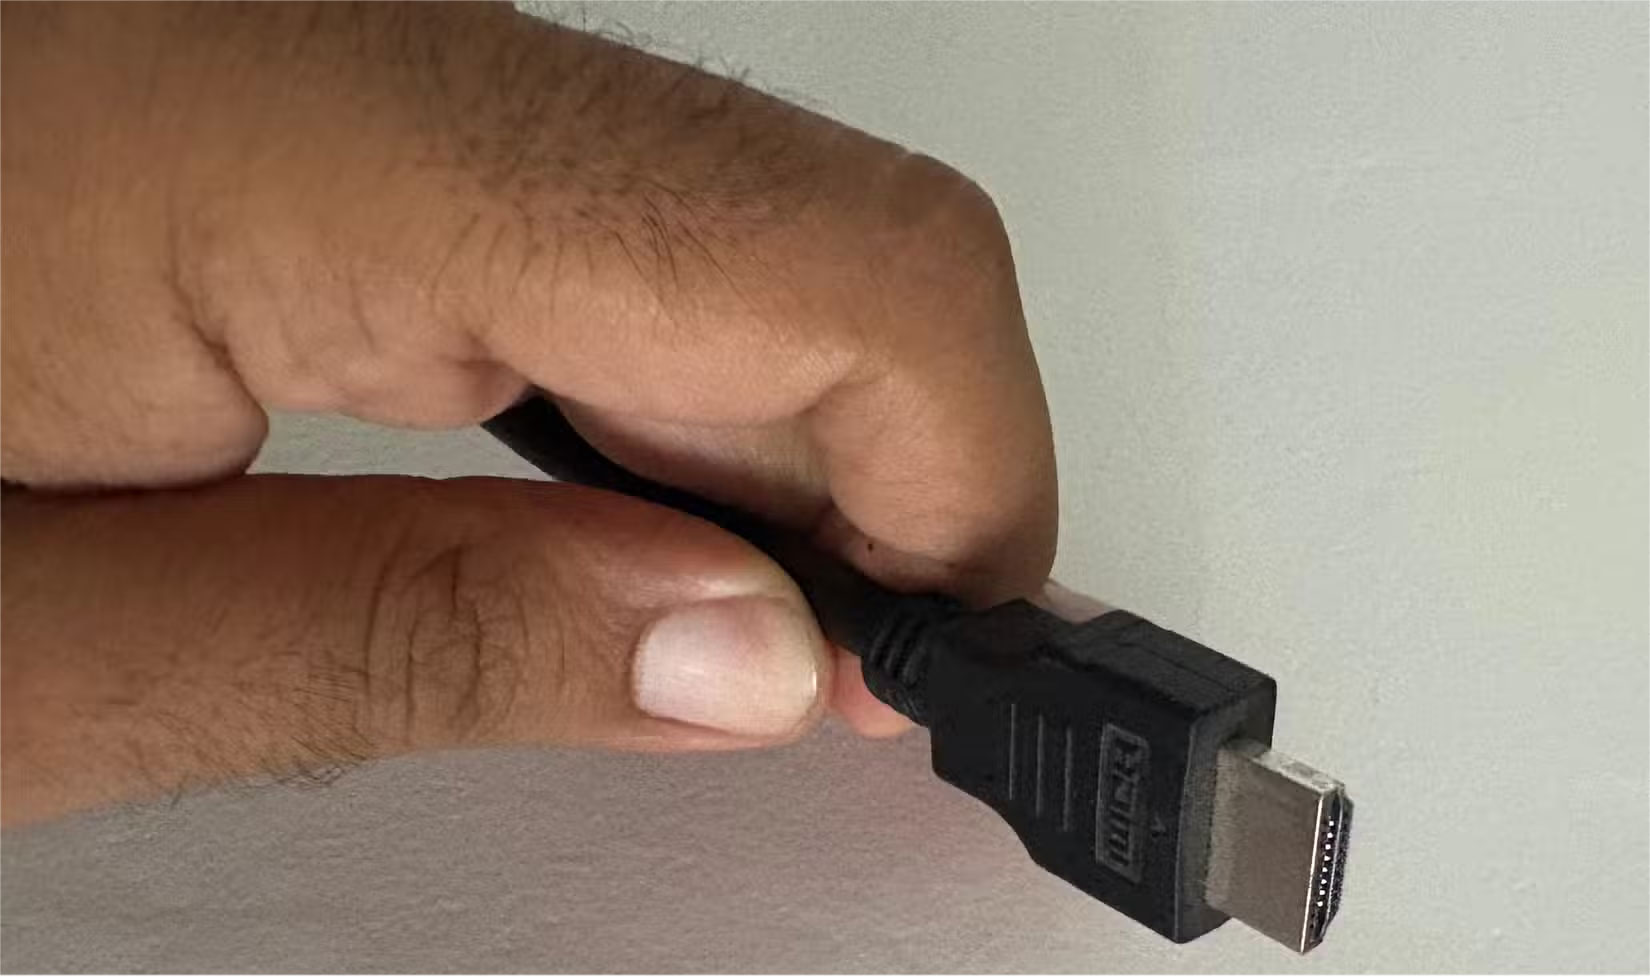
To watch HDR content in 4K at 60Hz, you'll need a premium High Speed HDMI cable. These cables are certified to handle at least 18Gbps of bandwidth, which HDMI 2.0 requires for smooth HDR playback. They're ideal for formats like HDR10 and Dolby Vision, ensuring you get the detail, brightness, and color depth these standards promise.
If you're gaming on a next-gen console and want features like 4K at 120Hz, Variable Refresh Rate, or Auto Low Latency Mode, you'll need an ultra-high-speed HDMI cable. These cables support up to 48Gbps on the HDMI 2.1 standard, making them ready for high-frame-rate gaming while ensuring your setup can handle upcoming display standards.
To ensure you're buying a quality cable, look for an official certification label. Premium high-speed cables should have an 18Gbps certification label, while ultra-high-speed cables will include an 'Ultra-High Speed Certified Cable' hologram and QR code on the box, confirming they meet the standards for reliable HDR setups.
FAQ
What should you know about make sure you're actually watching HDR content?
You've set up your new HDR TV and are looking forward to seeing every show come to life in vivid, lifelike detail. But before you get into the settings and tweaks, there are a few important things to check: Are you actually watching HDR content?
What should you know about turn on HDR and use an HDR-compatible HDMI input?
Next, dig into your TV's settings to make sure HDR is turned on. Many TVs don't turn it on by default, especially on certain HDMI inputs. If you're using an external device, like a streaming stick or game console, it needs to be plugged into an HDR-capable HDMI port, as some ports aren't designed for it.
What should you know about use a certified high speed HDMI cable?
HDMI cables may seem like an afterthought when setting up a TV, but they're actually a crucial part of making HDR work properly. HDR content requires more bandwidth than standard video due to its higher brightness levels, deeper contrast, and wider color gamut. If the cable can't handle this extra load, HDR may not be enabled.
Related Articles
 Settings to Adjust for Better Picture Quality on TV: Complete Guide8 minutes read
 How to Improve Smart TV Picture Quality by Replacing HDMI Cable9 minutes read
 Change These 5 Settings to Make Your Smart TV More Private Instantly!6 minutes read
 How to Change DNS Settings on Smart TV6 minutes read
 4 Ways AI Is Making Smart TVs Better: Complete Guide6 minutes read
 Stop Using Your TV's Default Picture Settings: Explained7 minutes read
Reader Comments 0
Sign in with email or Google to join the discussion.