How to build an Android tablet with a Raspberry Pi
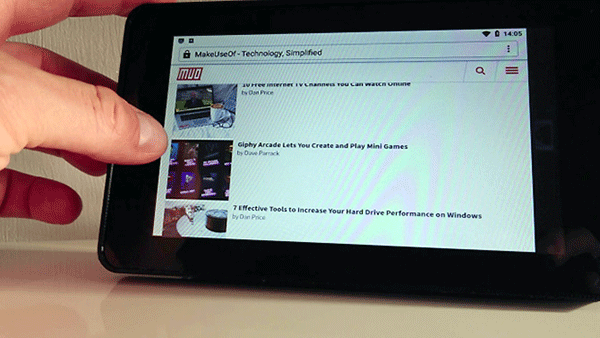
If the process of building your own quad-core tablet is intriguing and finding commercial options is beyond your financial means, then with a Raspberry Pi, some cases are 3D printed, the battery has rechargeable and touch screen, you can build your own Android tablet.
Instructions to build Android tablet with Raspberry Pi
- You can build an Android tablet yourself!
- Essential parts for the Raspberry Pi tablet
- Two Android options on Raspberry Pi 3
- LineageOS 8
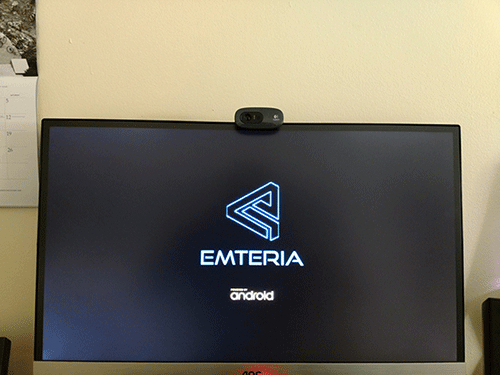
- EmteriaOS
- Connect and check the Raspberry Pi touch screen
- Build Android Raspberry Pi tablet
- WebOS on the Raspberry Pi
You can build an Android tablet yourself!

Incredibly, you can actually build your own tablet.
With a heart of a Raspberry Pi and a matching touch screen, all you need to add is a power controller, a rechargeable battery, and a matching frame (which can be anything, made out of a puzzle). LEGO or a 3D printing solution).
A popular community-funded project in early 2018 called Raspad, achieved over 6000% of the target funding level. Using a Raspberry Pi in a tablet for many seems like the logical next step for a single-board computer (SBC).
All you need is planning, some equipment and a little determination. The total cost is less than $ 100 (VND 2,300,000). Sounds interesting, right? What if someone told you that the Raspberry Pi could run Android or another touch-focused operating system?
Essential parts for the Raspberry Pi tablet
For basic builds, you will need:
- Official Raspberry Pi 7 '' touchscreen (including 200mm ribbon cable)
- Raspberry Pi 3B or B +
- 16GB memory card
- Adafruit PowerBoost 1000C charger
- 2500mAh Lithium Ion Polymer battery
- SPDT sliding circuit switch
You will easily find these items on Amazon or other similar online sales sites.
Also, you will need a 3D printed case. While your own designs are great, consider the options available. For tablets here, the article used the STL file for DrV Donable's Raspberry Pi tablet project (see link: https://www.thingiverse.com/thing:1503651 ).
You should print the case yourself or pay to be done by a professional 3D printing service.
In addition to all this, make sure you have:
- An iron soldering machine
- Types of screwdrivers (or a single head with variable heads)
- Wire cutting pliers
- Hot glue gun
With a few wires and screws (check the notes for your 3D printing project), you'll be ready to continue. You should also have a handy, clean towel, to place the touch screen face down to prevent scratches.
Two Android options on Raspberry Pi 3
Although some Android versions may be installed on the Raspberry Pi, you will need a compatible version for the touch screen. The following two major builds of Android are well worth a look.
LineageOS 8
The best option for this project is the Raspberry Pi version of LineageOS 15.1. Based on Android 8.1.0, this is not the latest version, but it has the best support for the official Raspberry Pi touch screen.
LineageOS 8 is a branch of CyanogenMod. This is an open source project, providing pretty good Android experience. Note that it has some shortcomings: Bluetooth does not work on 3B + and you may have a problem with Netflix. Most games will work, but not in 1080p.
- Download LineageOS 8.
EmteriaOS

Amazingly, other Android versions for the Raspberry Pi are available. One of the options you can take a closer look at is EmteriaOS. This version is available for free or with a device license of € 19 (nearly VND 500,000). Note that the free option has a screen that doesn't look very modern and the reboot is done every 8 hours.
EmteriaOS comes with its own installation tool.
- Download EmteriaOS (Registration required).
Connect and check the Raspberry Pi touch screen
Connecting the Raspberry Pi 3 to the official touch screen is very simple.
The video above illustrates the basic connection process. Should be tested before assembly is complete. You can even take the time to install one of the Android versions first, just to make sure everything works.

Take a moment to turn off, then separate the Pi and its screen before continuing.
Build Android Raspberry Pi tablet
After following the steps above, you have everything you need. Android tablet powered by Raspberry Pi, ready to build.
The following steps are based on building a tablet using the 3D printing case of DrV Donable. Other projects will have similarities.
- Put the Raspberry Pi touch screen in its case. Align the screw holes properly with the holes in the screen.
- For mounting brackets, fix screws to the case and mounting holes.
- Reconnect the Raspberry Pi to the screen as above.
- Secure the Raspberry Pi in the case with screws.
- Similarly, attach the PowerBoost so that the USB port fits into the hole in the case. You can even install batteries (hot glue guns are the best option in this case).

- Run the wire from pin 2 on Pi's GPIO, solder it to the + of PowerBoost.
- Run the second wire from pin 6 on the GPIO to the top - of PowerBoost.
- For two of the pluggable wires of the Pi monitor, connect the 4 5V pin on the Pi to 5V and the 9 GND pin to the GND on the display board.
- Solder the sliding circuit switch into PowerBoost, the middle pin with GND and one of the external batteries with EN. Fix the switch in case with a little glue.
- Finally, plug the battery into PowerBoost.
When you're done, attach the back of the tablet case to the screen cover. Plug the Pi through PowerBoost to charge the battery.

Android Raspberry Pi tablet is ready to use.
WebOS on the Raspberry Pi
You do not necessarily need to use Android as the Raspberry Pi tablet operating system.
Despite not having the abundance of available apps like Android, WebOS is a smart alternative. This was an operating system originally released by Palm in 2009. The sad thing is that it no longer exists (largely because the company lacks confidence and the acquisition of HP, without any problems. really any other). However, an open source version, LuneOS, has been ported to Raspberry Pi 3.
- Download LuneOS for Raspberry Pi.
Raspbian doesn't fit the touch screen experience, but now you should have (or have built) an Android tablet running the Raspberry Pi, with a few hours of charging and cost less than $ 100 (will cost a little more. if you have 3D components printed elsewhere).
If you want to have other projects with Raspberry Pi and Android, try building an Android TV box with Raspberry Pi for example.
Hope you are succesful.