Table of Contents
Brisk can create a first draft of lesson slides from a topic or source resource. The generated deck still needs a teacher's review: check the facts, reading level, sequence, image relevance, accessibility, and whether each slide advances the learning objective.
1. Open Brisk and set the class context
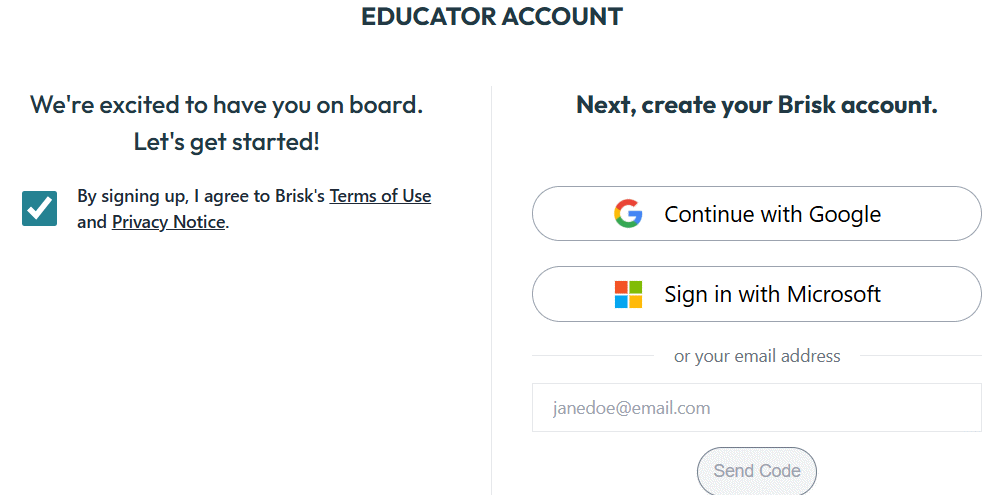
Go to Brisk Teaching and sign in with an account approved by your school.
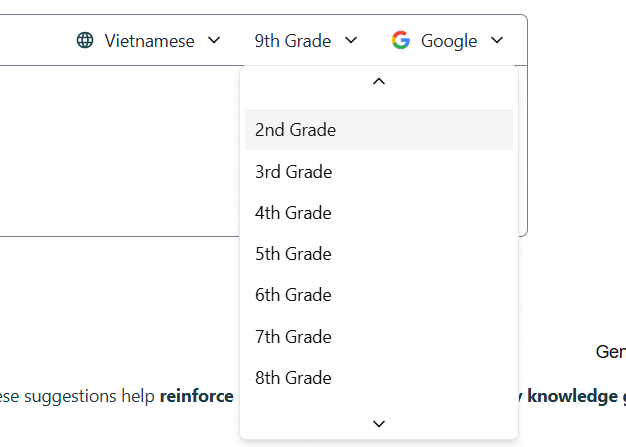
Select the content language and grade level shown in your interface. Treat these choices as generation instructions, not proof that every resulting sentence is suitable for that class.
2. Describe the lesson—not just the topic
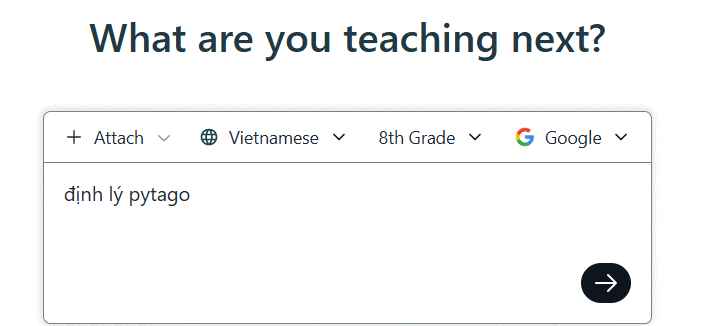
Enter the concept you want to teach. For a more useful result, add the learning objective, lesson duration, students' prior knowledge, and the source Brisk should follow. “Pythagorean theorem” is less useful than “Introduce the Pythagorean theorem to Grade 8 students, connect it to prior work on right triangles, and include two guided examples plus an exit question.”
When accuracy depends on a particular curriculum, article, video, or handout, create the presentation from that approved resource and tell Brisk not to add unsupported facts.
3. Choose Presentation and open its settings
Brisk may suggest documents, audio, interactive activities, assessments, and presentations. Select Presentation when a slide-based explanation fits the lesson.
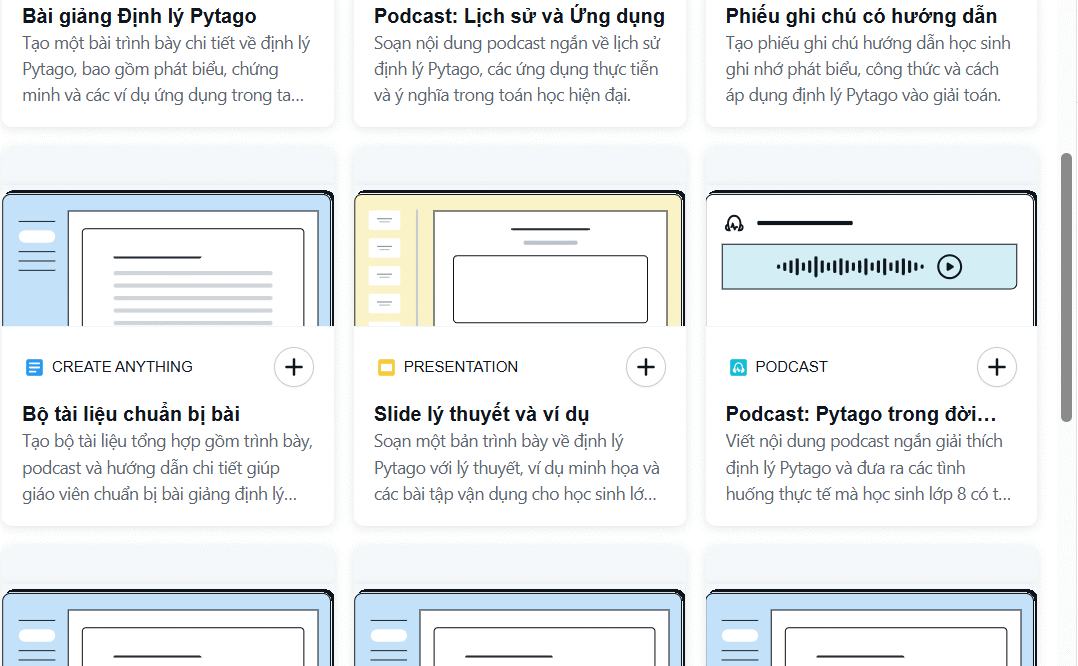
Use the edit or pencil control beside Presentation to review its generation settings.
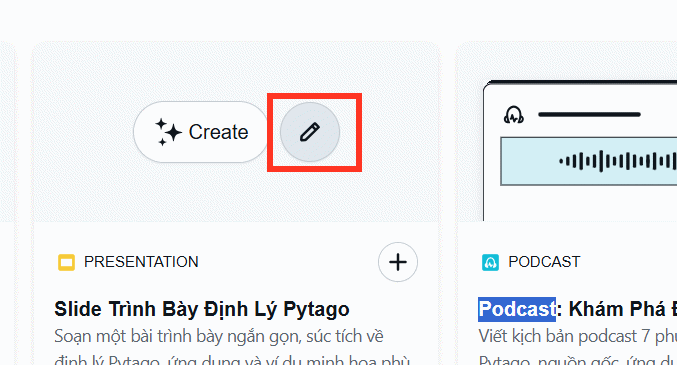
TipsMake's list of AI applications for teachers provides alternatives if Brisk does not match your school's workflow.
4. Refine the presentation instructions
Edit the prompt so it specifies the structure and evidence you want. A practical instruction is:
Create a concise lesson presentation for [grade and subject].
Objective: [observable learning objective].
Use only: [named source or supplied resource].
Sequence: retrieval question, explanation, worked example, guided practice, independent check, exit question.
Use short slide text and include speaker notes for explanations.
Flag any point that requires teacher verification.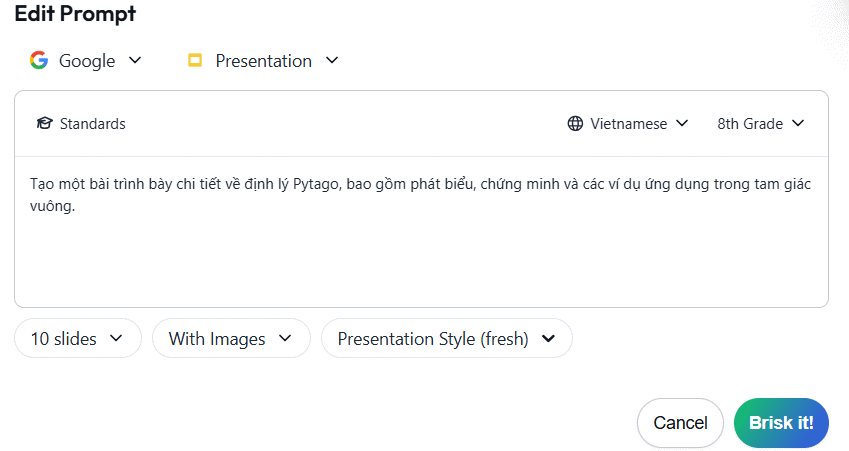
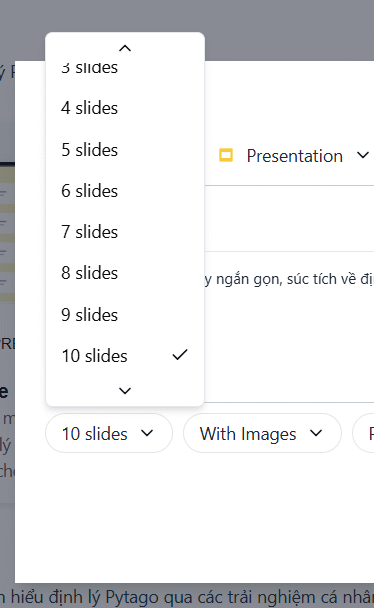
Choose a slide count that fits the teaching time. Fewer, purposeful slides are better than splitting one idea across many nearly empty screens.
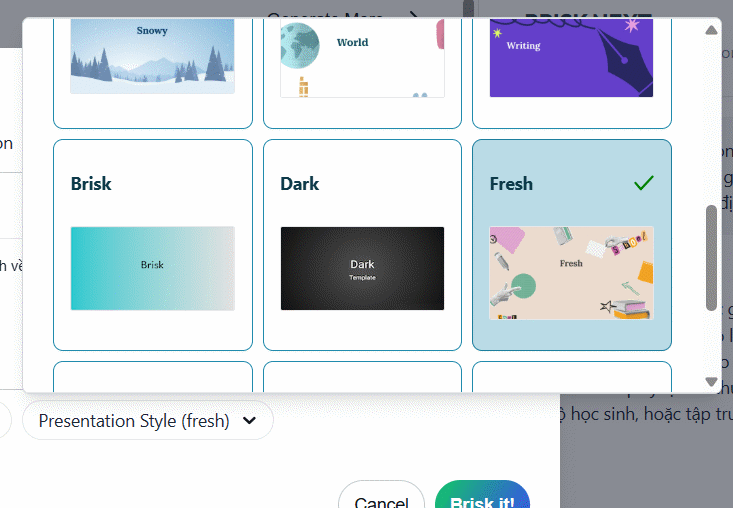
Select a clear presentation style or let Brisk propose one. Prioritize contrast, readable type, consistent layouts, and content visibility over decorative effects.
Select Create when the settings are ready.
5. Review the Google Slides output
Brisk may request permission to create or save the presentation in the connected Google Drive account. Review the permission request and use the school account intended for instructional files. Once the deck opens in Google Slides, edit it like any other presentation.
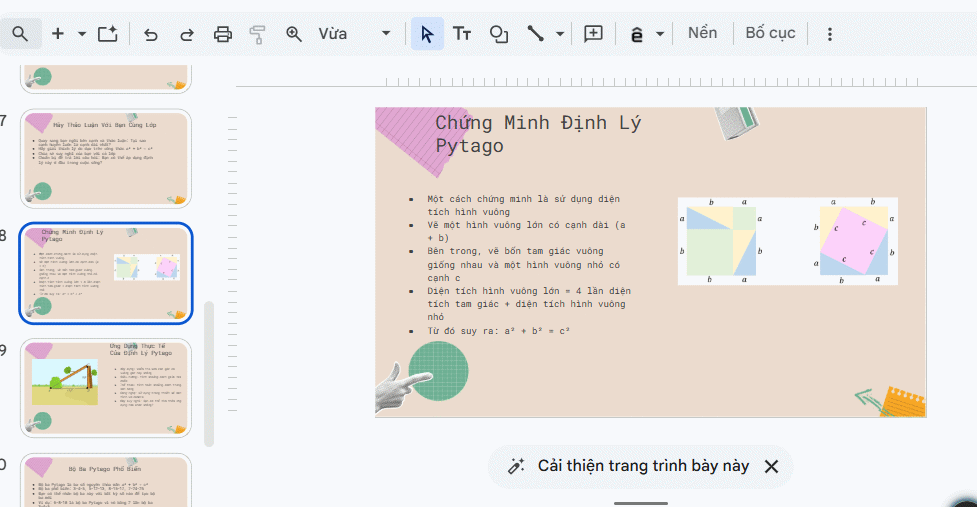
Check content and teaching sequence
- Verify every fact, formula, date, quotation, and answer.
- Confirm that examples match the stated objective and grade level.
- Remove repeated introductions, generic summaries, and unnecessary slides.
- Add the source or attribution required for text and media.
- Make sure students must think, respond, or practise—not only watch.
Check accessibility and delivery
- Use large, readable text and sufficient color contrast.
- Add meaningful alt text to instructional images.
- Do not use color alone to communicate an answer.
- Explain diagrams and videos aloud or in speaker notes.
- Test links, animations, embedded media, and presenter view.
If the lesson needs a video-style presentation rather than a standard deck, compare the workflow in TipsMake's guide to creating presentations with Google Vids.
Brisk can shorten the first-draft stage, but a deck is ready only when the teacher has checked its content and rehearsed how it supports the lesson.
Related Articles
 A Guide to Creating Presentation Slides Quickly Using Gemini4 minutes read
 Guide to Designing Lecture Slides Using Gemini4 minutes read
 Guide to Creating the Brisk AI Learning Assistant for Students5 minutes read
 How to Quickly Creating Multiple-Choice Questions Using Brisk3 minutes read
 How to Create Lesson Podcasts Using Brisk AI4 minutes read
 How to Create Voiceovers for Lecture Slides3 minutes read
Reader Comments 0
Sign in with email or Google to join the discussion.