Table of Contents
An effective lecture voiceover should explain the slide rather than read every bullet word for word. Start by creating a slide-by-slide script, check it against the source material, generate the narration with a text-to-speech tool such as Google AI Studio, and then place each audio segment on the correct slide.
Before uploading course material to any AI service, remove confidential student data and confirm that your institution permits the upload. AI-generated scripts can omit or invent details, so the instructor should review every line before producing audio.
1. Prepare the lecture file and narration plan
Make a copy of the presentation and decide how the narration will be delivered. A single audio file is convenient for a video export, while one file per slide is easier to synchronize and revise inside presentation software.
Note the target audience, subject, desired duration, pronunciation of names or technical terms, and the learning objective for each section. A useful pace leaves room for learners to inspect charts and examples rather than filling every second with speech.
2. Generate a draft script from the slides
Open ChatGPT or another document-capable assistant, attach the lecture file, and state exactly what the script must do. Ask for slide numbers and keep the source text nearby for comparison.
Create a slide-by-slide voiceover script for this [subject] lesson for [audience].
Target total duration: [minutes].
For each slide:
- explain the main idea in natural spoken language;
- describe essential chart or image information that is not obvious;
- preserve all formulas, units, dates, and definitions exactly;
- do not invent facts or references;
- include difficult-name pronunciations in brackets;
- output the slide number followed by narration only.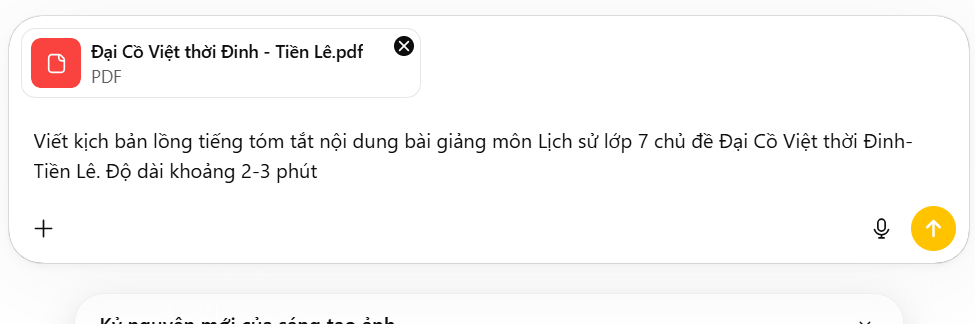
Do not ask merely for a “summary” if the recording must teach the full lesson. A summary can discard examples and transitions that students need.
3. Edit the script before creating audio
Compare the draft with every slide. Correct technical wording, trim repeated bullets, and add brief transitions such as “Now compare the two columns.” Spell out symbols only where hearing them is clearer than reading them.
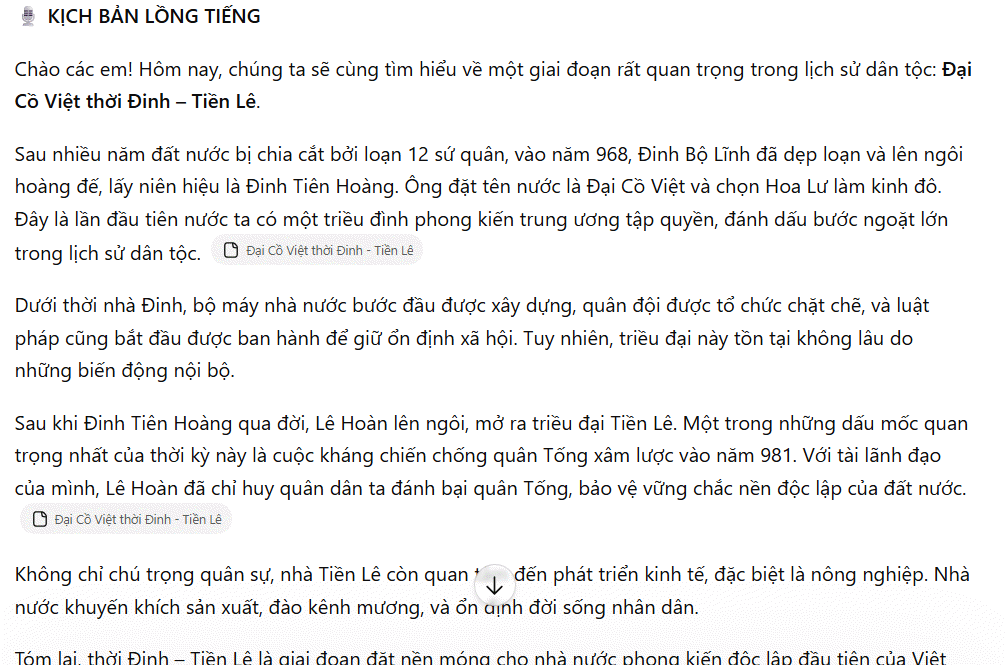
Read the script aloud once. This catches sentences that look acceptable on screen but are awkward to hear. As a rough planning method, time a representative paragraph in your own speaking voice rather than relying on a fixed words-per-minute formula.
For long lectures, divide the approved script into sections or individual slides. Google's current TTS guidance notes that voice consistency can drift in outputs longer than a few minutes, so shorter segments are also easier to regenerate.
4. Open text-to-speech in Google AI Studio
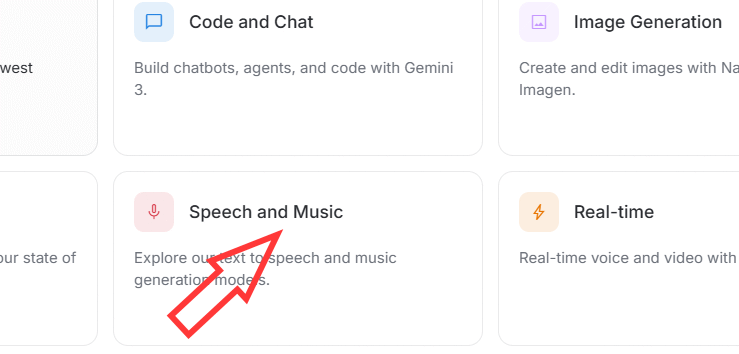
Go to Google AI Studio, sign in, and open its speech or text-to-speech workspace. Interface labels can change, but the model you select must accept text and produce audio.
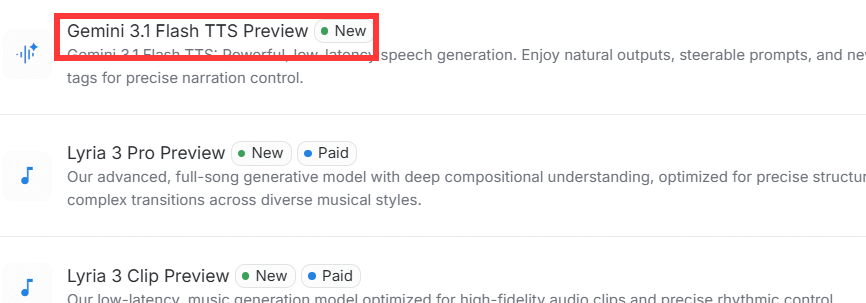
The current model list includes Gemini 3.1 Flash TTS Preview as well as Gemini 2.5 TTS preview variants. Because preview models can change, verify the supported choices in Google's text-to-speech documentation instead of depending on one model name permanently.
5. Direct the voice and paste the approved transcript
Select single-speaker speech for a standard lecture. Use multi-speaker mode only when the script genuinely contains a dialogue, and keep speaker names consistent between the transcript and voice settings.
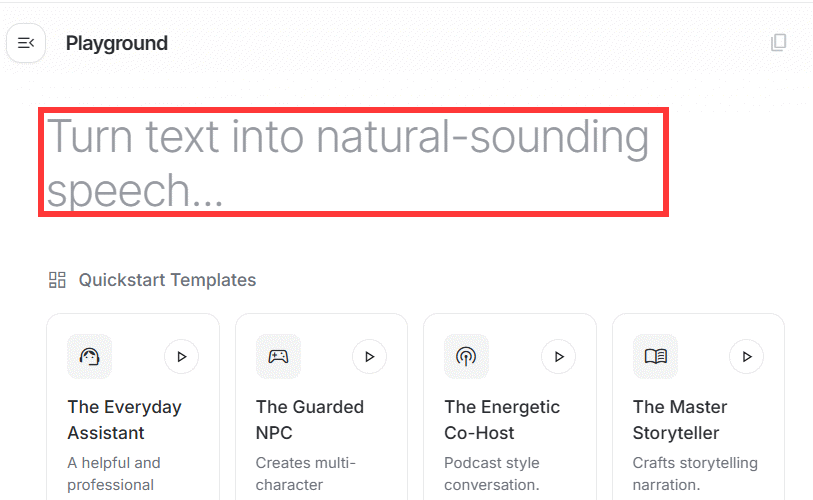
Give the model concise direction about pace, tone, and pronunciation. Put the performance notes before a clearly labeled transcript so the tool does not accidentally read the instructions aloud:
Synthesize the following lecture narration.

Style: clear, calm, and conversational
Pace: moderate, with a short pause between paragraphs
Pronunciation: [list any special pronunciations]
Do not add, remove, or paraphrase words.

TRANSCRIPT:
[paste the reviewed script for one slide or section]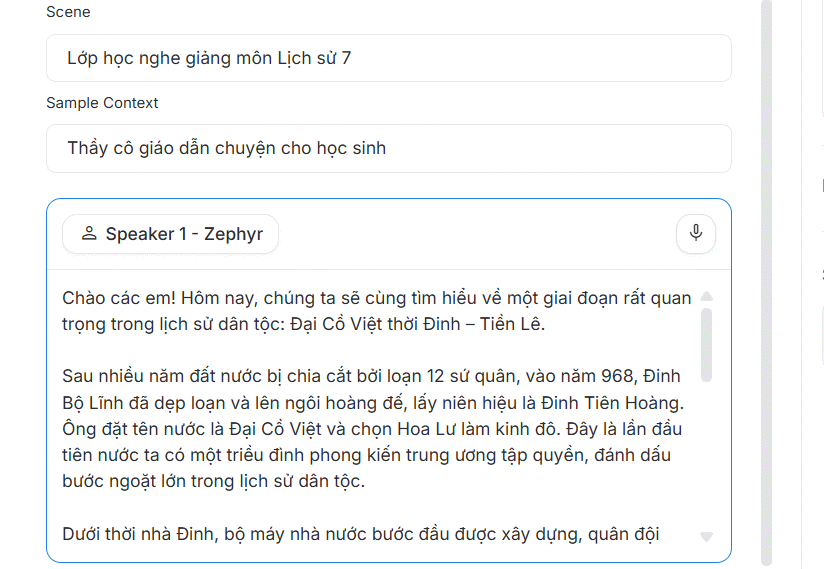
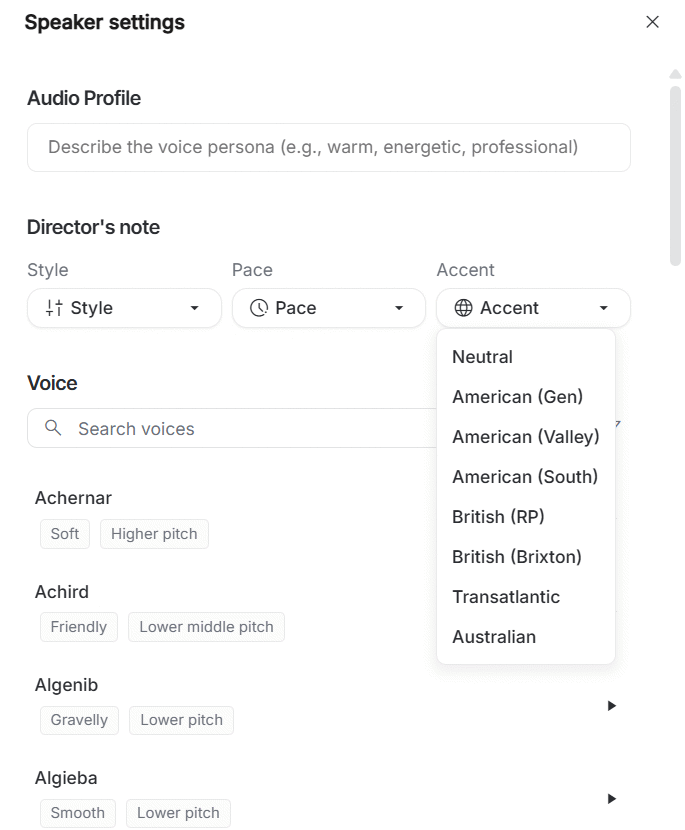
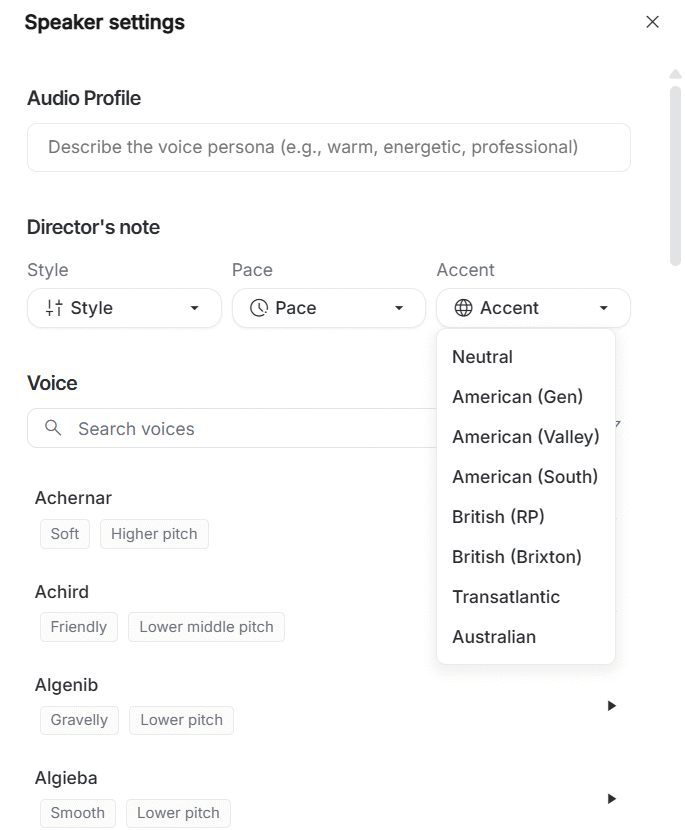
Choose a voice that remains clear at normal playback speed. Expressive direction can help, but excessive emotion, dramatic pauses, or an imitated accent can distract from instructional content.
6. Generate and review the narration
Select Run or the corresponding generation control. Listen with headphones and compare the output with the approved script. Check especially:
- names, acronyms, formulas, and units;
- unexpected omissions or added words;
- pace around diagrams or demonstrations;
- consistent volume and tone between segments;
- silence at the start and end of each clip.
If one sentence is wrong, correct the prompt or pronunciation and regenerate that short segment. Repeatedly editing a compressed audio file can reduce quality; regenerate from the script where practical.
7. Download and name the audio files
Preview the final result, then use the download control. Give each file a sortable name such as lesson-04-slide-01.wav, lesson-04-slide-02.wav, and so on. Keep the script and source presentation in the same project folder.
8. Add narration to the slides
PowerPoint
- Open the relevant slide and choose Insert > Audio.
- Select the matching narration file.
- Use the Playback options to start automatically if that suits the presentation.
- Move the audio icon outside the visible slide area or enable the option to hide it during the show.
- Run the slide show from the beginning and verify every transition.
Google Slides
- Upload the audio files to Google Drive and set appropriate sharing permissions.
- Choose Insert > Audio on the corresponding slide.
- Select the file from Drive and configure playback in the format options.
- Present the deck from a viewer account to confirm that the audio permissions work.
If you export the lecture as video, check the final video rather than assuming slide-preview timing will remain identical.
Accessibility and publishing checks
- Provide the edited transcript as captions, speaker notes, or a downloadable text alternative.
- Describe visual information that is essential to understanding the lesson.
- Do not use voice alone to communicate instructions that also need to remain visible.
- Confirm that you have permission to use all slide content and generated voices.
- Listen to the finished lecture on both speakers and headphones at normal speed.
- Keep the original slides and human-reviewed script so future corrections do not require starting over.
Related Articles
 A Guide to Creating Presentation Slides Quickly Using Gemini4 minutes read
 Guide to Designing Lecture Slides Using Gemini4 minutes read
 Guide to Creating Lecture Slides Using Brisk AI5 minutes read
 How to Convert PDF Test Files into Lecture Slides Using Gemini4 minutes read
 How to Create Presentation Slides on ChatGPT5 minutes read
 Instructions on Creating and Editing Slides Directly in Skywork AI5 minutes read
Reader Comments 0
Sign in with email or Google to join the discussion.