Guide to creating the Brisk AI learning assistant for students.
Brisk uses advanced artificial intelligence to simplify the most demanding and stressful parts of teaching, addressing the learning challenges and needs of each student..
Brisk uses advanced artificial intelligence to simplify the most demanding and stressful parts of teaching, addressing the learning challenges and needs of each student. Importantly, Brisk integrates seamlessly with tools like Google Docs, Google Classroom, and Canvas without requiring any additional applications or platforms. Below is a guide to creating a Brisk assistant for your students.
Guide to creating a learning assistant using Brisk
Step 1:
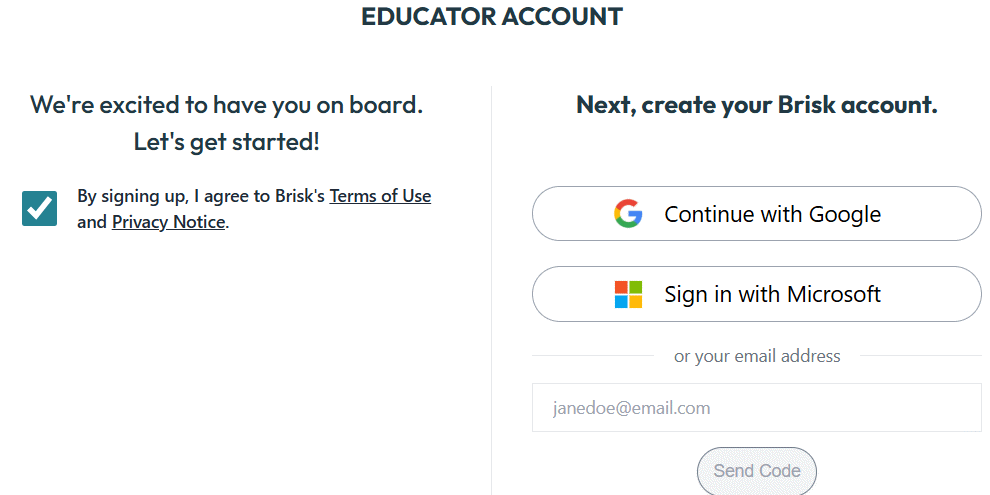
First, click on the link below to register for a Brisk account.
https://app.briskteaching.com/
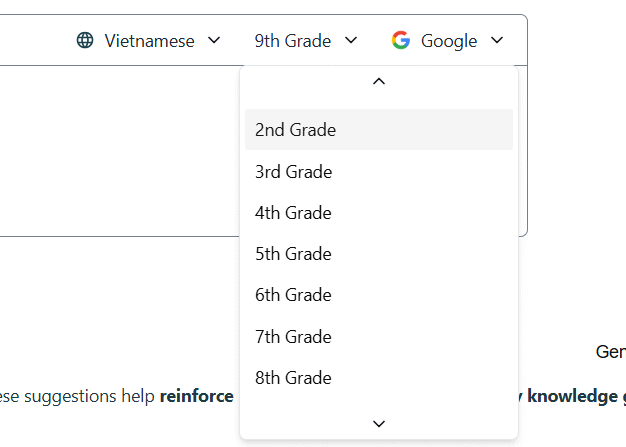
To access the main Brisk interface, you need to switch to Vietnamese and select the class block .
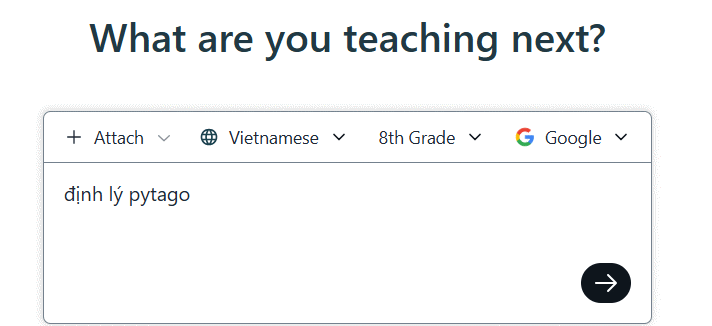
Next, in the chat box on the main interface, the teacher enters the topic for which they want to create content .
Step 2:
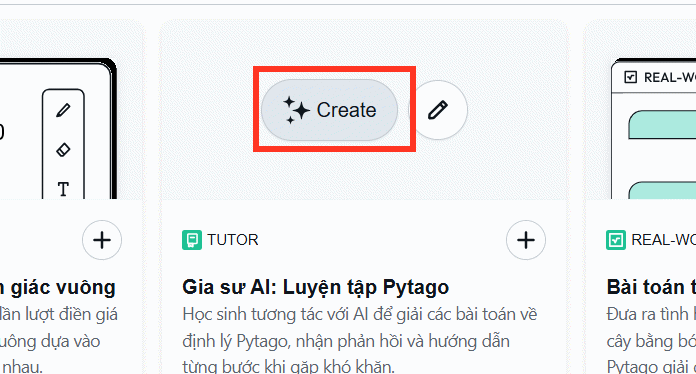
When you switch to the new interface, you'll see a lot of AI-powered content that delivers knowledge in various formats, such as slideshows, podcasts, or quick assessment groups, etc.
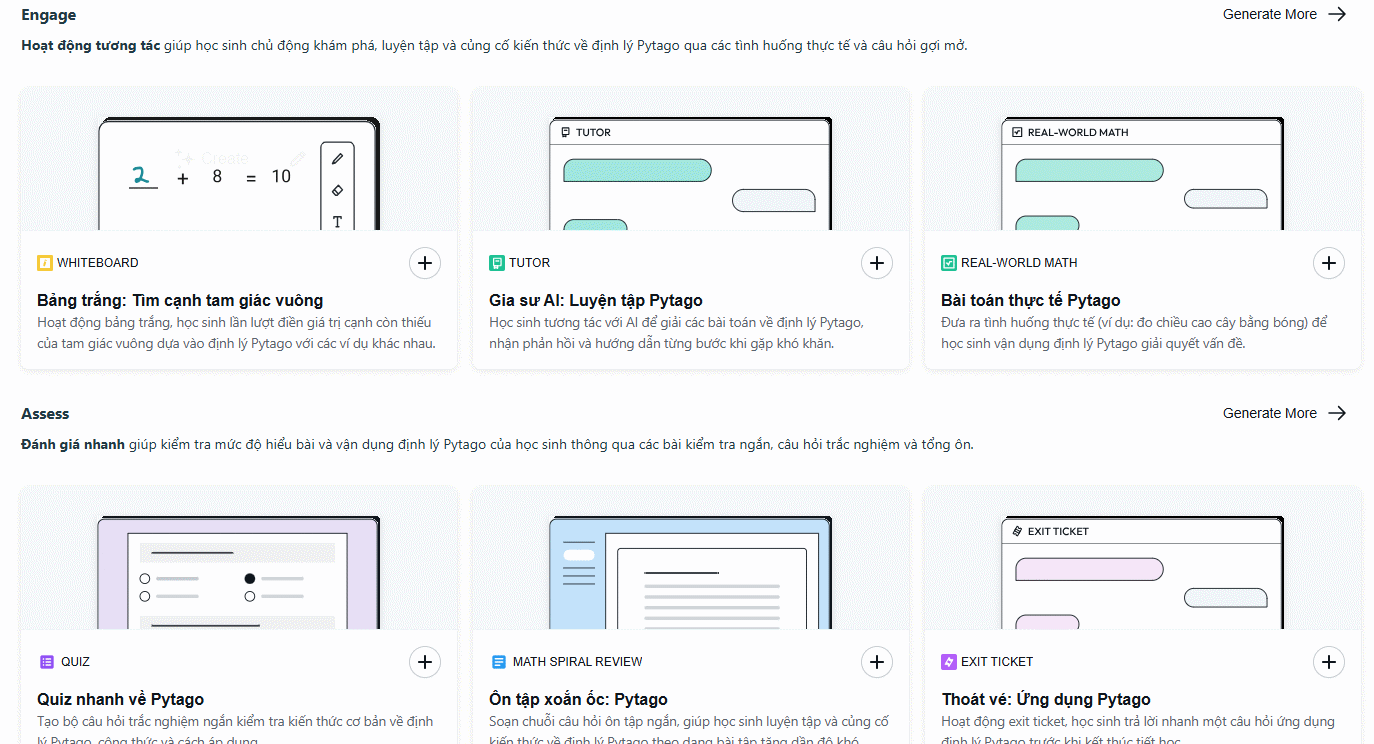
Click on Create in AI Tutor to create an assistant for this knowledge-based lesson content.
Step 3:
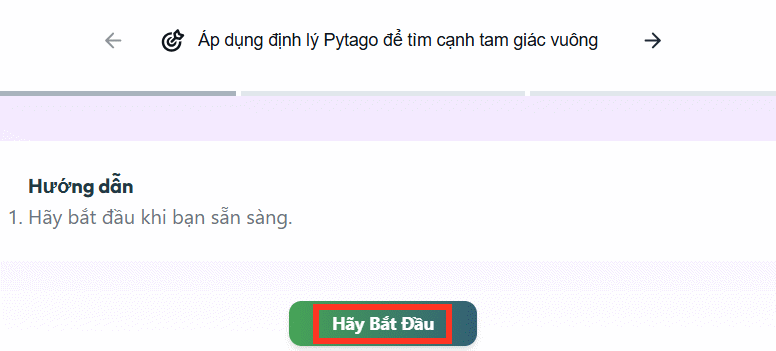
Click on Get Started to create assistant content for this knowledge-based lecture.
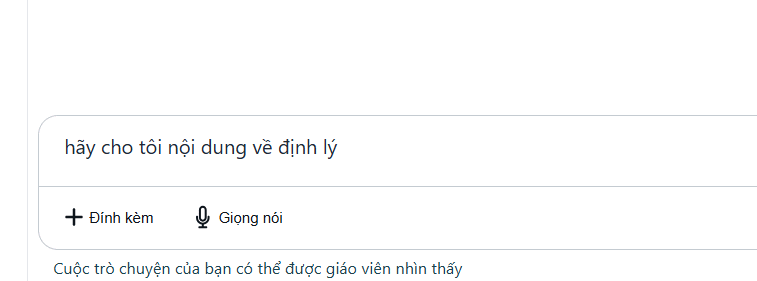
Please wait a moment while Brisk generates the content for the knowledge you need. Brisk will automatically design the content to suit the grade level you have selected. Students can enter any questions related to the subject being studied , and Brisk will answer them later. You can download the attached file or use your microphone to chat with Brisk.
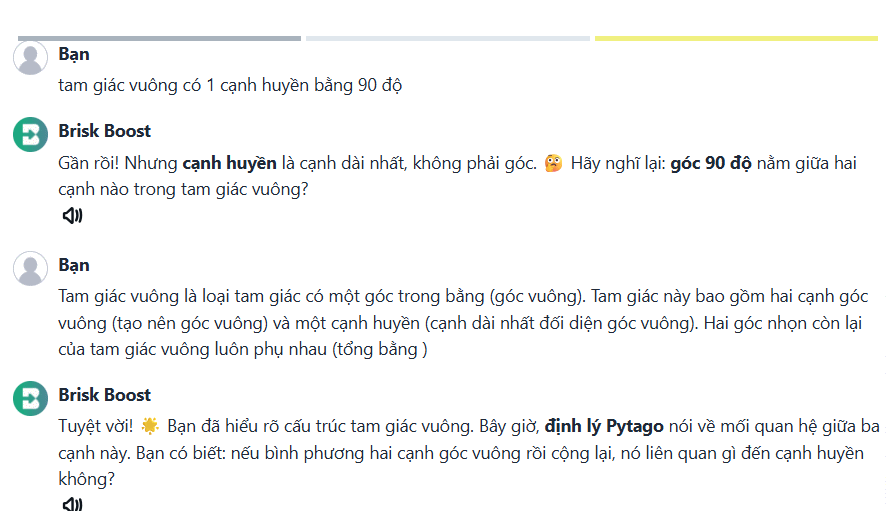
In addition to answering questions, Brisk also poses thought-provoking questions to help students practice their knowledge and guide them to the current topic using prior knowledge.
Students continue to use Brisk for their lesson content.
Step 4:
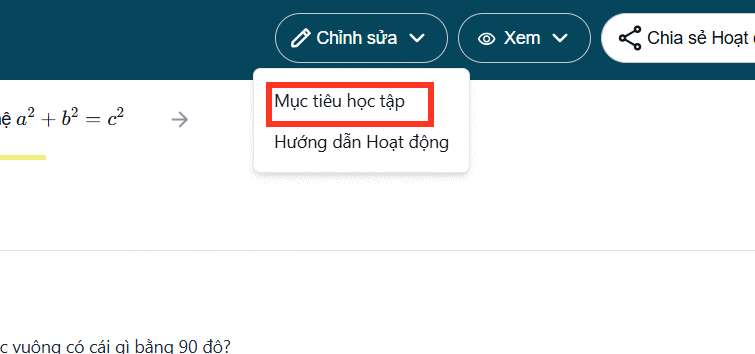
Teachers can specifically set learning goals that students need to achieve after using the Brisk assistant. Click the Edit button and then select Activity Goals .
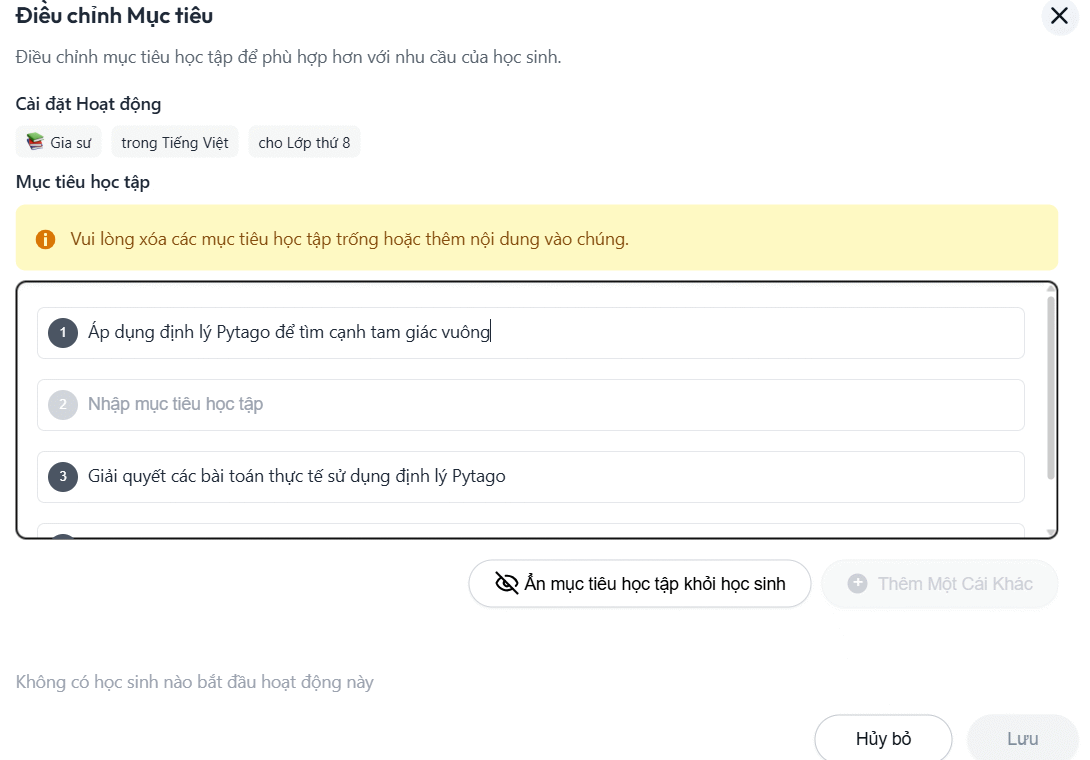
At this point, teachers can choose to add new activity goals for the activity, or keep the activity goals created by Brisk.
Step 5:
To share the Brisk assistant with students , click Share Activity , then select Copy student activity link and send. Participating students only need to enter their names, and teachers will be able to see all of their activities.
