Fix basic network applications with Wireshark (Ethereal)
Network protocol analysis is a technique commonly used to view, in real time mode, data streams sent and received through a network interface.
TipsMake.com - Network protocol analysis is a technique commonly used to view, in real-time mode the data stream sent and received through a network interface. This is really useful for troubleshooting network configuration problems and network application problems . It is also useful to develop a new network protocol. In this article, I will fundamentally demonstrate how to overcome a network application with Wireshark (Ethereal).
Overview of Wireshark
Ethereal is an original open source protocol analysis program written by Gerald Combs. It was later renamed Wireshark in 2006. Wireshark is now managed and developed by hundreds of people around the world.
What can it do?
Like any other tool, Wireshark can be used for some things and not for other things. Here is a list of some things that Wireshark can't do:
1. It cannot be used to map a network. Instead the Nmap tool can take over this function.
2. It does not generate network data - it is a passive tool. Tools like nmap, ping and traceroute are examples of tools that can generate network data. These tools are proactive tools.
3. It can only show details about the protocols that it really understands. It understands a lot of protocols and can be expanded, so you can add support protocols to it if it doesn't understand. However, you will only be able to view the data it captured as hexdump.
4. It can only capture good data when the operating system's driver interface supports. An example of this is capturing data via wireless networks. It does not work well with some combined software and hardware.
Wireshark installation
Wireshark is an open source application and is available for free download at www.wireshark.org. How to install it is quite easy and is guided as below.
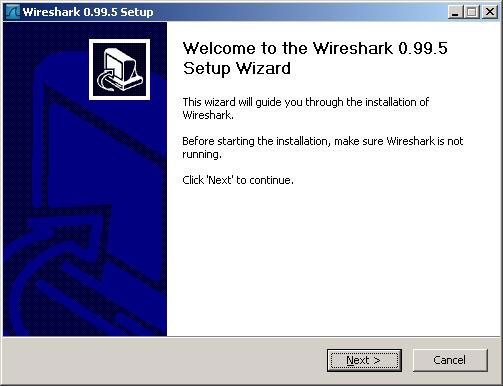
1. Double-click the installation file
2. Click the " Next " button on the Welcome screen.
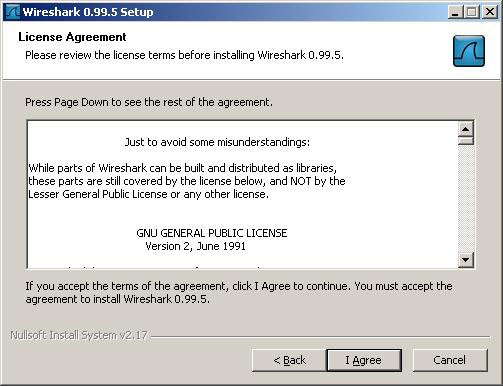
3. Press the " I Agree " button to accept the registration conditions.
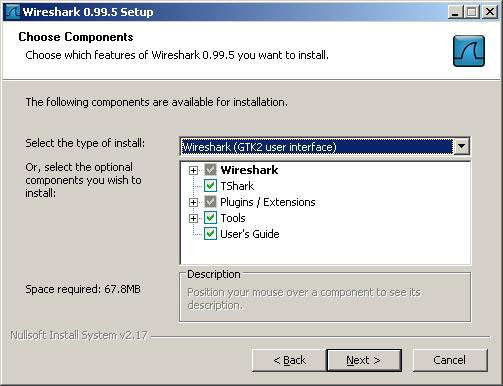
4. Click the " Next " button to accept the default settings at the Choose Components dialog box.
5. Click the " Next " button in the Select Additional Tasks dialog box.

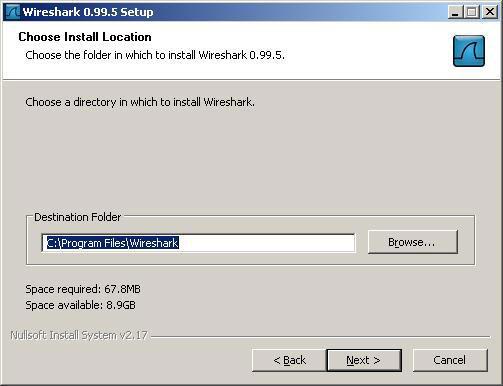
6. Click the " Next " button in the Choose Install Location dialog box.
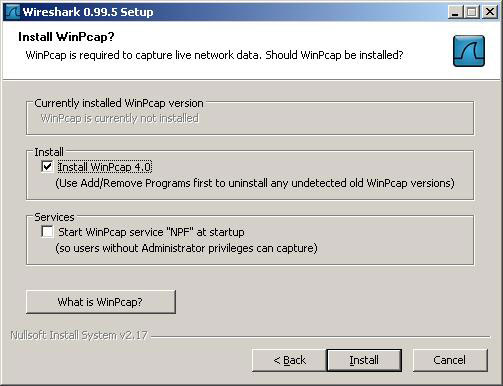
7. At this point, the installer will ask if you want to install WinPap. Make sure that the WinPcap Instal box is selected and click the " Next " button.
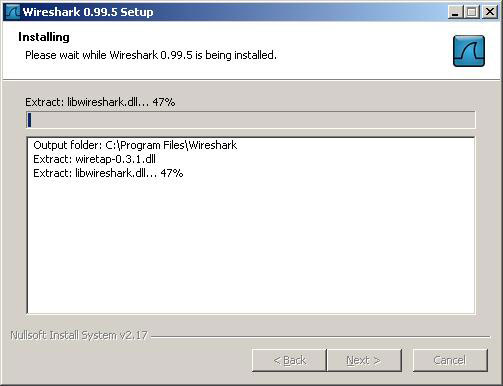
8. The installation of Wireshark will start copying files to your system.
9. The WinPcap installer will be introduced during Wireshark installation. Click the " Next " button at the Welcome screen.
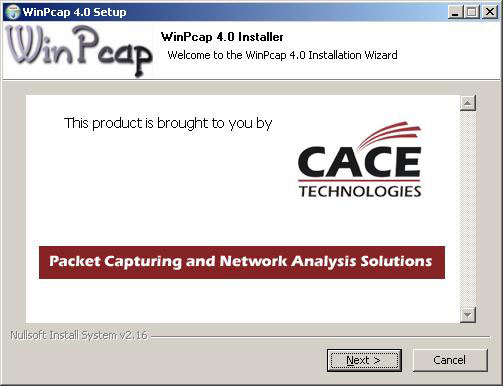
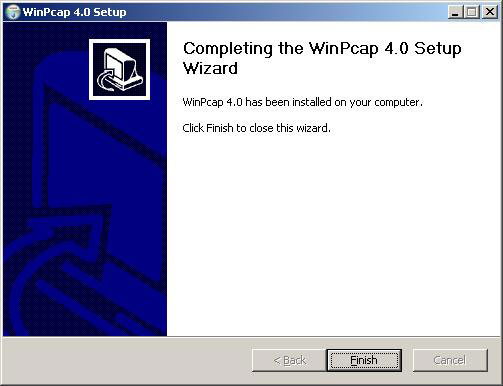
10. Click the " Next " button at the WinPcap Setup Wizard screen.

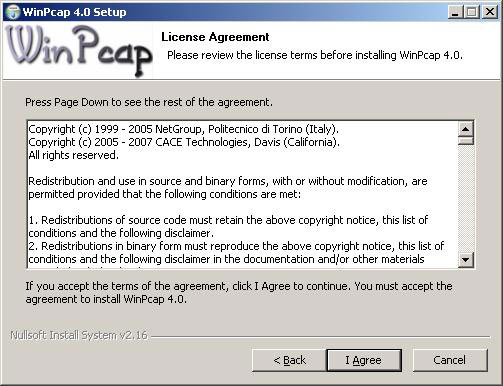
11. Press the " I Agree " button at the License Agreement screen.
12. Click the " Finish " button to receive the WinPcap installer.
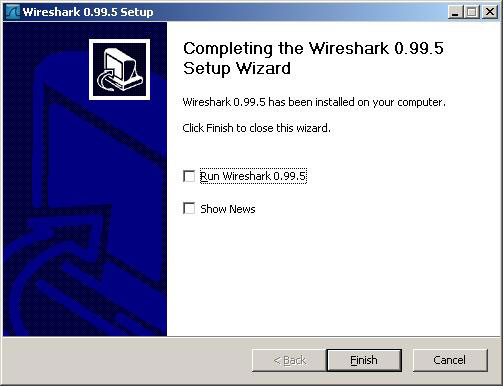
13. Click the " Next " button in the Wireshark Installtion Complete dialog box.

14. Click the " Finish " button to close the Wireshark installer.
Run Wireshark on Windows
Start Wireshark
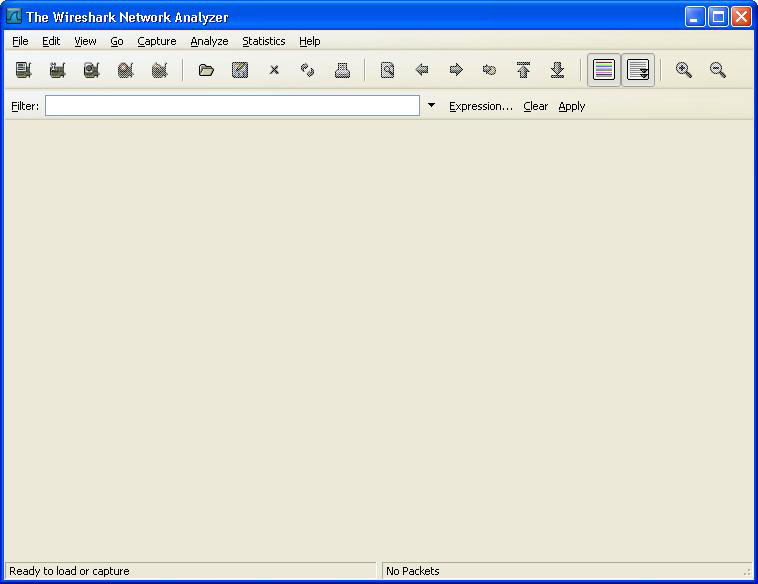
Start Wireshark on windows simply by double-clicking the shortcut on the Start menu. This will help open up Wireshark's main screen.

Wireshark interface
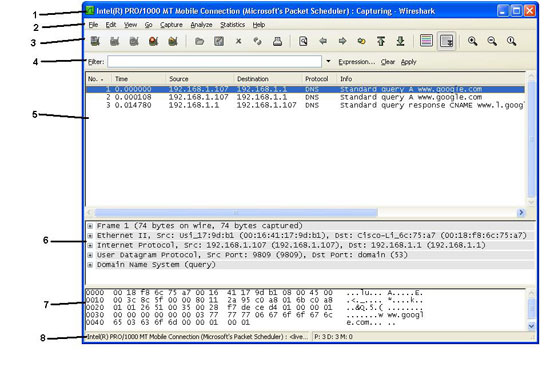
The interface of Wireshark is very simple.
1. Title bar - This bar will contain different information depending on what Wireshark is doing. If it is capturing network data, it will understand the current power delivery. If it is displaying data from the previous data capture, the name of the file contained in the captured data will be displayed (untitled will be displayed if the captured time is displayed, stopped and not saved. ). Otherwise it will display the name of the application: Wireshark network Protocol Analyzer .
2. Menu bar - This bar provides access to application features.
a.File - Functions that work with captured data such as saving and exporting to different file formats.
b. Edit - Functions for finding packets, setting time changes, and referring to settings
c. View - The function to change how Wireshark displays information.
d. Go - The function to find the location of a specified packet.
e. Capture - The function to start and stop captures, save filters and work with network interfaces.
f. Analyze - Function to interpret and filter captured data.
g. Statistics - Function of statistical analysis of captured data.
hour. Help - Help function.
3. Main tool bar - Shortcut to use commonly used functions in the menu bar.
4. Filter tool bar - Quick access to filter function.
5. Packet list pane - Displays all packets in the current capture file.
6. Packet details pane - Specify the details of the currently selected packet in the Packet List pane.
7. Packet bytes pane - View hexdum of existing packets in the Packet List.
8. Status bar - Provides messages and feedback to users.
Examples of how Wireshark works
In this example, I will start Wireshark capturing packets on the laptop's wireless network. I will then launch Thunderbird to retrieve email from Comcast and Gmail.
1. First start Wireshark.
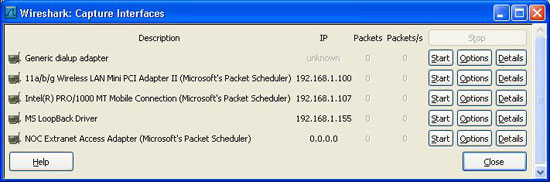
2. Then select Capture -> Interfaces from the menu bar.

3. Then the Interfaces dialog box will be opened. Select the interface you want to use. This is important when Wireshakr (as with any other protocol analyzer) can only capture data from a network it connects to naturally. I use wireless Ethernet adapter in my laptop so I will choose Intel adapter in the list. Click " Start " button. The data capture process will be started. After a short time, you will see the main window of Wireshark (packet list, details and byte frame) filled with data.
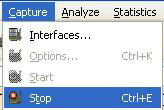
4. Now I will launch Thunderbird and log in to both Gmail and Comcast accounts. At this point I will wait for all mail to download and then stop the network capture by selecting Capture -> Stop from the menu bar. Click File and Save to save capturing this data to disk after all data has been captured.
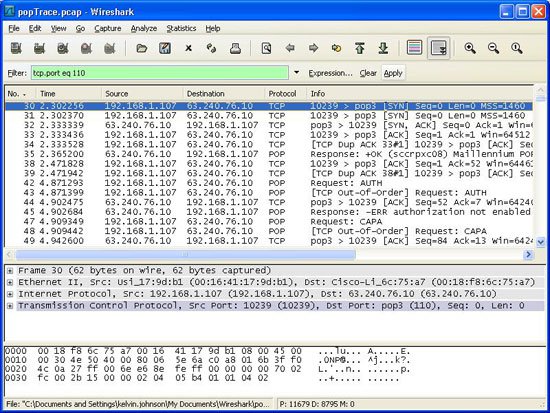
5. I just caught 2 complete POP3 sessions with Wireshark. To get the pop version information separately, I will use a filter. In the filter bar, enter the following text and press the "apply": tcp.port eq 110 button . This will limit the display of traffice on tcp 110 port (pop port). Also note that Wireshark understands POP (Post Office Protocol), so it will display bits of information such as POP commands and authentication information. I do not connect to the Comcast mail server using SSL so my password is contained in the traffic in clear text meaning the data is not encrypted. I have to choose this screenshot wisely and actually use this to fix issues about client users connecting to pop and imap servers.
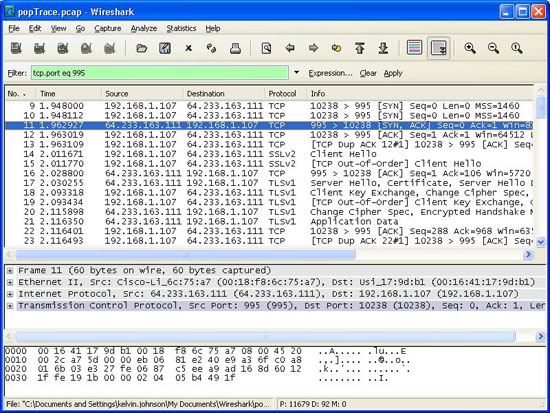
6. Drag the scroll bar down to the bottom of the captured data after it shows only a conversation between two hosts: my laptop and Comcast mail server. What happens to Gmail? Because I use SSL with gmail account and SSL POP connection is combined with port 995, not port 110. In the filter bar fill in the following text and press "apply": tcp.port eq 995 . This will show all POP via SSL. But note that no other details will be available about this application protocol. The protocol used on port 995 is TCP, SSL and TLS. You will see some packets that come with keys, but that's all to do with security issues associated with SSL and TLS. All data of this application has been encrypted.
Was this article helpful?
Your feedback helps us improve.
Related Articles
 Use Wireshark to analyze data packets in the network5 minutes read
 How to Install Wireshark on Debian 114 minutes read
 Wireshark 3 is officially released, comes with the new Npcap Windows driver4 minutes read
 10 free and useful network tools8 minutes read
 7 Great open source security apps you may not know yet8 minutes read
 Solve the real problem with the Network Diagnostic function8 minutes read
Reader Comments 0
Sign in with email or Google to join the discussion.