Create your own DVD video with the DVD Flick program
In the following article, TipsMake.com will introduce you how to create DVD movie disc from avi format video files available in your computer with free DVD Flick software.
Implementation steps
It can be said that DVD Flick is one of the most popular and powerful free and open source tools that can handle most popular video formats, convert formats and burn to DVD, through it. There are cards for use on current DVD players. After downloading and installing the program successfully, press the Add title button in the window on the right:
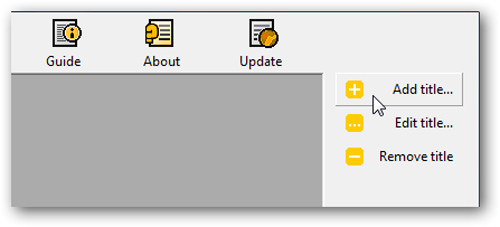
Then point to the folder where the video file is stored and convert it to DVD:

Change the order of these files if you want with the Move up or Move down buttons :

Then select Project Settings> Burning> Burn project to disc and name this project. Should choose a low speed to get the best quality possible, and check the Verify disc after burning box:

Besides, users can change some of the default menus available:

And when you have adjusted the above parameters, click Create DVD to start the conversion process:

Depending on the size of the video file, the process will be fast or slow (it may take hours), if you need to do something else, press the Enter me button :
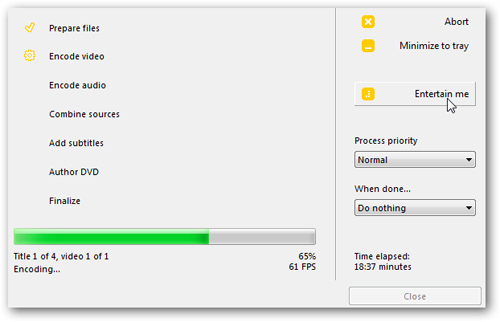
The program will help you "kill time" with classic puzzle game:

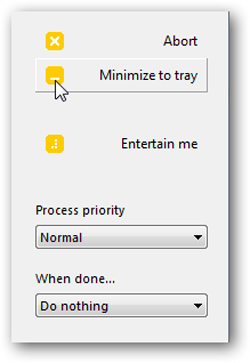
Or simply, collapse the program under the system tray with the minimize button:
The program comes with the ImgBurn application and by default, DVD Flick will automatically activate ImgBurn to burn DVDs:
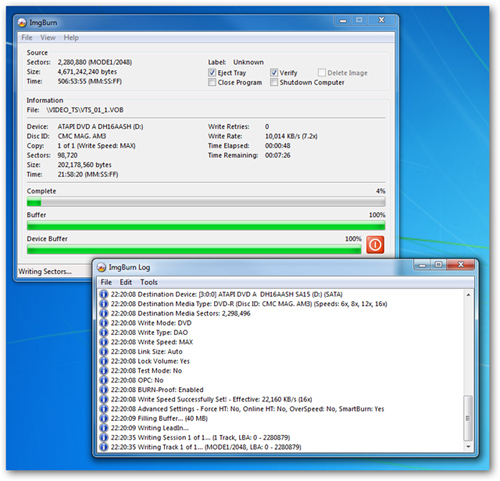
In this test, we recorded 4 avi files with a total capacity of 1.17GB taking up to 2 hours:

To ensure this process does not encounter any errors, you need to check again:
At this step, you need to delete the avi file in the folder to convert the format into DVD or transfer it to another folder:

Create DVDs using Windows DVD Maker
On the other hand, you can use the Windows DVD Maker program available in Windows Vista or 7 to conduct conversion and burn to DVD disc. However, you need to install the correct codec for the whole process to work stably.
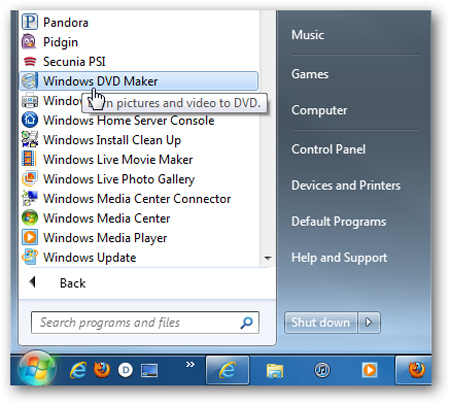
Open Start Menu All Programs Windows DVD Maker:
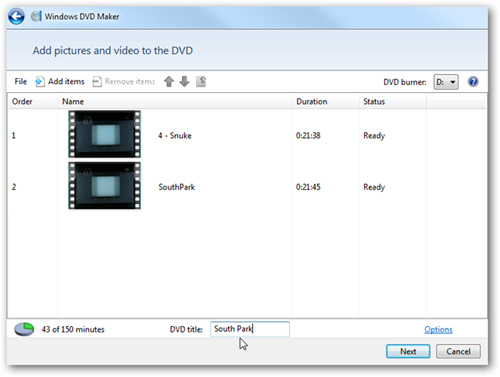
At the main interface of the program, you select the Add function and point to the video file storage folder - or simply drag and drop the video directly into it. Change title in DVD title section:
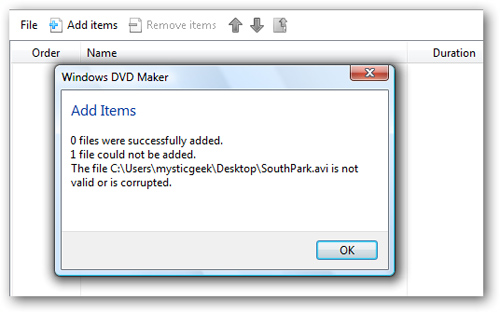
If you encounter the following error message, it means that your system has not been properly installed with the appropriate codec, in this case please install the latest K-Lite Mega Codec Pack which is currently 6.40 at here or ffdshow:
After installing the appropriate codec, Windows DVD Maker can recognize those AVI files. Next step, choose 1 of the different Styles Menu :

Or edit the details of these menus:

After you've done everything, press the Burn button to start the format conversion process and create a file to burn:
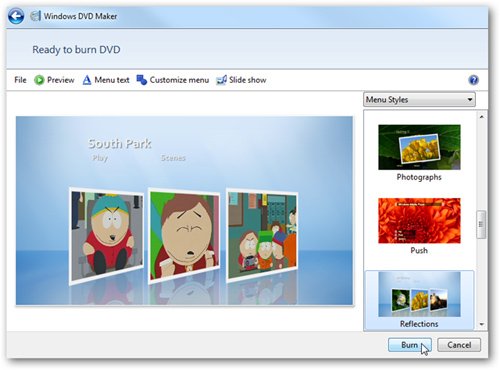
Depending on the size of the original file, this process will happen quickly or slowly:
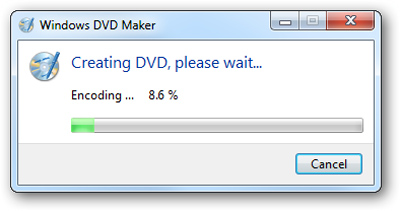
When finished, you can save the project (in msdvd format) for later editing if you want:

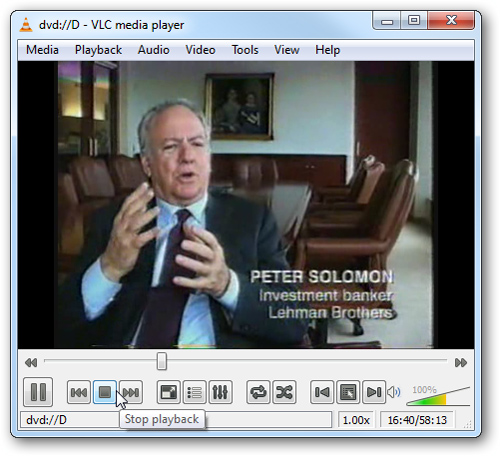
The following is a check-up with the VLC program:
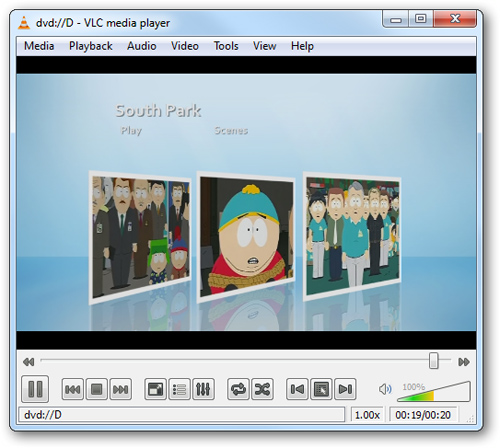
On the other hand, users can completely make DVDs with the popular Nero program if they have the copyright to use, the same way as above:

With some popular support programs like DVD Flick, Windows DVD Maker or Nero, you can create your own DVD movies with good quality, the longest period of the entire process. It is probably waiting when converting the original file to a format that is suitable for the program. Good luck!