Create XP Mode for Windows 7 Home and Windows Vista versions
Network Administration - One of the cool features in Windows 7 is XP Mode. However, you will only get this feature if you use Windows 7 Professional version. So what if you are using Home or Vista version? Is there any way to create XP Mode in such versions. In this article, I will show you how to create XP Mode to run on these versions.
Working?
Windows 7 Home Premium and Windows Vista are not registered to run free XP Mode download from Microsoft. In fact, if you choose Home Premium on the site to download XP Mode, you'll see the following message:

In a recent article, I have explained that VMware Player can help you run XP Mode without hardware virtualization. However, VMware Player does not have a link to import XP Mode if your computer is running 7 Home Premium or Vista.
However, if there is a valid copy of Windows XP, you can easily re-create XP Mode with the free VMware Player software. In this article, I will show you how to make a virtual copy of Windows XP run on any computer, even if it is running 7 Home Premium or Windows Vista.
Begin
First, download and install VMware Player. This is free software but you need to register before downloading.
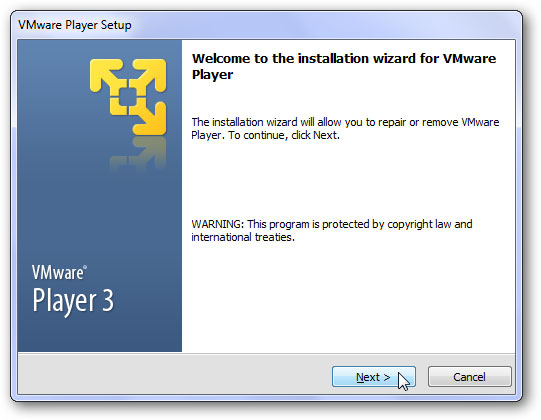
You may encounter some prompts about installing drivers; Please approve them. When you finish installing VMware Player, you must restart the computer.

Create XP Mode
When the computer is rebooted, start VMware Player and insert the Windows XP CD into the CD drive. In this example, we used a copy of Windows XP Professional, but it is quite similar to any XP version.
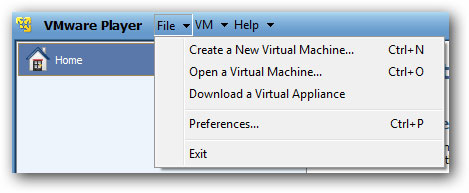
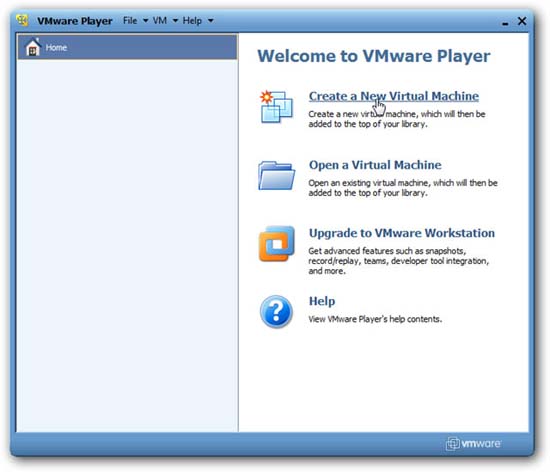
In VMware Player, click the ' Create a New Virtual Machine ' link.
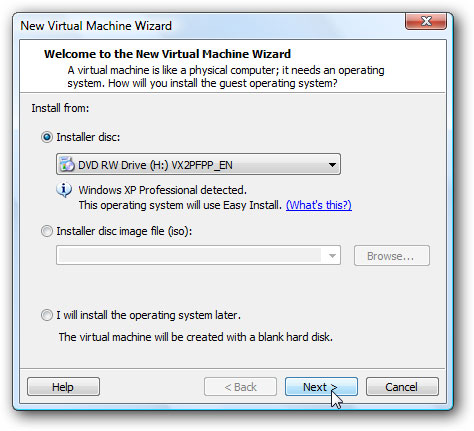
VMware automatically detects Windows XP CD and indicates that it will install in Easy mode. This installation method allows you to install XP via 5 clicks! Click Next to continue.
Now enter the XP product key, the name and password you choose. We named it XP Mode to make it easy to understand!
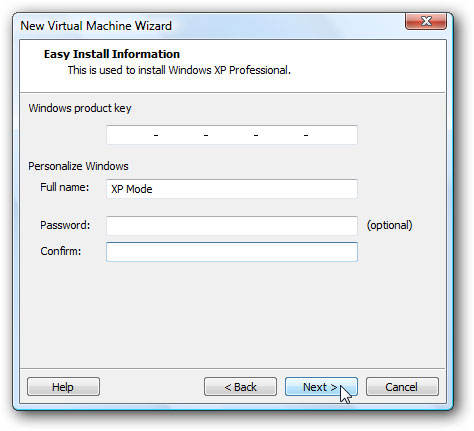
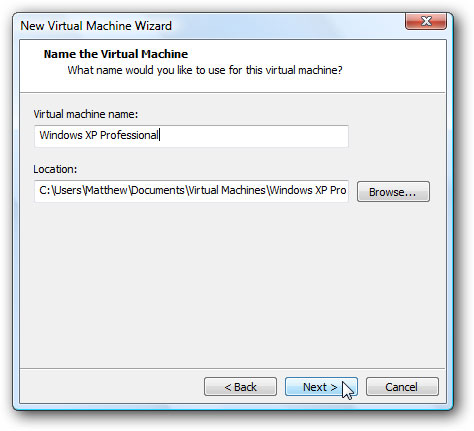
Here VMware will automatically enter the name of the operating system and default location to save the files. You can click Next to accept the default values, otherwise change them.
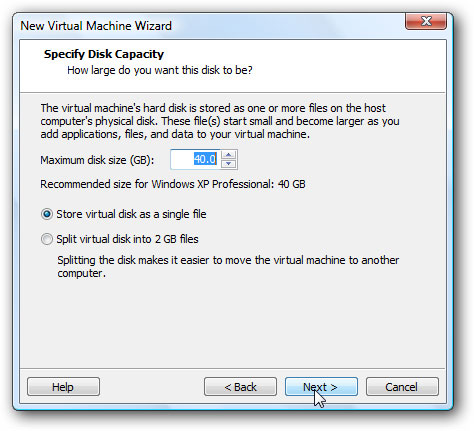
Can choose the size for the virtual drive; By default it will have a capacity of 40Gb, but you can choose another number if you want.
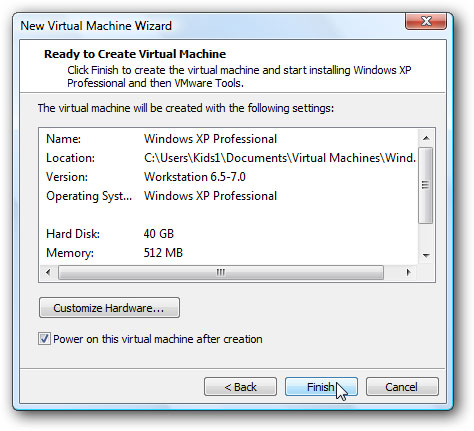
That's all it takes to set up. You can then review and make changes here or click Finish to begin installing XP.
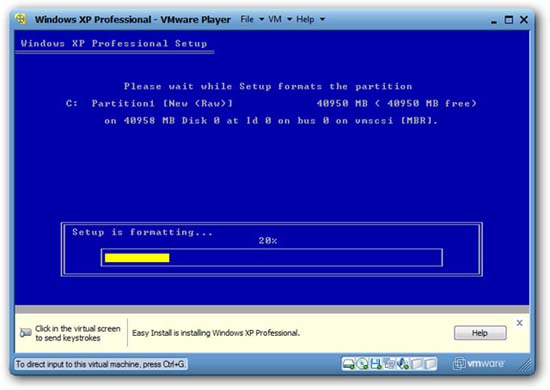
From here, VMware will automatically run. You do not need to click on anything until XP is fully installed! It will automatically run the installer, format the virtual drive.
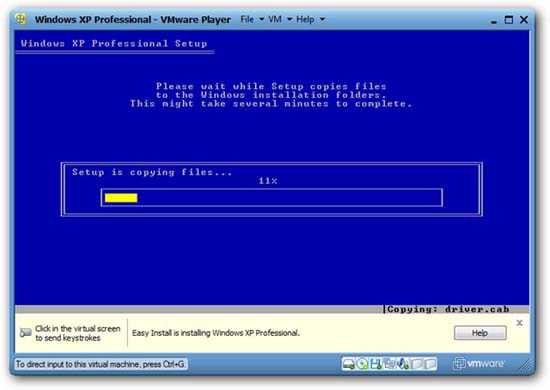
Copy XP files to hard drive.
And finish the installation.
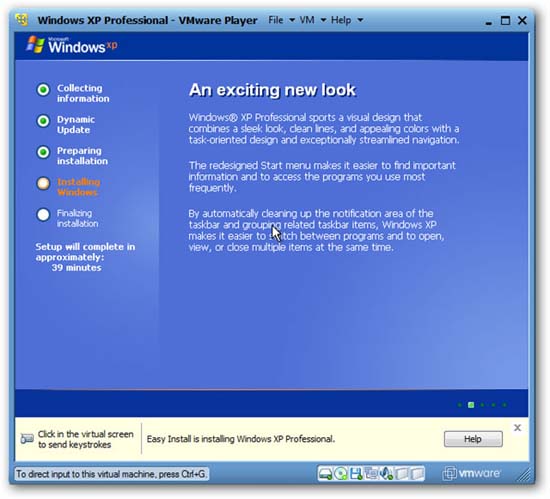
Everything will work automatically, so you may not need to touch much during the installation process. In our test, the installation process took up to 20 minutes. When the installation is completed, you will see the Windows XP desktop ready for use!
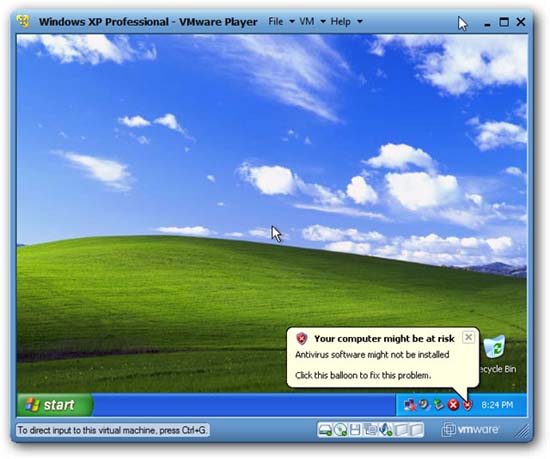
VMware Player will automatically launch the VMware Tools installer to integrate your virtual XP with your computer. It may have to download or upgrade tools, so if you see the yellow banner below the window that appears, click Update Tools or Install Tools , whichever depends on the situation you encounter.

The tools will automatically download and install, though you may still need to allow UAC prompts.

When the tools are downloaded or updated, they will automatically run in XP. If not, click Start , then My Computer , and finally double-click the CD drive displaying VMware Tools .
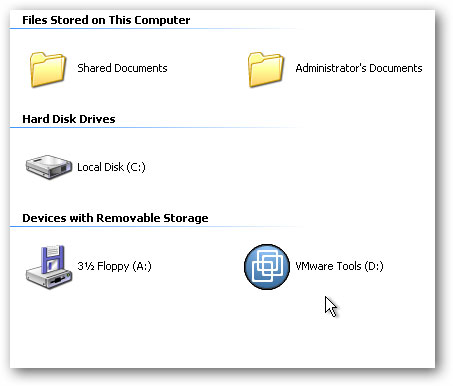
Run the Tools installer with the Typical installation type and restart XP at the end.
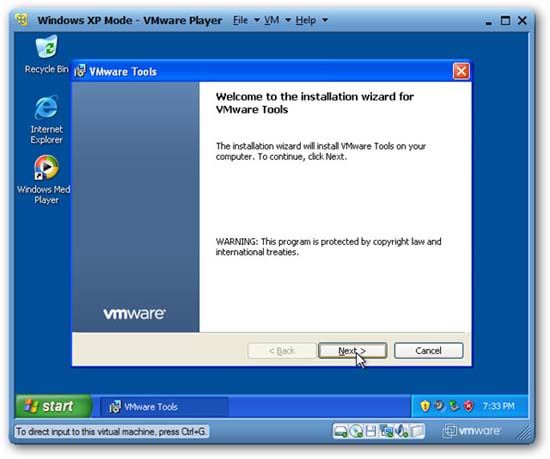
XP is now fully installed and you can continue the integration process with your computer.
Integrate XP Mode in VMware Player with Windows 7 or Vista
The real advantage of the default XP Mode in Windows 7 is that XP programs are fully integrated with their Windows components. You can run them with other programs, copy between them or even open and save files to the same folders.
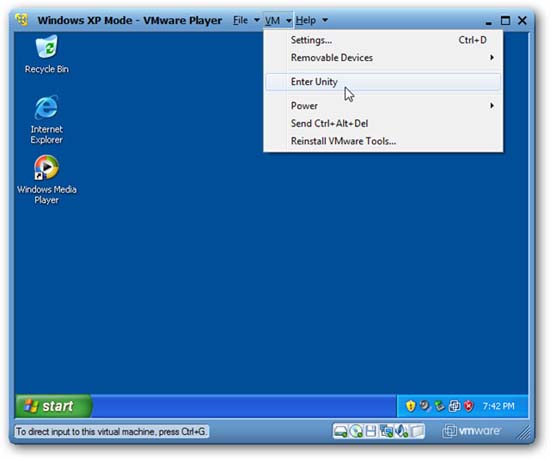
Please set up in VMware. Copy and paste from Windows 7 to XP Mode in VMware is enabled by default. To use XP programs with Windows 7, click VM at the top of the VMware window, then click ' Enter Unity '.
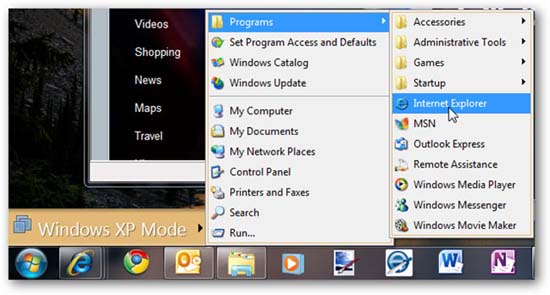
It works the same way in Windows Vista.
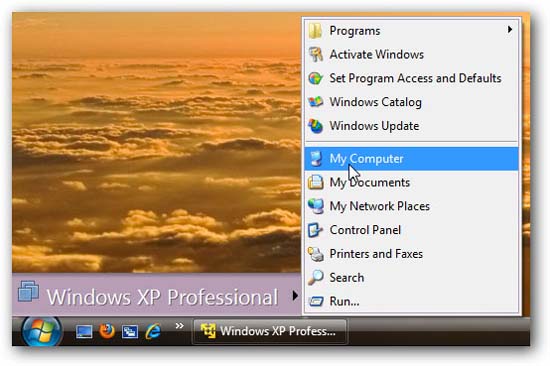
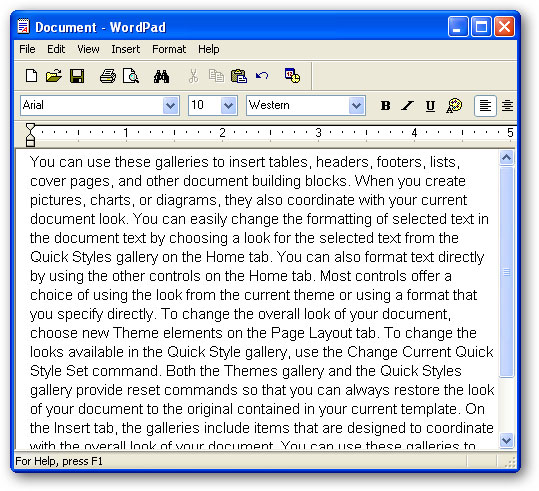
This is the XP operating system IE 6 window running alongside IE 8 in Windows 7, all thanks to VMware Player!
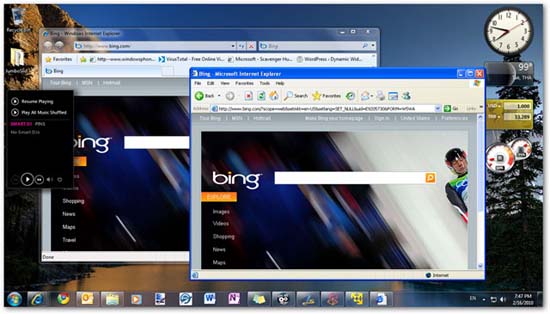
Note that this issue is guaranteed to work on any version of Windows 7 or Vista, including Home versions.
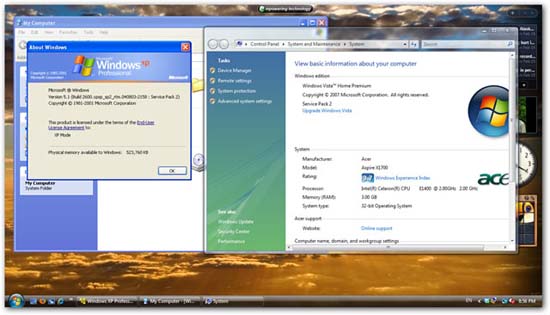
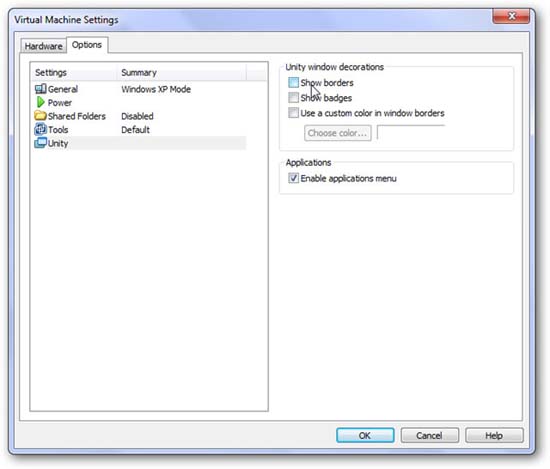
By default, virtualized windows will have the VMware border and logo on their edges.
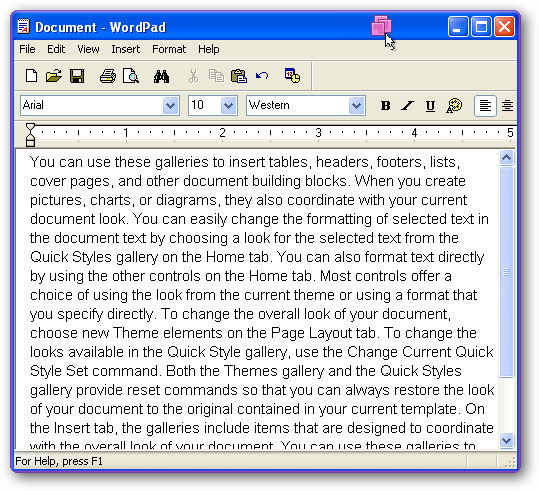
You can also use external devices, such as USB drives, in XP Mode in VMware Player. Whenever you connect a new device to your computer, VMware will prompt you to add it to XP.
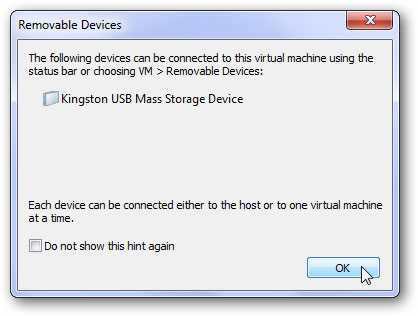
Click VM , then Removable Devices . Select the device name and click Connect.

Save files in XP Mode to My Documents in Windows 7
By default, files created in XP Mode in VMware Player will be stored inside the virtual machine. However, it is more convenient if they are saved directly to the My Documents folder in Windows 7 (or the Documents folder in Vista). To do this, click VM , then Settings . Click the Options tab and select Shared Folders . Now click on the box to select ' Always enabled ' and ' Map as a network drive in Windows guests .'
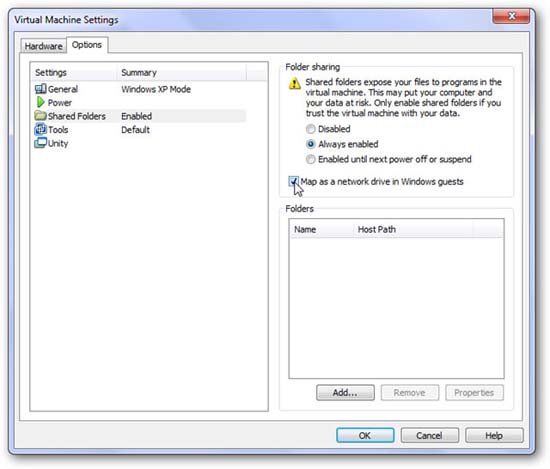
Click Add at the bottom of that window. This will help us add the shared folder.
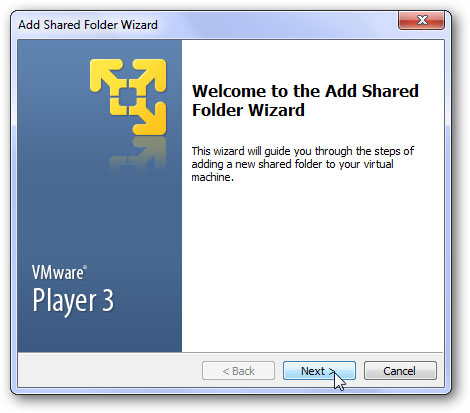
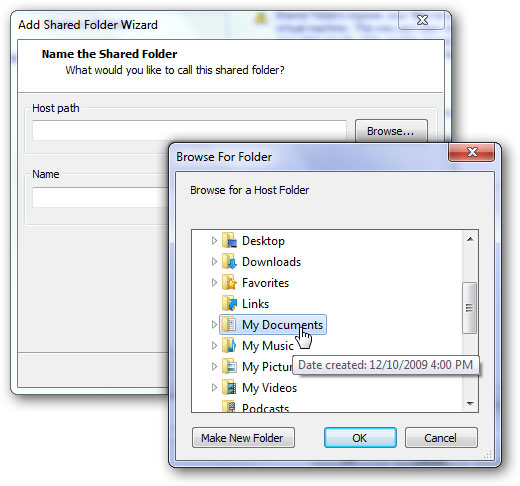
Add the My Documents folder in Windows 7 (or the Documents folder in Vista). Click Browse , then select the My Documents folder . Click OK , and then click Next.
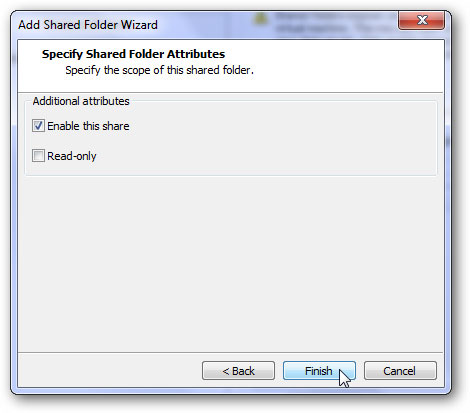
Make sure the ' Enable this share ' checkbox is selected, then click Finish . You can now close the settings window.
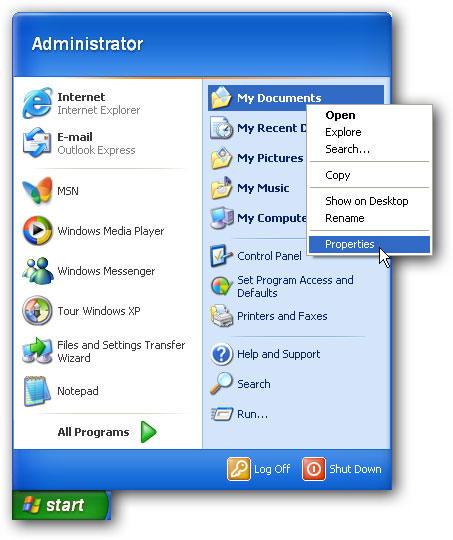
Go back to XP, click Start , then right-click My Documents and select Properties.
Click Move to find the new My Documents folder.
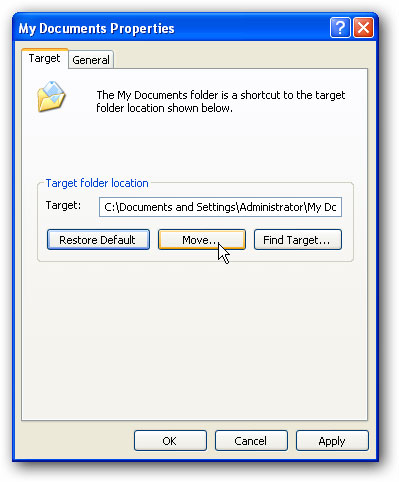
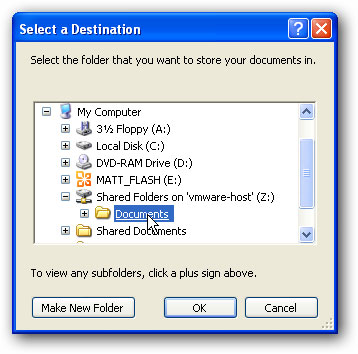
Find the folder we just shared from Windows 7 or Vista by clicking My Computer , then the ' Shared Folders on' vmware-host drive ' '. Select the shared folder, Documents , and click OK
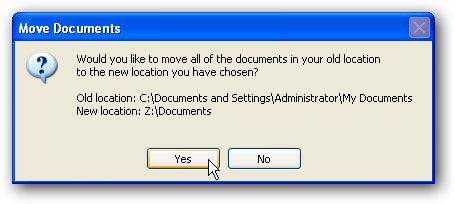
Click OK in the main properties window. It can allow you to copy files from the old My Documents folder to the new My Documents folder; Select Yes to make sure you have all your documents in Windows 7.
Conclude
You can run Windows Virtual PC on any Windows 7 computer, even on Home Premium computers that do not have XP Mode. You can install XP in it, then install Virtual PC's integrated components, everything will look like the default XP Mode. In addition to the solution implemented with VMware, you can also try doing with Virtual PC, if you want to try this virtualization application, you can download it from the link below.
Download link:
Download Windows Virtual PC if you want to run XP in it