Basic tutorial using multi-point trackpad on OS X
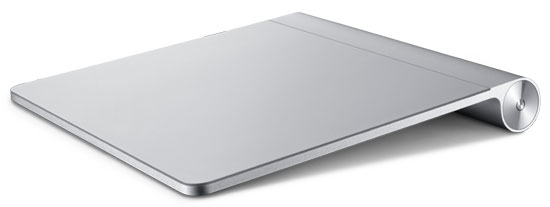
Trackpad is a very important part of the MacBook Pro, MacBook Air and a Magic trackpad to use on your iMac, sometimes you forget the mouse or you want to know the special function of Trackpad in OS X, I will say Understand the detailed functionality of Trackpad on your OS X computer in this article and how to use it.
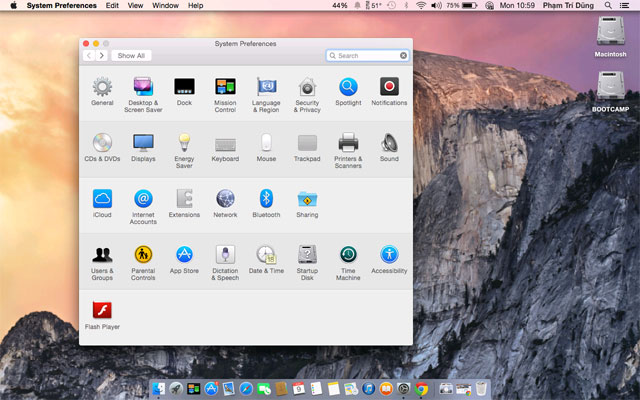
To enter Trackpad configuration: Logo apple -> System Preferences -> Trackpad
1. Tab Point & Click
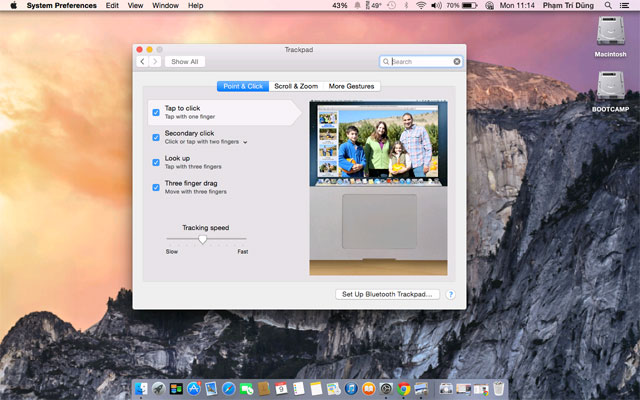
Tap to click: Touch to click, when you tap - tap - on Trackpad , it will perform a left mouse click.
Secondary click: Select this function when you want the bottom right corner of Trackpad to function as a right click when you click here.
Look up: When you quickly tap the Trackpad twice with 3 fingers and leave the cursor in a word it will look up the word for you ( with English language! ).
Three finger drag: Select this function and you use 3 fingers to drag on Trackpad, and the cursor to the toolbar of the window you are viewing, you will feel the difference.
Tracking Speed: This is the movement speed of Trackpad, you choose quickly to drag towards Fast, you choose Slow pull to Slow .
2. Scroll & Zoom
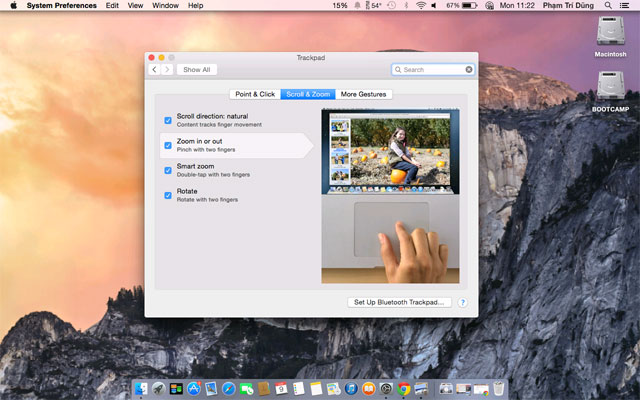
Scroll direction: Natural: Mac OS X Lion has changed the scrolling action, in contrast to Snow Leopard . In Snow Leopard operating system - Mac OS X 10.6 , if you want to scroll up while watching content, you can use 2 fingers to push up on the trackpad; and vice versa if you want to scroll down. However, in the Lion version - Mac OS X 10.7 , Apple forced users to roll in a completely opposite way. According to Apple, natural roll is in the natural way of people. If you don't like it, you can remove this check - by clicking and unchecking - it will look like the way it was scrolled in 10.6 Snow Leopard
Zoom in or out: This function allows you to zoom in, zoom out the image, web content, by dragging two fingers wide, or shrinking two fingers.
Smart zoom: Touching twice with 2 fingers on Trackpad on web content or image, will automatically enlarge the image for us.
Rotate: When you want to rotate the image, you can use two thumbs to rotate like a picture frame to rotate according to what you manipulate on Trackpad.
3. More Gestures
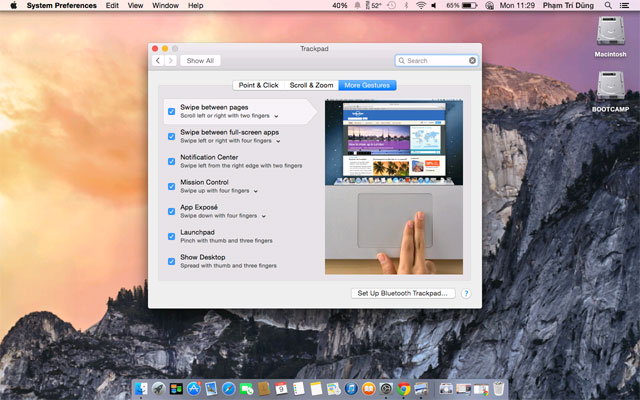
Swipe between pages: When you want to Back - go back to the old web page, the image you viewed uses 2 fingers to the right, or from the Back page you want to return to the page or image you just viewed, you can drag it left.
Swipe between full-screen apps: Using 4 fingers to drag left and right on Trackpad, will switch Windows to work for you.
Mission Control: Using 4-finger push up on Trackpad will display the screens that work for you.
App Exposé: Use 4 fingers to pull down on Tracpad, will display the windows working in the program - software - you are currently working.
Launchpad: Using Trackpad's middle fingers, hold something in between the Tracpad, the Mac will display the Laupad for you.
Show Desktop: Pinch fingers - 3 fingers or more - on Trackpad and open, Mac will display Desktop interface for you.