Table of Contents
On Windows 11, press Windows + Shift + R to record a selected area with Snipping Tool, or Windows + Alt + R to record an app with Xbox Game Bar. On a Mac, press Shift + Command + 5 and choose a recording mode. Use OBS Studio when you need multiple sources, a webcam overlay, detailed audio control, or streaming.
Before recording a meeting, call, class, or another person, obtain any permission required by the participants, your organization, and applicable law. Close private tabs and notifications, then make a short audio-and-video test.
Choose the right recording method
| Need | Recommended tool |
|---|---|
| Quick Windows 11 region recording | Snipping Tool |
| Windows game or single-app recording | Xbox Game Bar |
| Quick Mac full-screen or area recording | macOS Screenshot |
| Screen plus webcam, scenes, or streaming | OBS Studio |
| Recording plus substantial editing | Camtasia or ActivePresenter |
Record part of the screen in Windows 11
- Press Windows + Shift + R to open the Snipping Tool recording overlay. You can also open Snipping Tool and switch from screenshot to video mode.
- Drag over the area to record, then select Start.
- Pause if needed and select Stop when finished.
- Preview the clip and save it. Current Windows builds save screen recordings as MP4 files, normally under Videos > Screen Recordings.
Microsoft’s Snipping Tool guide documents the current shortcut. Snipping Tool is designed for a selected region; use another method if you need advanced audio mixing or multiple scenes.
Record an app or game with Xbox Game Bar
- Open the game or app you want to record.
- Press Windows + Alt + R to start. Press Windows + Alt + M to toggle the microphone, or Windows + G to display Game Bar controls.
- Press Windows + Alt + R again to stop.
- Find the clip under Videos > Captures.
Game Bar is convenient for games and compatible apps, but it is not a general desktop or File Explorer recorder.
Record the screen on a Mac
- Press Shift + Command + 5.
- Select Record Entire Screen or Record Selected Portion.
- Open Options to choose a microphone, save location, and timer.
- Select Record. To finish, select the stop icon in the menu bar or press Command + Control + Esc.
Apple’s Mac screen-recording instructions cover the current controls. If an app is missing from the recording, check System Settings > Privacy & Security > Screen & System Audio Recording and reopen the app after granting access.
Third-party screen recorders
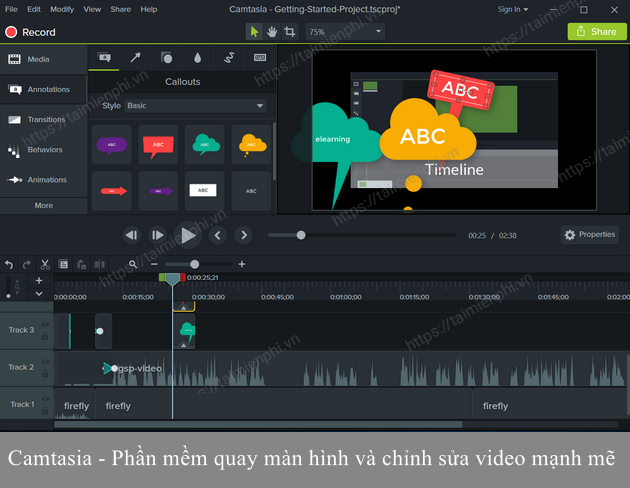
Camtasia
Camtasia combines screen capture with a timeline editor, annotations, captions, and export presets. It suits polished tutorials but requires a paid plan and more system resources than a basic recorder.
Bandicam
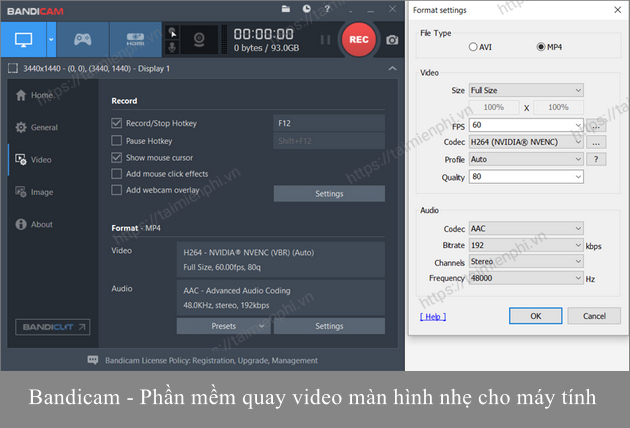
Bandicam is a Windows-focused recorder with screen, game, and external-device modes. Licensing, limits, supported hardware, and maximum settings can change, so check the official product information instead of relying on old prices or specifications.
OBS Studio
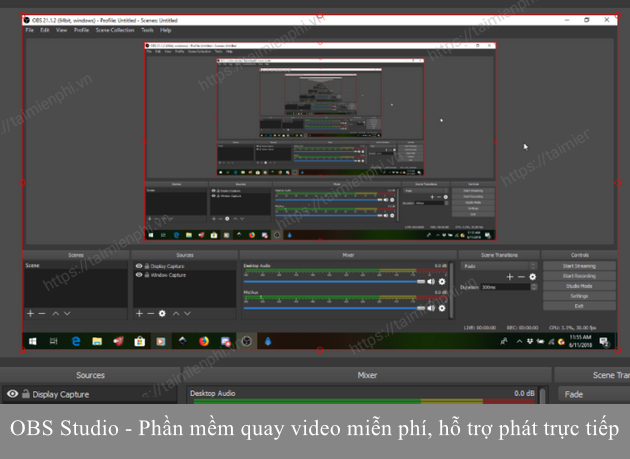
OBS Studio is free, open-source software for Windows, macOS, and Linux. It records or streams scenes assembled from display, window, game, camera, image, and audio sources. It is powerful but does not provide a full post-production video editor.
ActivePresenter and CamStudio
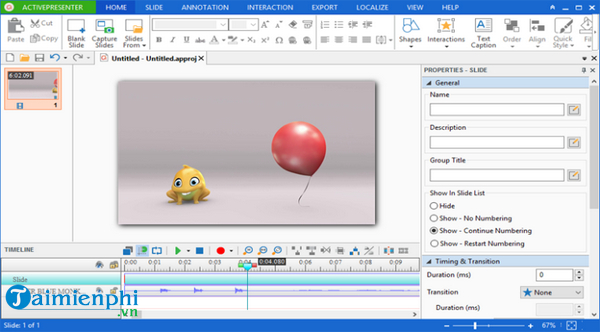
ActivePresenter combines recording with editing and e-learning features. CamStudio is a much older Windows recorder; verify that any installer comes from its current official project and is suitable for your system before using it. For most people, a built-in recorder or OBS is the safer starting point.
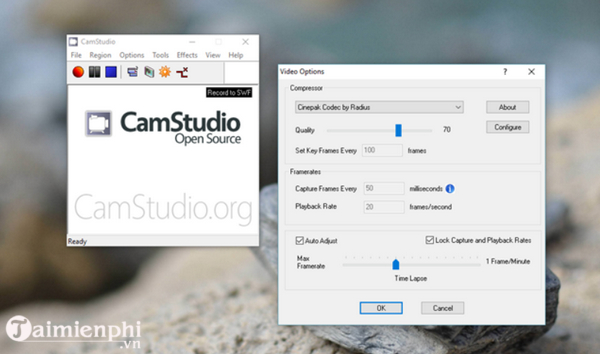
Compare more options in TipsMake’s guide to screen-recording software with sound.
How to record with OBS Studio
1. Run the Auto-Configuration Wizard
Install OBS from its official site and open it. Run Tools > Auto-Configuration Wizard, choosing recording rather than streaming when that is your goal. OBS uses the result as a starting point; you can refine Output, Video, and Audio settings later.
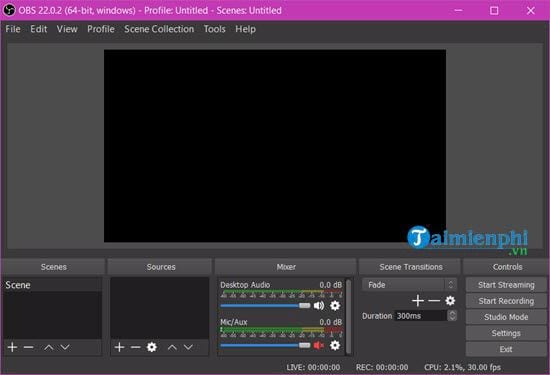
2. Add a capture source
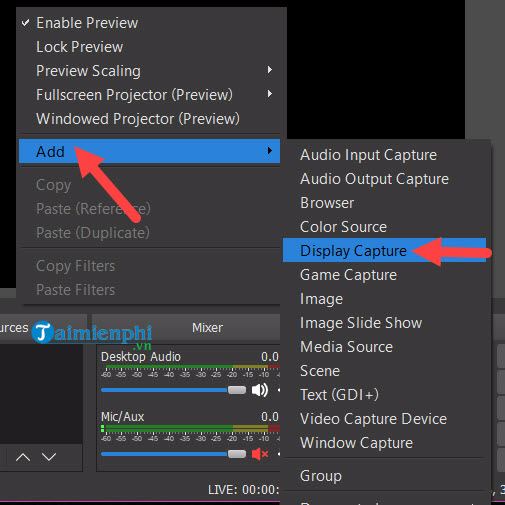
In the Sources panel, select the plus button and choose:
- Display Capture for an entire Windows or Linux display.
- Window Capture for one application.
- Game Capture for a Windows game.
- macOS Screen Capture for a screen or window on Mac.
- Video Capture Device for a webcam or capture card.
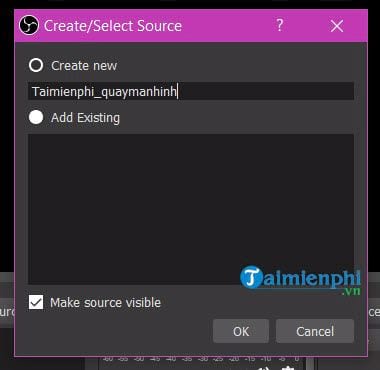
Name the source clearly, especially if the project will contain multiple displays or cameras.
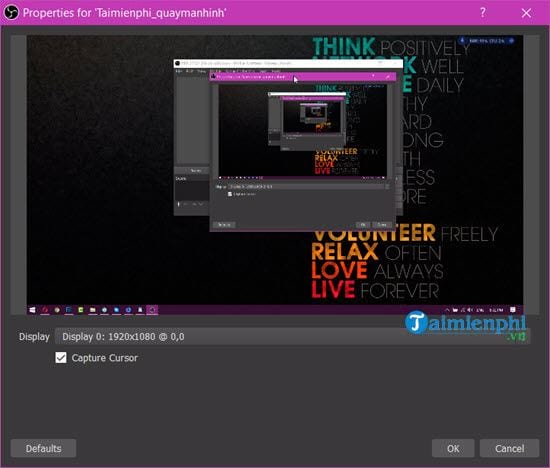
Select the correct display and decide whether the cursor should be visible. Resize or crop the source on the canvas without stretching it out of proportion.
3. Check recording and audio settings
Open Settings > Output and confirm the recording path, quality, encoder, and format. OBS commonly recommends a crash-resistant recording format such as MKV; you can use File > Remux Recordings afterward when an MP4 copy is required. Do not choose settings your computer cannot encode smoothly.
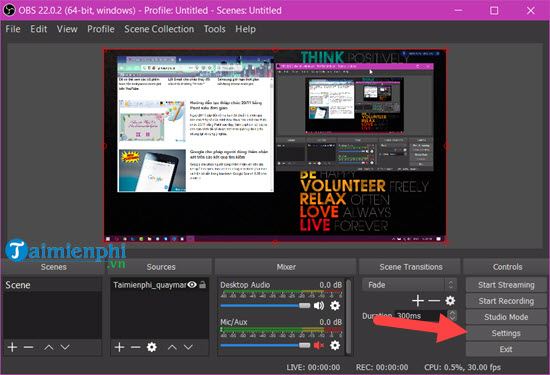
Under Audio, check desktop sound and microphone meters. Under Hotkeys, assign start and stop combinations that will not conflict with the app being demonstrated.
4. Test, start, and stop
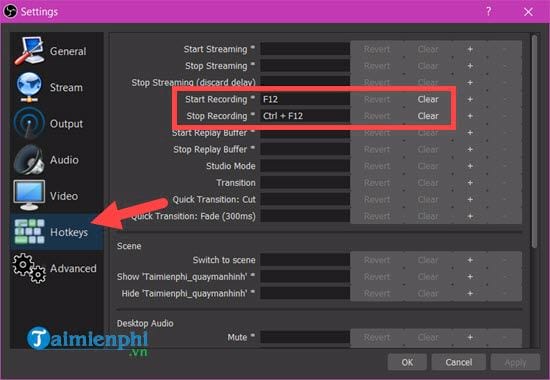
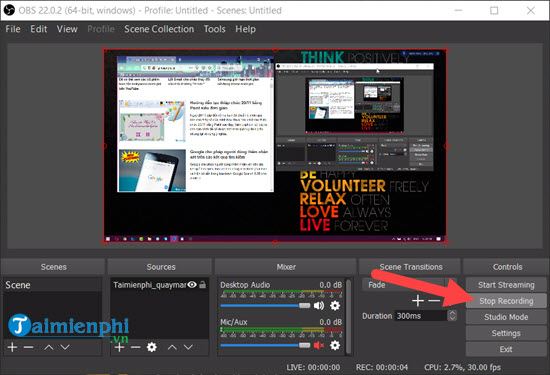
Select Start Recording, perform a short test, and then select Stop Recording. Watch the saved test for motion, readable text, dropped frames, microphone balance, and unwanted private content.
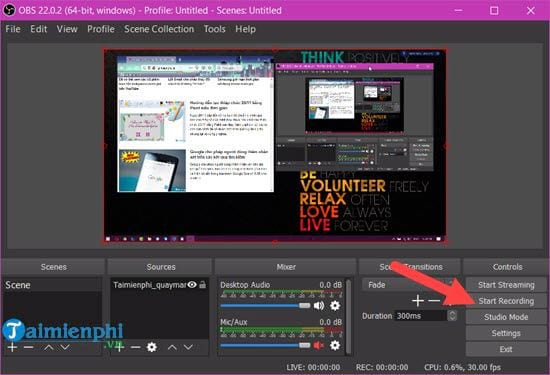
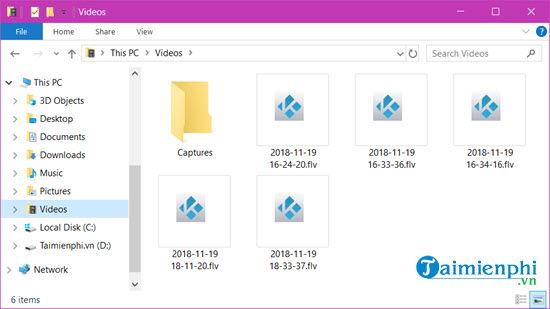
Use File > Show Recordings to open the configured output folder. The location and file type are determined by your settings, so the result is not necessarily an FLV file in C:UsersYourNameVideos.
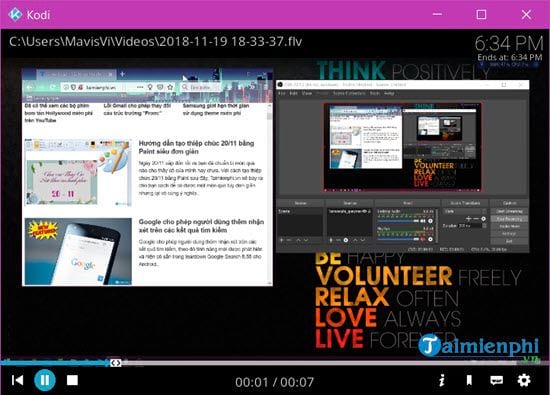
OBS’s official quick-start guide recommends testing before a real recording. TipsMake also has an overview of Windows screen recorders.
Get a clear recording
- Use the final output dimensions when possible and avoid enlarging low-resolution footage.
- Increase interface text size before recording.
- Wear headphones when capturing microphone and system audio together.
- Record to a local drive with adequate free space.
- Disable notification previews and hide passwords, access keys, and private messages.
- Play the exported file from beginning to end before deleting source recordings.
If you only need screenshots, use the faster methods in the Windows screenshot guide.
Related Articles
 3 Simplest Ways to Record Macbook Screen With Sound7 minutes read
 2 Ways to Record Macbook Screen Without Software: Best Options Compared7 minutes read
 How to Record Windows 10 Computer Screen Videos Quickly5 minutes read
 How to Record Windows 11 Laptop Screen Videos7 minutes read
 How to Record Windows 11 Screen with Sound (AutoRecovered)5 minutes read
 Steps to Record Screen in Anydesk3 minutes read
Reader Comments 0
Sign in with email or Google to join the discussion.