Table of Contents
If the PC's fans or lights turn on but the monitor remains blank, start outside the computer: confirm that the monitor has power, select the correct input, and reseat the video cable. Then make sure the cable is connected to the correct video port. Only move to RAM or graphics-card checks after these simple tests.

This guide is for a desktop that appears to power on but produces no visible image. If nothing on the PC lights up or spins, troubleshoot the outlet, power cable, power switch, and power supply instead. If you see the Windows logo and the picture turns black later, use Windows black-screen troubleshooting rather than opening the PC.
1. Check whether the monitor has power
- Press the monitor's power button and look for its status light or on-screen menu.
- Reseat the monitor power cable at the outlet, power adapter, and monitor.
- Test the outlet with a known-working device. Bypass a suspect power strip temporarily.
- If the monitor has a detachable, standard power cable, test only with a correctly rated compatible cable.
A monitor that can display its own menu or a “No Signal” message has power. That does not prove the video cable or PC output is working, but it narrows the problem.
2. Wake the display and choose the correct input
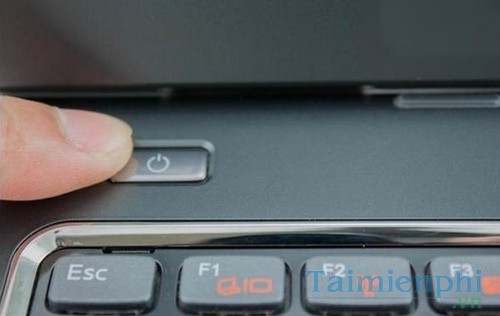
Move the mouse, press a key, and tap the PC's power button once. Do not hold it unless you intend to force a shutdown. Use the monitor's Input or Source menu and select the port in use: HDMI, DisplayPort, DVI, or another labeled input.
A sleeping monitor may show an amber or blinking light, but colors vary by manufacturer. Read the model's manual instead of relying on one universal LED meaning.
3. Perform one controlled power reset
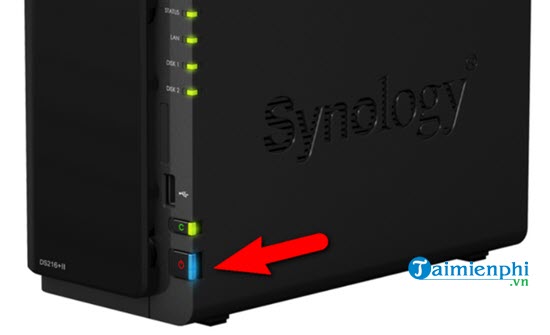
If the system is unresponsive, hold the PC power button until it switches off. Forced shutdown can lose unsaved work, so do this only when there is no usable display.
- Turn off the PC and monitor.
- Disconnect the PC's power cable and any unnecessary USB devices.
- Hold the PC power button for about 10 seconds with power disconnected.
- Reconnect the monitor, keyboard, and power cable, then start the PC once.
Repeated forced restarts do not repair a hardware fault and can complicate storage recovery.
4. Reseat and test the video cable
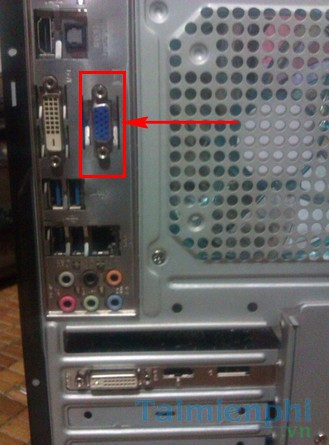
With both devices off, disconnect and reconnect the HDMI, DisplayPort, DVI, or USB-C video cable at both ends. Tighten DVI or VGA screws gently when present.
- Inspect for bent connector shells, damaged pins, cuts, or sharp bends.
- Try a known-good cable of the same type.
- Remove adapters, docks, KVM switches, and capture devices during diagnosis.
- Try another input on the monitor and another output on the graphics device.
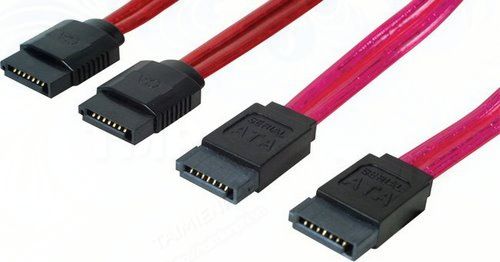
DisplayPort plugs may have a locking tab; release it before pulling. Do not force a connector into a different port.
5. Use the correct port on the PC
If the desktop has a separate graphics card, connect the monitor to a port on that card, usually in the lower expansion-slot area—not to a motherboard video port near the USB sockets.
Motherboard video outputs work only when the processor has integrated graphics and the firmware enables it. Moving a cable to the motherboard is therefore a useful test only when the hardware supports integrated graphics.
If the graphics card requires PCIe power cables, they must be fully seated. Do not confuse modular power-supply cables from different PSU models; their PSU-side wiring is not standardized.
6. Test the monitor and PC separately
| Test | Result | What it suggests |
|---|---|---|
| Connect the monitor and cable to another known-working device | No image | Monitor, cable, adapter, or selected input problem |
| Connect the PC to another known-working display | Image appears | Original monitor, cable, or input problem |
| Both displays show No Signal from the PC | No firmware logo or POST screen | PC startup, RAM, GPU, power, or motherboard problem |
| Firmware image appears, then Windows goes black | Startup reaches the operating system | Display mode, graphics driver, sign-in, or Windows problem |
If Windows starts but uses the wrong display, press Windows + P and choose an appropriate projection mode. TipsMake explains the options in its Windows display-mode guide.
7. Read the PC's startup clues
Listen for beep patterns and look for motherboard diagnostic LEDs or a two-digit POST code. Record the exact pattern, then consult the PC or motherboard manual; meanings differ by manufacturer and firmware.
- No keyboard-light response and a repeating error indicator can mean the PC has not completed POST.
- A normal startup sound or keyboard response with no image points more strongly toward the display path.
- A system that repeatedly starts and stops may have power, RAM, firmware, CPU, or motherboard trouble.
TipsMake's POST and beep-code guide can provide context, but the model-specific manual is the authority.
8. Reseat RAM only if you can work safely
Loose or poorly seated memory can prevent POST, but it is not automatically the most common cause of every blank display.
- Shut down, switch off the PSU, unplug the power cable, and hold the PC power button briefly.
- Follow the case and motherboard instructions. Use basic anti-static precautions.
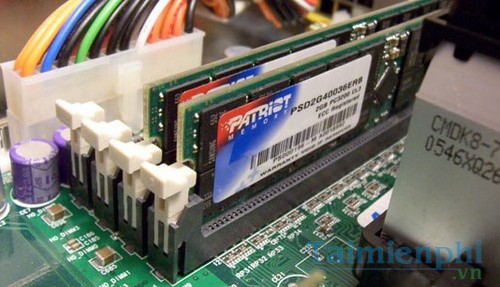
- Release the slot latches, remove the module by its edges, and reinstall it evenly until the latches close.
- If there are several modules, test the motherboard-recommended single-module slot with one compatible module at a time.
Do not scrape contacts, spray liquid into slots, or use a household vacuum inside the PC. Stop if access would void applicable warranty coverage or if you are unsure.
9. Check the graphics card and its power
A graphics card does not need to be replaced merely because the screen is blank. First inspect its seating and required power connections after fully disconnecting AC power.
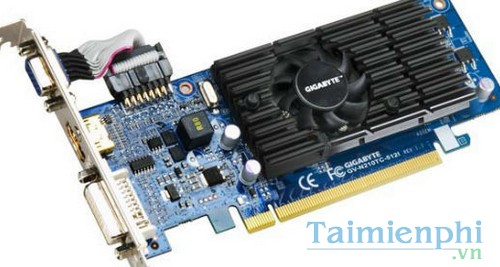
If the processor supports integrated graphics, remove the discrete card only according to the system manual and test a motherboard output. Alternatively, test with a known-compatible graphics card or have a technician do so. A successful test isolates the failing path but does not by itself prove whether the card, slot, power cable, or PSU caused it.
10. Reset firmware settings only with the manual
A failed overclock, unsupported memory profile, or display-related firmware setting can prevent POST. Use the motherboard's documented clear-CMOS procedure. This may reset boot order, fan curves, memory profiles, virtualization, security options, and the system clock.
Do not remove random jumpers or the CMOS battery while power is connected. On systems using drive encryption, confirm that the recovery key is available before firmware changes.
Do not open a power supply or laptop display assembly
A desktop PSU contains hazardous high-voltage components even after it is unplugged. Replace or professionally test it as a complete unit; never open its casing. Laptop display cables and panels require model-specific disassembly and are outside the safe scope of this desktop checklist.
Arrange service if there is a burning smell, sparking, liquid damage, repeated electrical clicking, a swollen component, or visible heat damage. Disconnect power immediately.
When the picture reaches Windows and then turns black
If you can see the manufacturer's logo or firmware screen, the monitor and basic video path are working at startup. Try Windows + Ctrl + Shift + B to reset the graphics driver, disconnect extra displays, and use Windows Recovery to enter Safe Mode if necessary. Follow TipsMake's Windows black-screen troubleshooting guide rather than reseating hardware repeatedly.
Related Articles
 Summary of Ways to Turn Off Windows 11 Computers4 minutes read
 7 Ways to Turn a Smartphone into a PC7 minutes read
 How to Connect Wi-Fi for Windows Laptops and Fix Wi-Fi6 minutes read
 How to Shut Down and Fix a Frozen or Lagging Computer8 minutes read
 Summary of 4 Ways to Turn on the Microphone on Windows 10 Computers Explained7 minutes read
 Shutdown Windows 10: Ways to Turn Off Windows 10 Computer9 minutes read
Reader Comments 0
Sign in with email or Google to join the discussion.