7 mistakes or mistakes when cleaning the camera
Any item has a hygienic process as well as its own storage. The camera is no exception. The regular cleaning of the machine will clean the lens as well as protect the parts of the machine. However, improper storage will result in damage to the machine, or damage to the camera that you own. In this article, we will list 7 common mistakes and important notes when cleaning the camera.
- 10 simple photography techniques for impressive photos
- Backlit photography techniques
1. Do not dry and clean the machine when water or moisture is encountered:
Whether you own an expensive camera with weather or dirt resistance, you should dry and clean as soon as possible. To clean the device, use a soft cloth to dry the device, then use a special dust brush or a dry cloth to continue cleaning the dirt that is still on the inside of the machine.

In addition, care should be taken when using machines at the beach because this is a sandy and salty environment that can scratch the sensor, as well as corrode components inside the machine. To clean the machine in this case, it is necessary to dry the inside of the machine, then wipe the camera body and lens case with a wet cloth to remove the remaining salt.
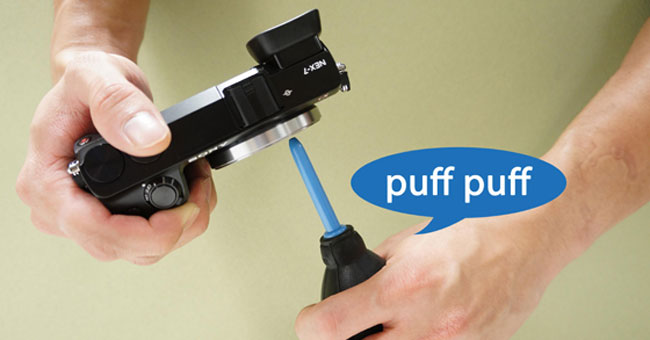
In addition, because sand is capable of scratching sensors and flip mirrors, it is advisable to limit the use of cloths, as it may unintentionally damage these parts of the machine. It is best to equip a blow ball or air blower to blow sand away from the body without having to scratch the mirror or sensor.
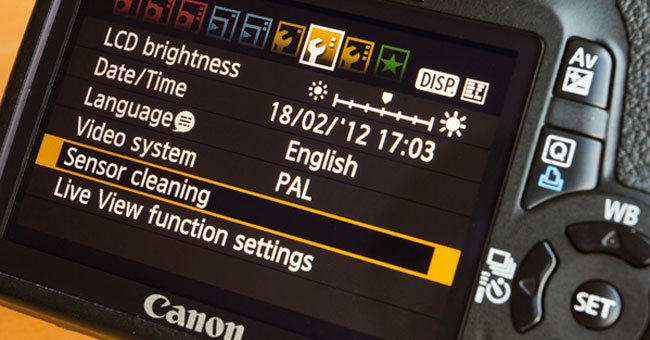
2. Do not turn on the sensor cleaning feature inside the camera:
Flip mirror cameras and compact machines now all have hygienic mechanisms by vibrating dust on the sensor falling. Some cameras allow users to customize this hygiene mechanism to take place at the time of turning on the device or before turning off the device.

3. Use the software to edit dust in the image instead of cleaning the sensor:
One of the common mistakes of photographers is lazy cleaning of sensors. And when photos have dusty dots, they will use photo editing software to erase these marks. However, this is a bad habit and instead of taking the time to do it, take care of your machines.
4. Cleaning the machine in dusty environment:
If you bring the machine to a sanitary place in a dusty place, your computer cannot be cleaner but can even bring in more dust. Often in professional cleaning services, they will operate in a clean environment or even in rooms with vacuum cleaners to keep the surrounding space clean.

However, if cleaning at home, you do not need to have a "vacuum system" like that, just pay attention to the surrounding space, if the room is too dusty, it is best not to perform cleaning. . Also, do not clean the sensor while outdoors or when you have just finished vacuuming the carpet in the house, as there is probably still a lot of dirt floating in your room. In addition, the bathroom can also be an ideal place to clean the machine, because after the bath, the steam has "pulled" the dirt away from the air.
5. Use the mouth to blow dust on the sensor:
When removing the lens from the camera body and suddenly detecting some dirt clinging to the sensor, most users will have the habit of blowing their mouth into the sensor to push the hard dust particles out. However, this is sometimes more harmful because it is likely that your saliva will splash into the cold and result in another stain to be cleaned. To avoid this situation, always carry a ball with you to blow dust when necessary.

6. Using inexpensive toilet kits:
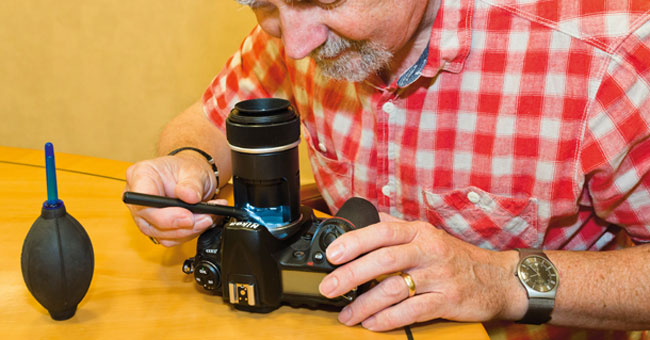
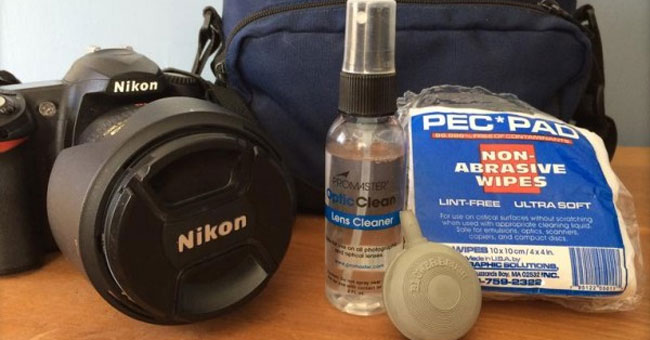
Cleaning the sensor is also quite simple with a cotton swab and cleaning solution. But don't be too thrifty but buy cheap ones because not only do they not help to remove dirt, but they also bring more trouble.
Good hygiene items are usually more expensive because they are made of good materials that do not cause scratches and are made and packaged in a dust-free environment so that no dust will be applied to the sensor of the machine. Note when cleaning, you should avoid touching the contact surface with your hands because you will likely create more dirt inside the sensor.

7. Do not clean the back of the lens, viewfinder and flip mirror:
Besides cleaning the camera body, the front of the lens, the sensor, pay attention to other parts as they can also affect the image quality as well as your photo manipulation. The sight of the glass will not affect the image quality but will make your viewing angle uncomfortable and if the long-term moisture is likely to be stained or moldy.
If you own or plan to buy a camera, save this article for important notes, as well as how to properly clean the camera.
Refer to the following articles:
- 3 unique photography techniques with flash
- Take beautiful photos with digital cameras
- How to take night photos
Hope the above article is useful to you!