Table of Contents
This guide provides a clearer, better-organized overview of 3 Tips to Improve Low-resolution Photo Quality - Using Adobe. It focuses on the essential facts, practical steps, and common questions readers are most likely to have.
In this guide, we explains how to solve the above problem using Adobe Photoshop software.
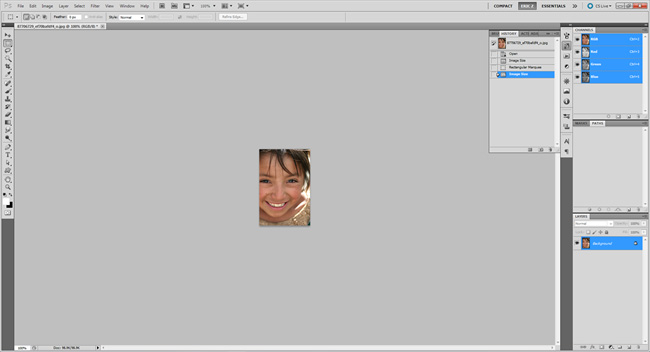
And this is our sample photo when in 100% normal mode
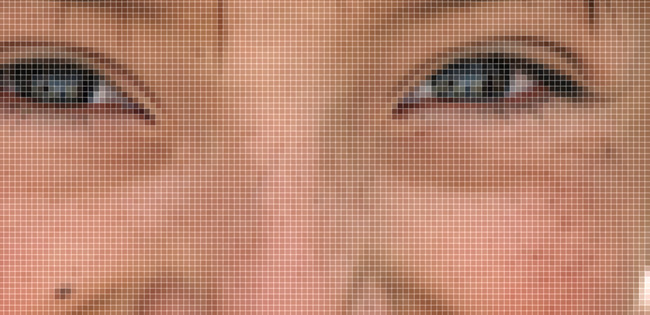
When zoomed in:
Try resizing the image with a few simple steps:
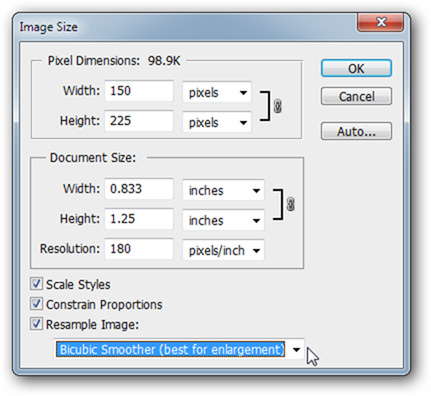
Select menu Image > Image Size, In the Resample Image Section, switch from the default Bicubic Mode to Bicubic Smoother (best for enlargement).
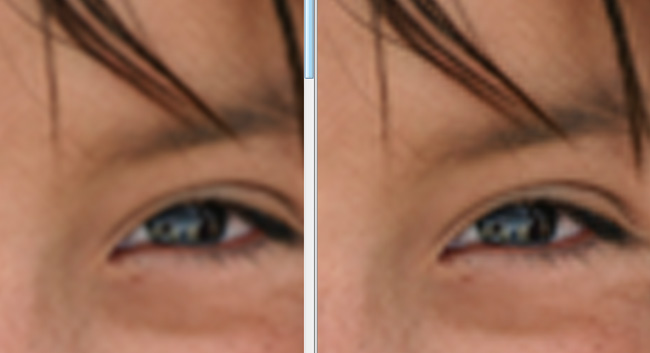
Note that Bicubic Smoother Mode is a bit different from basic Bicubic . Based on the mechanism of reducing jagged details in the photo, our work will become natural, smooth and no longer angular.
Improve Quality When Enlarging Photos
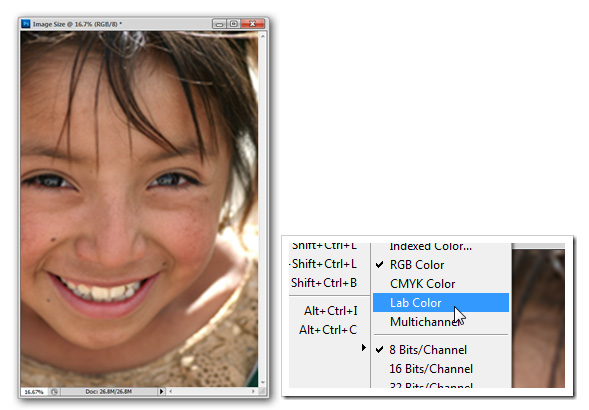
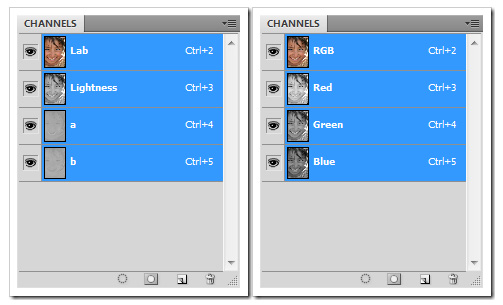
Most Photoshop Users do not apply RGB Or CMYK . And here, we will use another color mode called Lab Color . Open the photo to be edited and select Image > Mode > Lab Color:
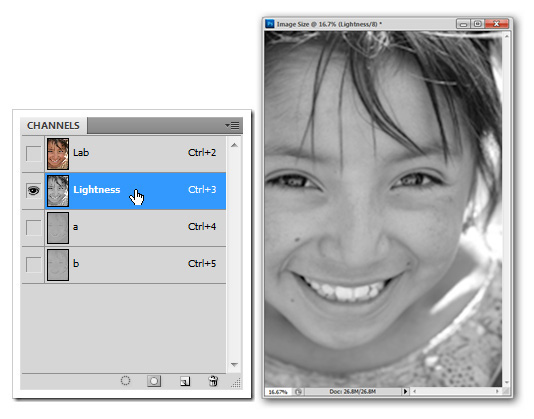
Make sure you have the Channels Section open by clicking Window > Channels , then selecting Lightness .
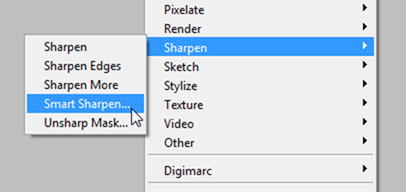
Once Lightness Is selected, continue with the Smart Sharpen Filter via The Filter > Smart Sharpen menu.
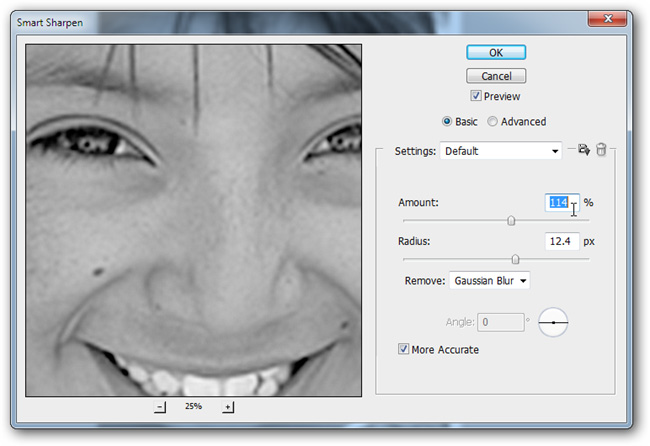
In this test, the above filter works quite well, but depending on each specific case, please apply multiple times or change the settings accordingly.
 Keep the setting in the Remove section to Gaussian Blur
Besides, you can keep Lab Color Unchanged or change back to RGB Mode if you want, unlike the conversion process between RGB And CMYK , RGB Does this quite perfectly, in other color modes., we can combine multiple Channelsets Together by pressing Ctrl + 2:

Obviously, with the above method, you can easily see the change.

With Typography :
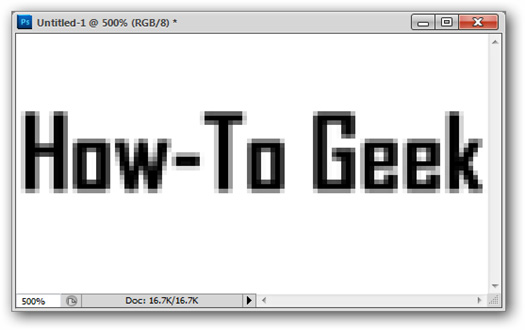
However, with Typography It is completely different. The example image with low resolution as above, just increasing the length by 100 pixels Will make a lot of difference.
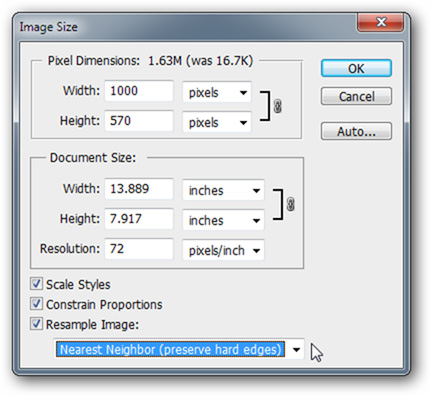
Here, we increase the size of the photo by 10 times and apply the Nearest Neighbor setting.
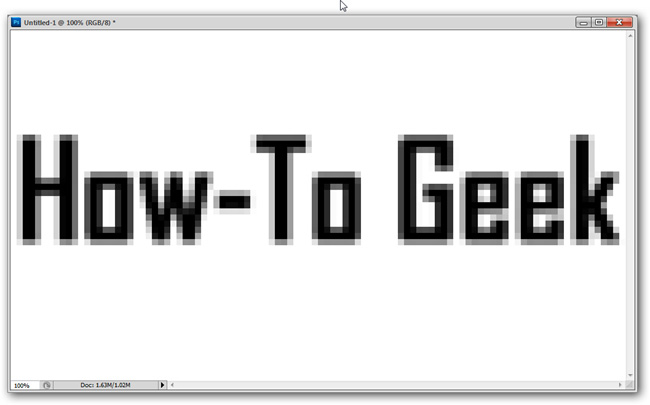
And the results are as above. Let's see what we can do to fix it.
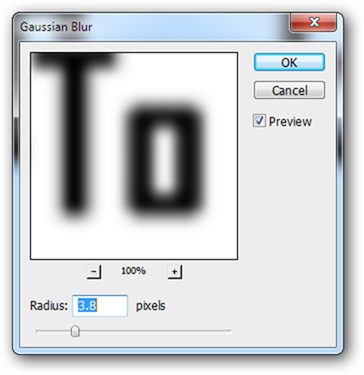
Apply the Gaussian Blur Filter by choosing Filter > Gaussian Blur To change the details of the text inside the image.
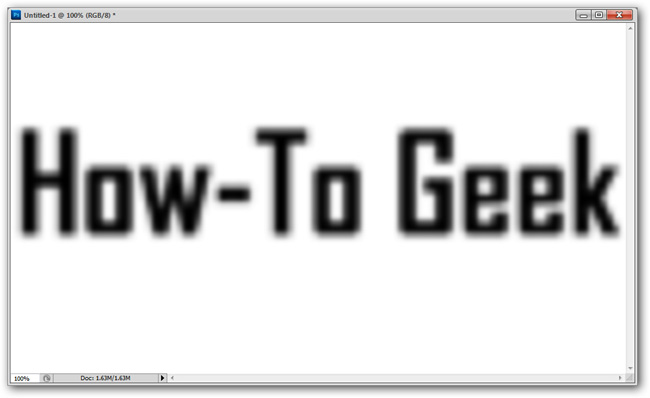
The temporary result here will look like the image above.
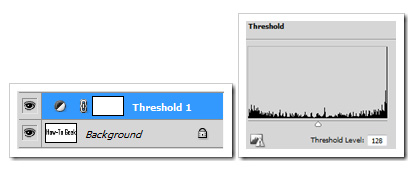
Next, use the Threshold Feature to manipulate, select the icon next to the newly created Threshold layer inThe Layers Panel To insert a new layer.
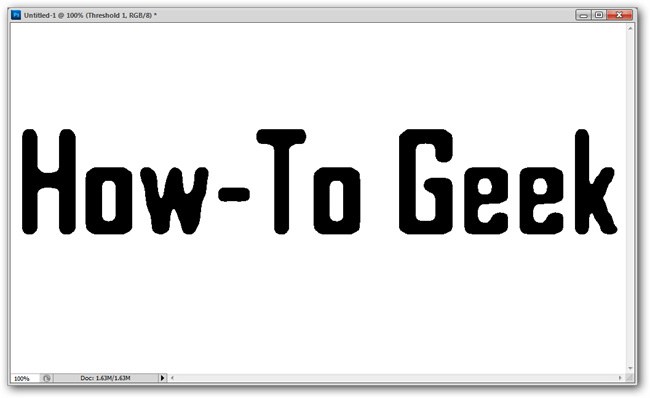
And the details in the image have become smoother and less angular. If we are not satisfied, we can use the Brush Tool to further edit. Good luck!
FAQ
What is the main point of 3 Tips to Improve Low-resolution Photo Quality - Using Adobe?
In this guide, we explains how to solve the above problem using Adobe Photoshop software.
Why might the details change over time?
Software versions, prices, policies, services, and product availability can change. Check the official source before making a purchase or changing important settings.
How can I use this information safely?
Follow official instructions, verify downloads and claims, back up important data, and avoid sharing passwords or sensitive account information.
Related Articles
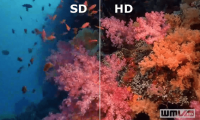 3 Tips to Improve Low-Resolution Image Quality: Low Resolution Photo4 minutes read
 Link Download Adobe Photoshop Express for Windows 109 minutes read
 5 Basic Photo Editing Tips on Adobe Photoshop Express4 minutes read
 Instructions for Using Photoshop CS5 to Edit Photos in Full Set5 minutes read
 Do You Want to Learn Adobe Photoshop Tips Within 1 Minute? Take a2 minutes read
 The Top Photoshop Alternatives: Best Options Compared11 minutes read
Reader Comments 0
Sign in with email or Google to join the discussion.