10 AutoHotKey scripts to make life easier
With AutoHotkey (version 2), you can recreate these scripts and bind them to keyboard shortcuts, making them feel like built-in Windows features that Microsoft forgot to mention..
People have been creating PowerShell scripts on their Windows PCs for years, but many of them had to be run manually. With AutoHotkey (version 2), you can recreate these scripts and bind them to keyboard shortcuts, making them feel like built-in Windows features that Microsoft forgot to mention.
10. Personal Fast App Launcher

Apps like Notepad, Calculator, and Paint are often hidden from the desktop because they aren't that important. But every now and then, you find yourself hunting for these apps because of their quick utility. So instead of looking through the Start menu or desktop icon, create a custom menu that appears instantly when you press Windows key + M using the script below.
#Requires AutoHotkey v2.0 #m::{ MyMenu := Menu() MyMenu.Add("Calculator", (*) => Run("calc.exe")) MyMenu.Add("Sticky Notes", (*) => Run("explorer.exe shell:AppsFolderMicrosoft.MicrosoftStickyNotes_8wekyb3d8bbwe!App")) MyMenu.Add("Notepad", (*) => Run("notepad.exe")) MyMenu.Add("Paint", (*) => Run("mspaint.exe")) MyMenu.Show() }9. Horizontal scrolling is done consistently
Shift + Mouse Wheel to scroll horizontally doesn't work in all the apps you use. Sadly, people use this all the time, especially those who like to view code snippets or designs in CAD. So create your own script to make horizontal scrolling work in whatever app you use.
Create a script with the following entries to create your own version:
#Requires AutoHotkey v2.0 #HotIf GetKeyState("Shift", "P") WheelUp::Send("{WheelLeft}") WheelDown::Send("{WheelRight}") #HotIfBy holding Shift and the mouse wheel, you can scroll left and right instead of up or down. This works in any program that supports horizontal scrolling, from Excel spreadsheets to photo editors to web browsers with wide content.
8. Instant access to any folder
Many people organize their files into folders. However, sometimes, creating too many subfolders makes accessing the project folder take many clicks to open. You can easily create a script that binds Ctrl + ALT + D to immediately open a specified project folder.
Here is the script:
#Requires AutoHotkey v2.0 ^!d::Run('explorer.exe "C:UsersjricmDownloads"')7. Quick text expansion for everyday phrases
Do you like the idea of using Windows alt codes to insert special characters quickly and easily? Let's take a similar approach with an AHK script that allows you to use shortcuts for common phrases you use often. Create this script to try it out for yourself:
#Requires AutoHotkey v2.0 #SingleInstance Force ::gm::Good morning ::ty::Thank you ::brb::Be right backWith this example, whenever you type "gm" followed by a space (or Enter), it will immediately expand to "Good morning". The same goes for "ty", which expands to "Thank you", and "brb" to "Be right back". This works in any app you can type in, and it's especially useful when you're replying to messages throughout the day.
6. Custom volume control with keyboard
Many people find it difficult to control the volume in Windows. You either click the little speaker icon in the system tray or look for the volume buttons on your keyboard, which can be hard to find, especially when you're working with the lights off. Replace it with something faster and more intuitive!
Since your fingers are always glued to the home row keys, it makes sense to bind the volume control function to CTRL + Comma or CTRL + Period for volume control and CTRL + M for mute and unmute. Here's a script you can use:
#Requires AutoHotkey v2.0 #SingleInstance Force ^,::Send("{Volume_Down}") ; Ctrl + ^.::Send("{Volume_Up}") ; Ctrl + > (period) ^m::Send("{Volume_Mute}") ; Ctrl + M5. Center the mouse cursor instantly
This may sound simple, but it's really useful, especially if you're working with multiple monitors or a single ultrawide setup. This hotkey will center the mouse cursor when you press Ctrl + Alt + C . Here's the script you'll need to create:
#Requires AutoHotkey v2.0 ^!c:: { WinGetPos(&x, &y, &w, &h, "A") MouseMove(x + w/2, y + h/2) }The script finds the exact center of your active window and moves your mouse there instantly. It works with any program and any window size, even if part of the window is off-screen. You'll probably use this script most often when switching between different applications and want to quickly focus on the new window without having to think about where your mouse stopped.
4. Automatically organize download folders
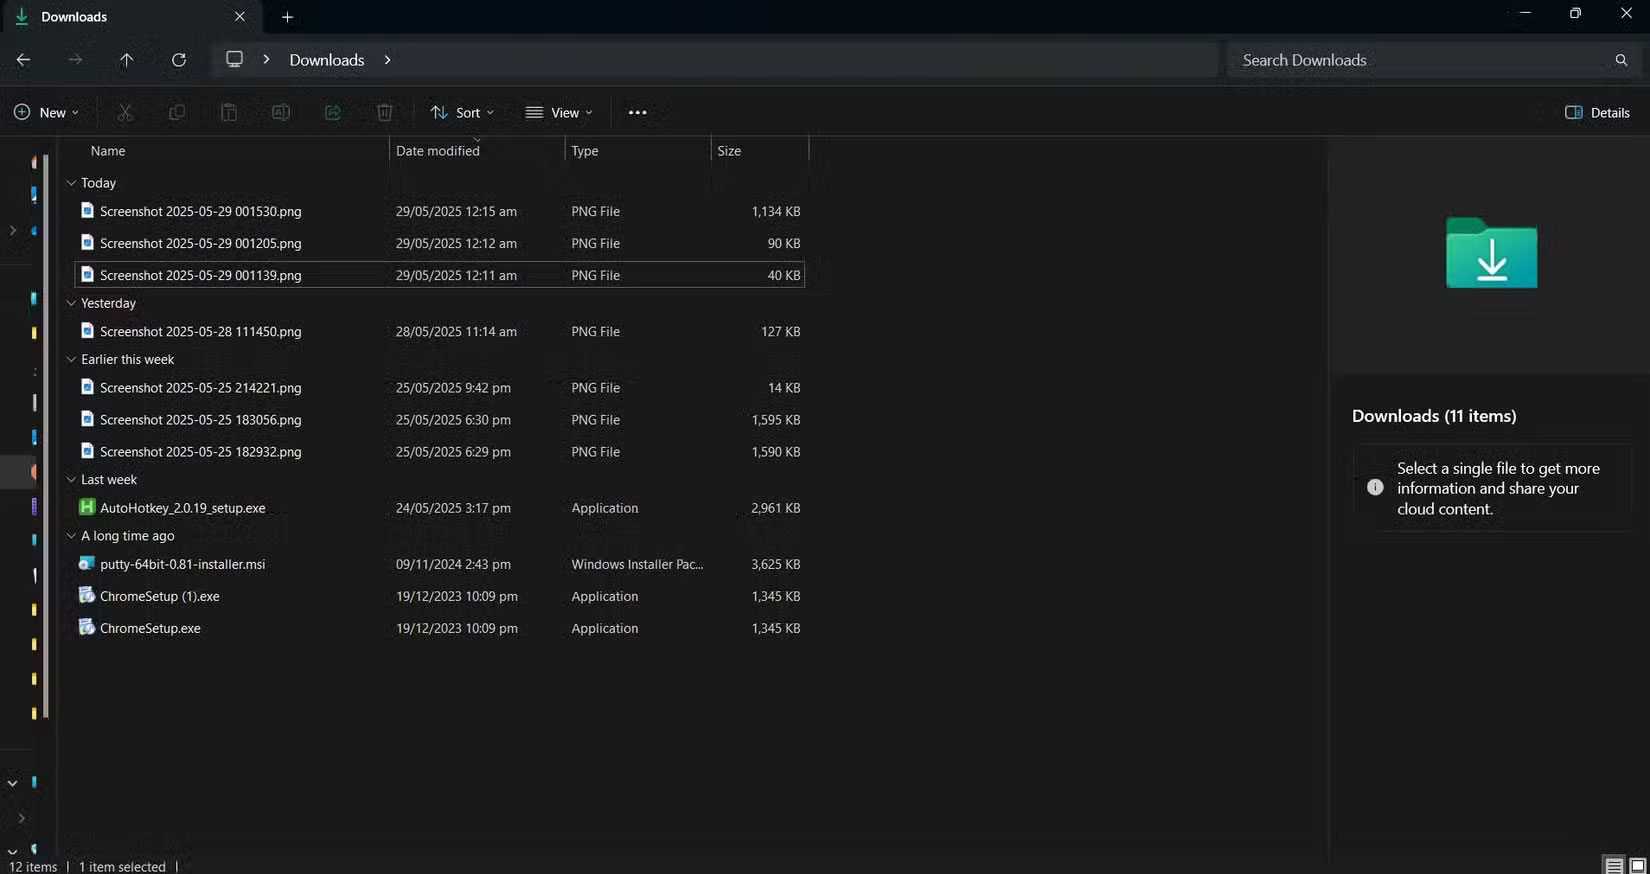

The Downloads folder is often a mess. Screenshots are mixed with PDFs , music files are next to random installers. You could sort them manually, but who has time to sort files when you're working?
This hotkey script runs in the background and automatically sorts new downloads into folders organized by file type. Press F12 to enable it and every 5 seconds it will scan your Downloads folder and move files to the appropriate subfolders. PDFs and Word documents will go into the "Docs" folder, images will go into "Images", music files will go into "Music", etc. Here's how to set it up:
#Requires AutoHotkey v2.0 downloads:="C:UsersjricmDownloads", interval:=5000 ext:=Map("pdf","Docs","docx","Docs","xlsx","Docs","txt","Text","jpg","Images","png","Images","mp3","Music","mp4","Videos","exe","Programs","zip","Archives") F12:: { static on:=false on:=!on, SetTimer(MoveFiles, on?interval:0) ToolTip("AutoSort: " (on?"ON":"OFF")), SetTimer(() => ToolTip(), -1500) } MoveFiles() { Loop Files downloads "*.*", "F" if ext.Has(e:=A_LoopFileExt) { d:=downloads "" ext[e] if !DirExist(d) DirCreate(d) try FileMove(A_LoopFilePath, d "" A_LoopFileName, 1) } }3. Launch multiple apps for specific workflows
Many people like to use Windows Virtual Desktops to organize different tasks. Unfortunately, it doesn't let you automatically open certain applications or change the application on each virtual desktop. To fix this, use AutoHotkey to open multiple applications with a single keystroke. Here's a script you can use:
#Requires AutoHotkey v2.0 +1:: { Run('"C:UsersjricmAppDataLocalProgramsMicrosoft VS CodeCode.exe"') Run('"C:Program FilesJetBrainsDataGrip 2023.3.4bindatagrip64.exe"') Run('"C:Program FilesDockerDockerDocker Desktop.exe"') }2. Always show important windows
There are many times when you want a window to stay visible, such as when following a tutorial, checking notes, or chatting with people. Windows doesn't give you an easy way to do this. So let's create a script for this specific purpose.
#Requires AutoHotkey v2.0 ScrollLock:: { try { activeHwnd := WinGetID("A") isTopMost := WinGetExStyle(activeHwnd) & 0x8 ; 0x8 = WS_EX_TOPMOST WinSetAlwaysOnTop(!isTopMost, activeHwnd) SetScrollLockState(isTopMost ? "Off" : "On") ToolTip("Always On Top: " (isTopMost ? "OFF" : "ON")) SetTimer(() => ToolTip(), -1000) } }With the above script, you can simply press the Scroll Lock key while the window is active and it will stay on top of everything else. The script gives you a quick tooltip and turns the Scroll Lock light on or off on your keyboard, so you always know what's pinned. Use this trick whenever you need a handy reference window without having to constantly move things around or switch back and forth. Scroll Lock is a good choice since most people don't use it for anything else, but you can change it to another key if you want.
1. Prevent your computer from going into Sleep mode
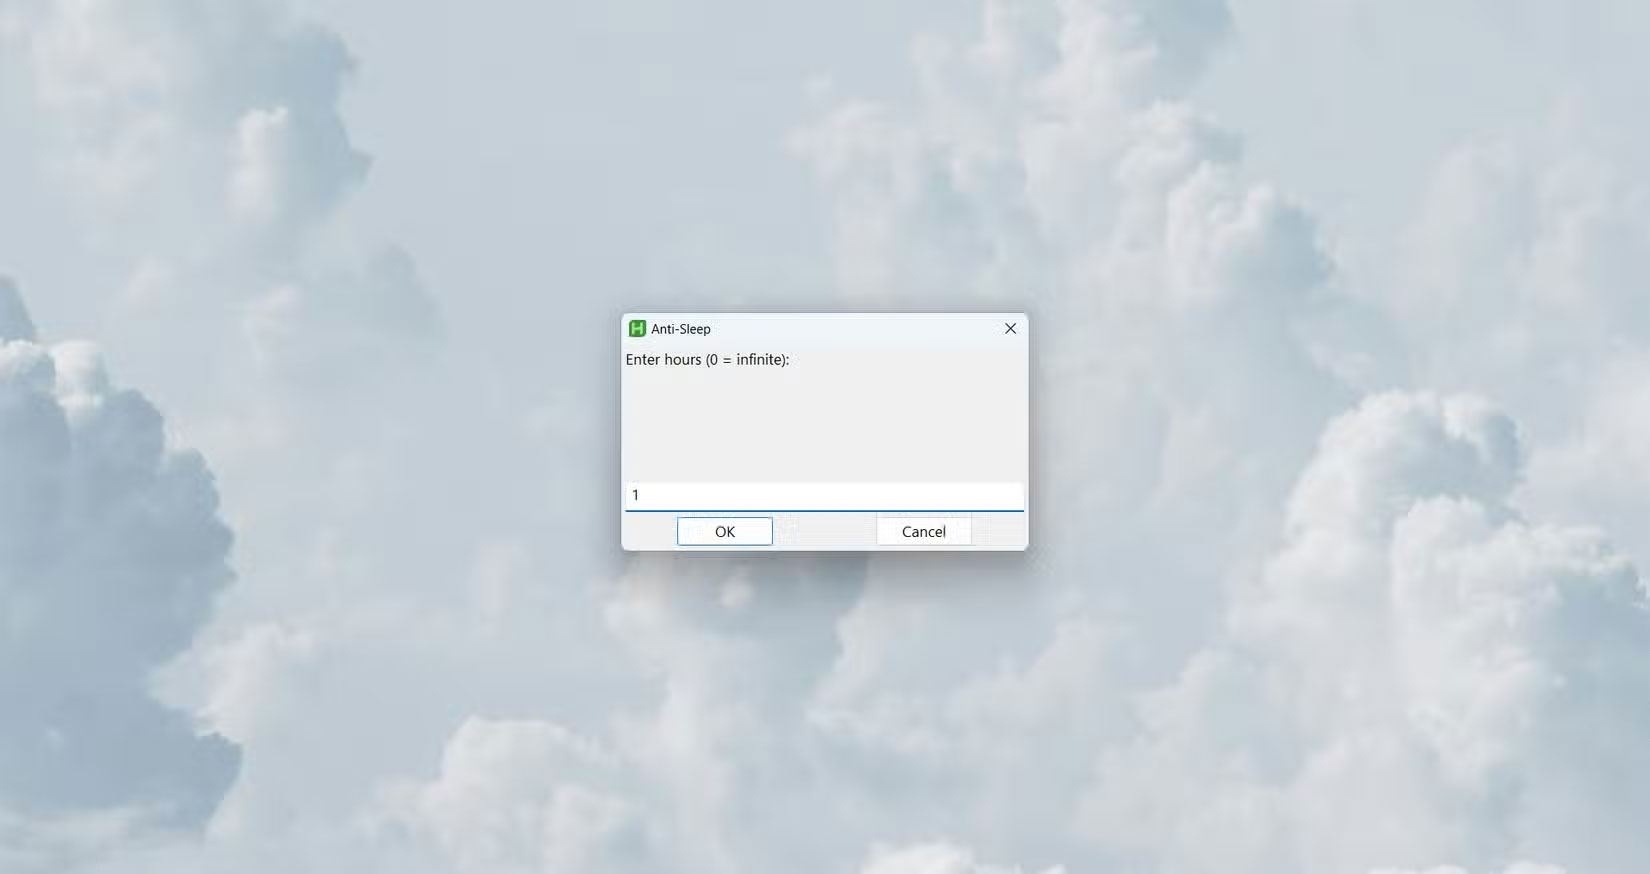
Sometimes you download and transfer larger files on your computer. The whole process can take from a few minutes to a few hours. The problem is that the download often gets interrupted by the computer going into sleep mode after a few minutes. This is always frustrating because retrying or resuming the download often fails. To solve the problem, create a script that binds the Ctrl + Alt + Shift + S keys to prevent the computer from going into sleep mode.
#Requires AutoHotkey v2.0 #SingleInstance Force global on := false, endTime := 0 ^!+s::{ global on, endTime if !on { hrs := InputBox("Enter hours (0 = infinite):", "Anti-Sleep").Value if !IsNumber(hrs) || hrs return MsgBox("Invalid input.") endTime := hrs ? A_TickCount + hrs*3600000 : 0 SetTimer(AntiSleep, 300000), SetTimer(CheckEnd, 1000), on := true ToolTip("Anti-Sleep: ON" (hrs ? "`n" hrs "h" : ""), 500, 500), SetTimer(() => ToolTip(), -1500) } else { ; Required braces for multi-line else block SetTimer(AntiSleep, 0), SetTimer(CheckEnd, 0), on := false ToolTip("Anti-Sleep: OFF", 500, 500), SetTimer(() => ToolTip(), -1000) } } AntiSleep() => (MouseMove(1,0,0,"R"), MouseMove(-1,0,0,"R")) CheckEnd() => endTime && A_TickCount >= endTime && Send("^!+s") ^!+x::Send("^!+s")The script works by moving the mouse a little every 5 minutes. This way, the PC won't go into standby and sleep mode. You can extend the script to include a timer that will deactivate the script after a certain amount of time. The script also displays a small tooltip when you activate or deactivate the script, so you always know if the script is running or not.