'Turn' YouTube videos into GIFs
QuanTriMang - In the article below, we will show you some basic steps to turn YouTube videos into funny and funny animations , the main tool used here is the photo editing program. Professional Photoshop.

The first thing we need to do is download and convert this YouTube video file format. There are now many popular and free tools to do this. For example, in this test, we use ZamZar:
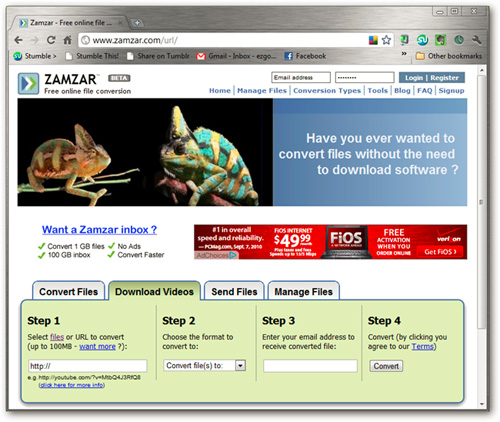
Very simple, you put the URL of the YouTube video into the box Step 1, select the appropriate format in the box Step 2, enter the email address in the Step 3 box to ZamZar send the resulting file, finally click Convert button :

After opening the email and receiving the result file from ZamZar, open Photoshop and follow these steps:
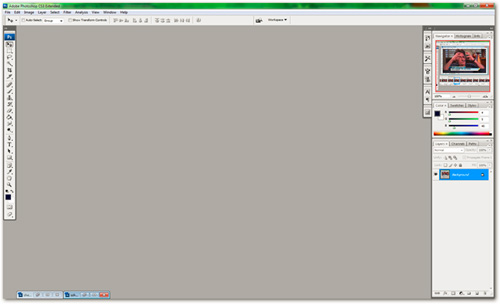
Basically, users can still perform the following steps with the GIMP program. To be sure, please refer to the Gimp Animation Plugin (GAP) guide here and the respective plug-ins here. Another point to note for those who use 64-bit operating system will encounter the following error message:
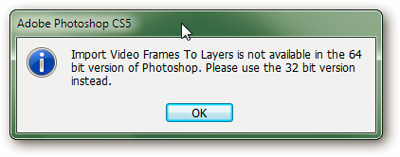
Users of 32-bit operating systems or respective Photoshop will not encounter this error
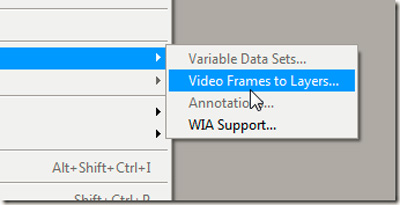
Choose File> Import> Video Frames to Layers after opening Photoshop:
Point to the directory where the video file is saved and convert the format (preferably the MOV file):
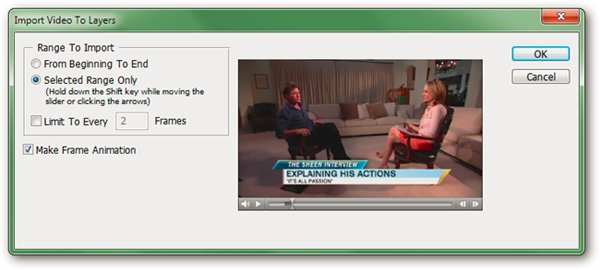
Here, we will see the Preview window of that video, select Selected Range Only to select the start and end time of the clip, click to fix the first point, then hold Shift + click to Select the end point. Do not Import the clip is too large, because Photoshop only supports up to 500 frames. Then click OK.
Frame segments are displayed in Photoshop as follows:
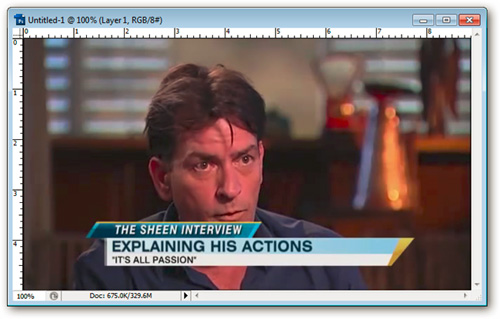
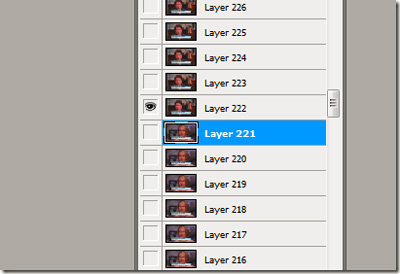
Each frame - frame in the clip is divided into Layer - the corresponding layer here:
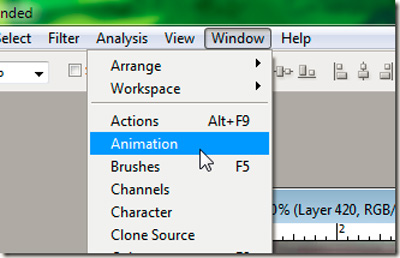
Then select Window> Animation to open the Animation control panel:
This window displays detailed information of each frame in the clip and the delay time - respectively. If you don't see the delay information, delete it and Import again from the above step:

If you want to delete unnecessary frames, select (hold Shift to select multiple frames continuously, or Ctrl to select frames in different locations), then click on the Trash icon -  to delete:
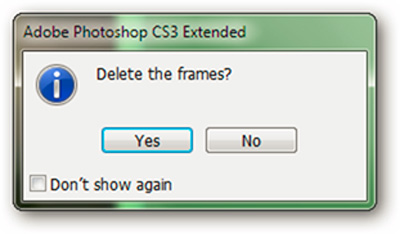
Do the same thing until you feel satisfied:
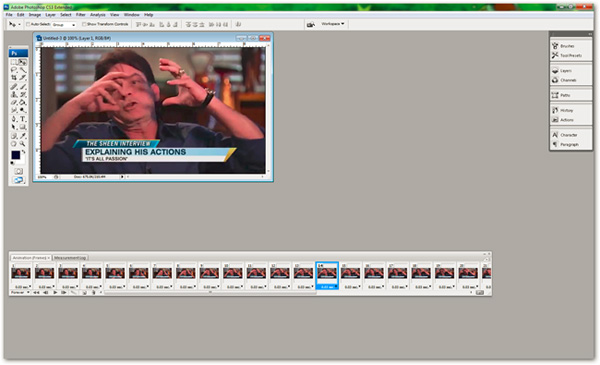
Then, press the button  to check the movement between the remaining frames in Photoshop. The effects at this step are mostly slower than when rendering to GIF images or view them directly on the browser. Choose File> Save for Web & Devices :
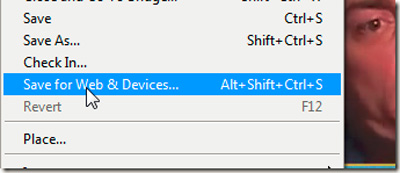
This function allows us to save the remaining frames into Gif image files, make sure you change the Looping Options entry to Forever . And this is our result in this test:

Good luck!