Table of Contents
Freebeat turns an audio track into a planned, beat-aware music video. You can upload a song or paste a supported link, choose a video style, describe the visual direction, review the generated storyboard, and render the result. The service uses credits, so check the expected cost and output restrictions before starting a long render.
Before you upload a song
- Use music you created or have permission to use. A link to a public song does not give you rights to republish it.
- Decide where the video will appear. Vertical video suits Shorts, Reels, and TikTok; widescreen is generally better for a standard YouTube upload.
- Prepare a short creative brief covering the subject, setting, mood, color palette, and energy.
- Review the current plan terms. Freebeat’s terms describe free-tier credits as non-commercial, so confirm licensing before monetizing or using an output for a client.
1. Add your music
Go to Freebeat, sign in, and choose the music-video generator or Upload music. Select Add music to begin.
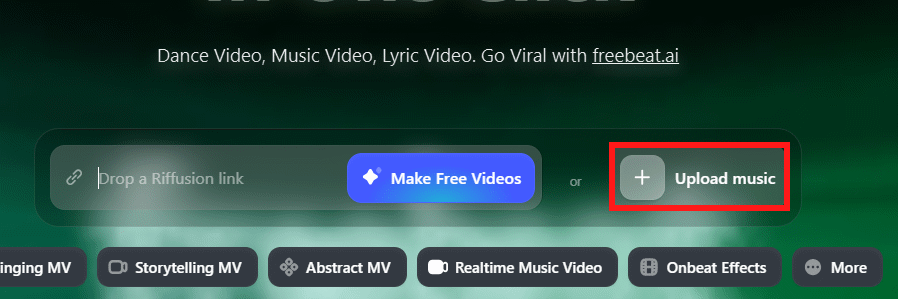
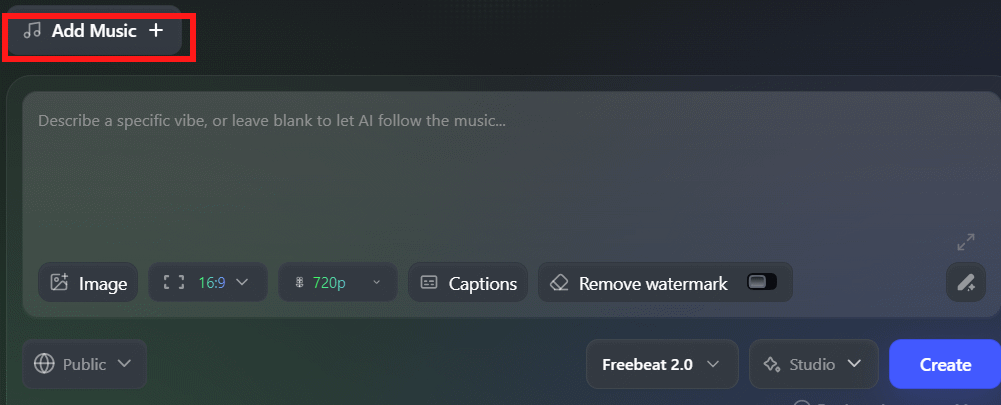
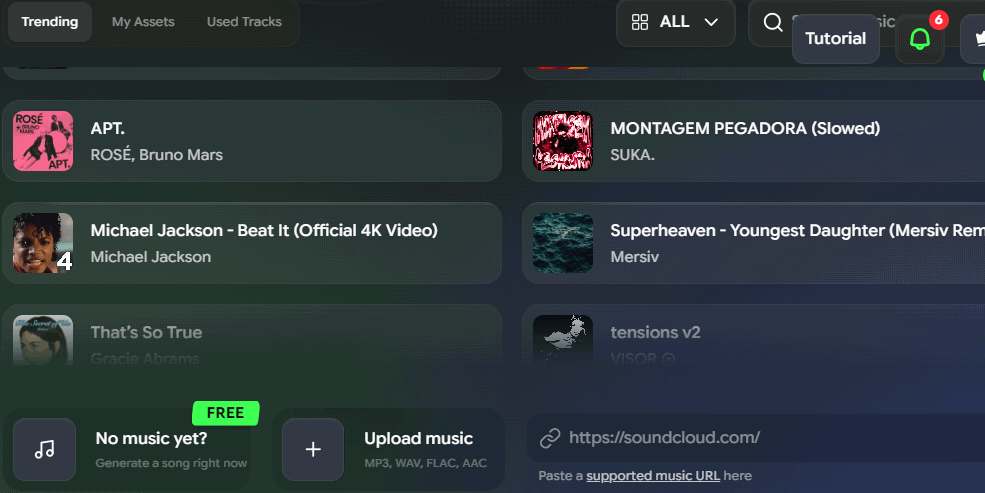
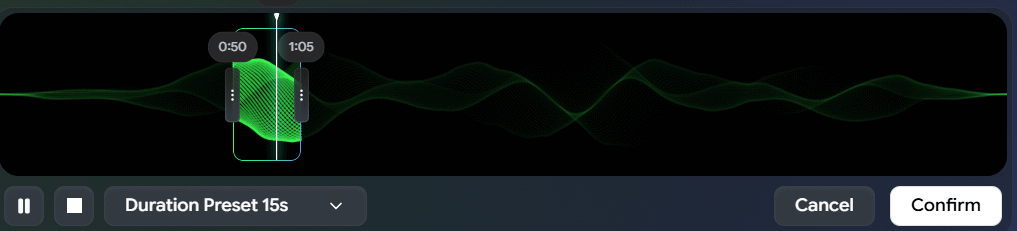
Upload an audio file, choose an available track, or paste a supported music link. Only submit material you are authorized to process. If the editor offers a trim control, select the exact part of the song you want to visualize and confirm the segment.
2. Choose a video mode
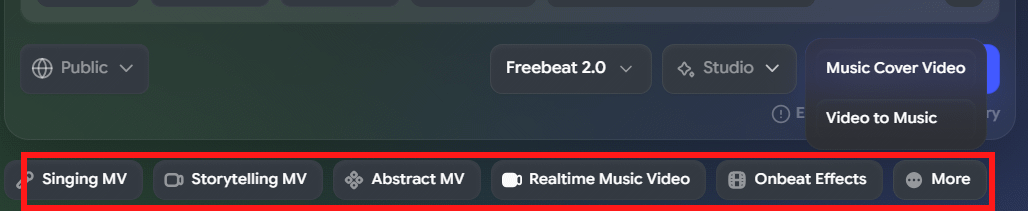
Select a mode that matches the purpose of the track. The labels may change as Freebeat updates its interface, but the main choices shown here include:
- Singing MV: emphasizes a performer, facial movement, and lip sync.
- Storytelling MV: builds a sequence of scenes around a narrative.
- Abstract MV: uses atmosphere, color, texture, and motion instead of a literal story.
- Realtime or Viral Short: favors a fast, compact edit for social platforms.
- OnBeat Effect: times visual changes and effects to the rhythm.
3. Write a useful visual brief
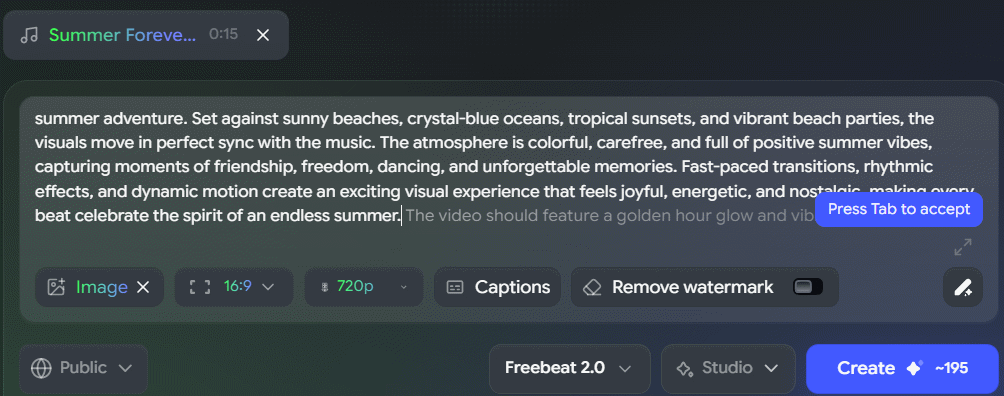
You can let Freebeat propose a concept, but a specific prompt gives you more control. Describe the main subject, location, visual style, mood, lighting, and pace. Include constraints that must stay consistent, such as a character’s clothing or the absence of text.
For example: A lone cyclist crossing a neon-lit city at night, reflective wet streets, blue and magenta palette, energetic cuts on the chorus, no logos or on-screen text, vertical 9:16 framing.
Choose the aspect ratio and any character or reference-image options, then select Create. Generation time varies with the length, mode, queue, and selected model.
4. Review the concept and storyboard
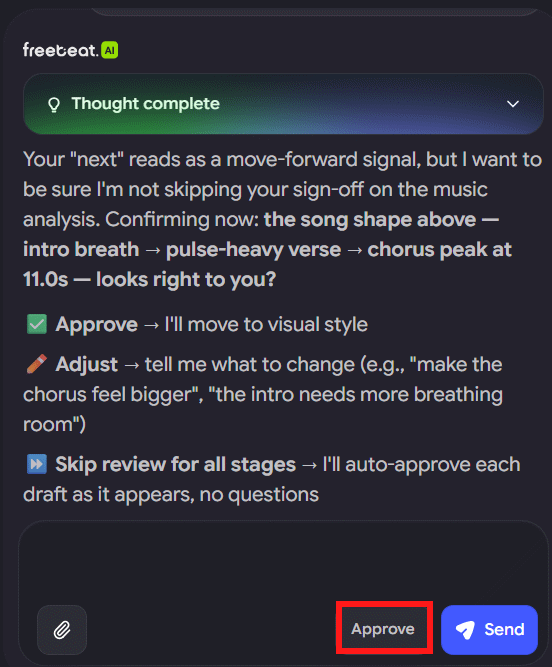
Freebeat may present its work in stages. Read the proposed direction before approving it. Correct the subject, tone, or setting early; otherwise, the same mistake can carry through many scenes. Use Approve, Send, or the corresponding current control only after the concept matches your brief.
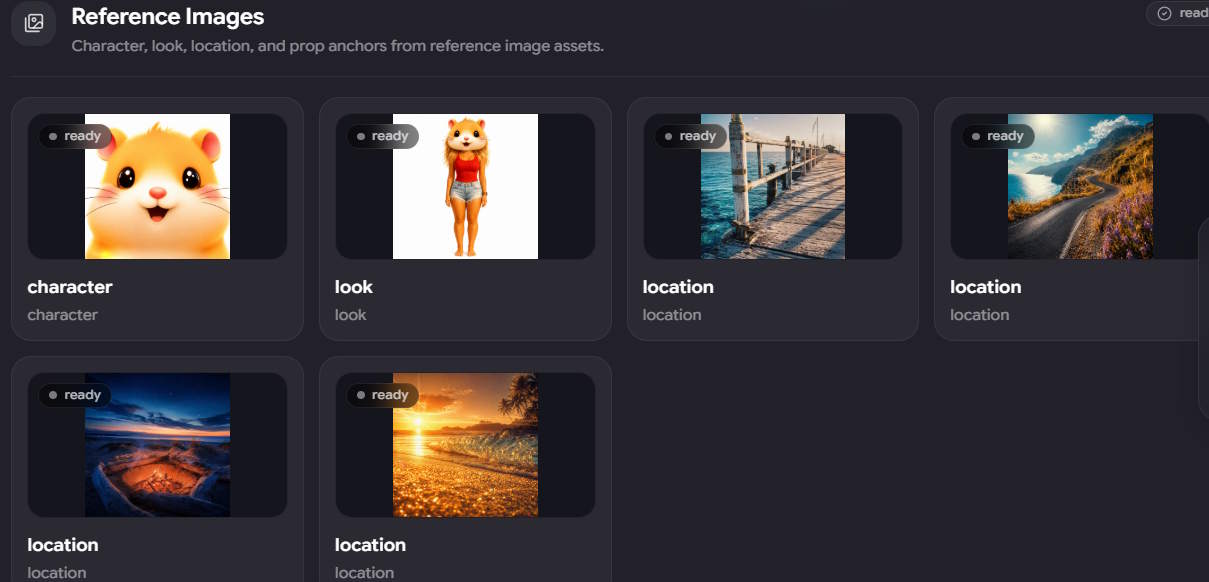
Inspect the generated characters and scene images for inconsistent faces, extra limbs, unreadable text, unwanted logos, and abrupt changes in clothing or lighting. Regenerate or edit weak shots before the final render.
5. Render, download, and check the final video
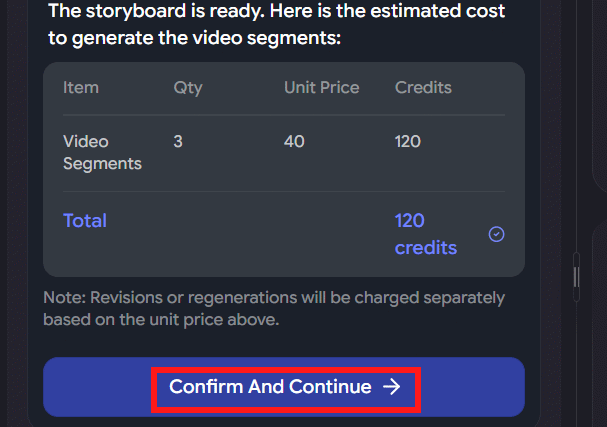
Confirm the storyboard and start the final generation. When rendering is complete, open the Storyboard or export area and choose Download. Save the highest resolution available under your plan.
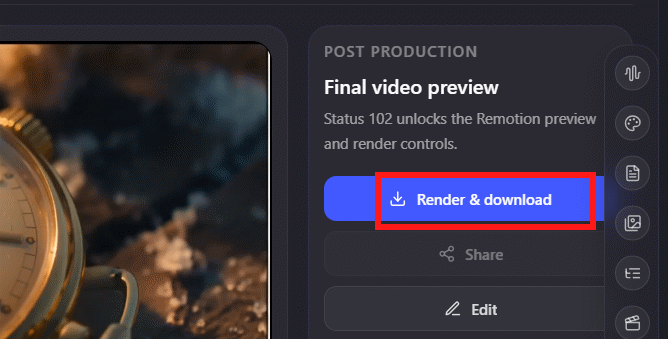
Watch the full file before publishing. Check beat timing, lip sync, transitions, cropping, audio quality, watermarks, and any accidental copyrighted or branded elements. AI-generated visuals can contain errors even when the storyboard looked correct.
Freebeat can shorten the path from a song to a social video, but the strongest results still come from a clear brief and a careful scene-by-scene review.
Related Articles
 How to Prevent Videos from Automatically Running on Firefox3 minutes read
 How to Automatically Download Apple Music Songs on iOS Devices3 minutes read
 Fix YouTube Not Automatically Transferring Songs on Phones and Computers7 minutes read
 How to Stop Videos Automatically Played in the YouTube Application3 minutes read
 Facebook Launched New Features, Videos Automatically Run and Play6 minutes read
 How to Turn on Subtitles on YouTube: Complete Guide6 minutes read
Reader Comments 0
Sign in with email or Google to join the discussion.