What is Program Compatibility Troubleshooter in Windows 11? How to use it?
Program Compatibility Shooter is a Windows tool that helps you troubleshoot application compatibility issues..
Are you running an older app on Windows 11 and having problems? There may be a compatibility issue that is causing the app to not work properly because the program may not support Windows 11 .
Luckily, there is a tool you can use to get your application working properly. It is called the Program Compatibility Troubleshooter. This article will show you what it is and how to use it.
What is Program Compatibility Troubleshooter?
In short, Program Compatibility Shooter is a Windows tool that helps you troubleshoot application compatibility issues. For example, this tool can help if an application worked perfectly on Windows 8 but you find that it doesn't work properly (for example, some graphics elements are broken) or crashes on Windows 11.
Windows 11 has a variety of troubleshooting tools, and you can read our guide to every troubleshooting tool on Windows for a brief overview of each tool.
With the Program Compatibility Troubleshooter, you go through a series of steps to help the tool identify specific compatibility issues. And as you do, the tool applies the best settings to the program so it can run smoothly on Windows 11.
How to run the Program Compatibility Troubleshooter?
To open the Program Compatibility Troubleshooter, follow the steps below:
1. Press Win + I to open the Settings app .
2. You will automatically be taken to the System page, if not, click System on the left menu.
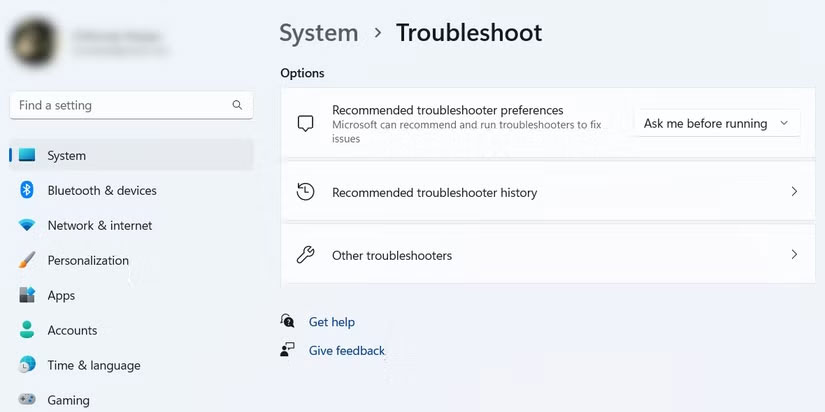
3. On the right side of the System page , click Troubleshoot .
4. Scroll down and click Other troubleshooters .
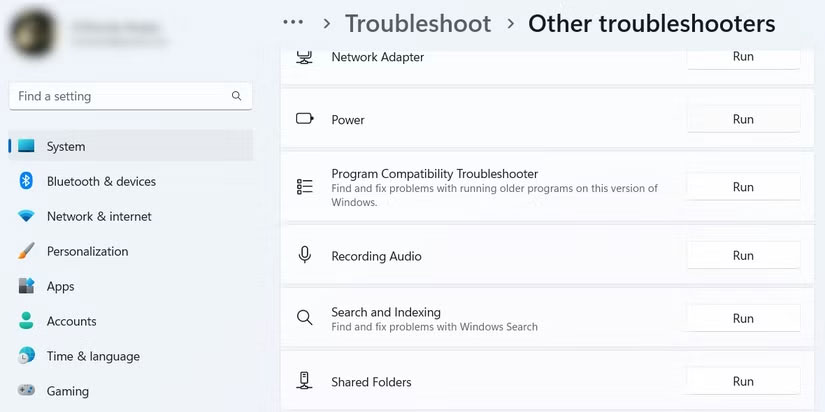
5. You will find Program Compatibility Troubleshooter under the Other section and to launch it, click the Run button next to it.
How to select programs to repair in the Program Compatibility Troubleshooter
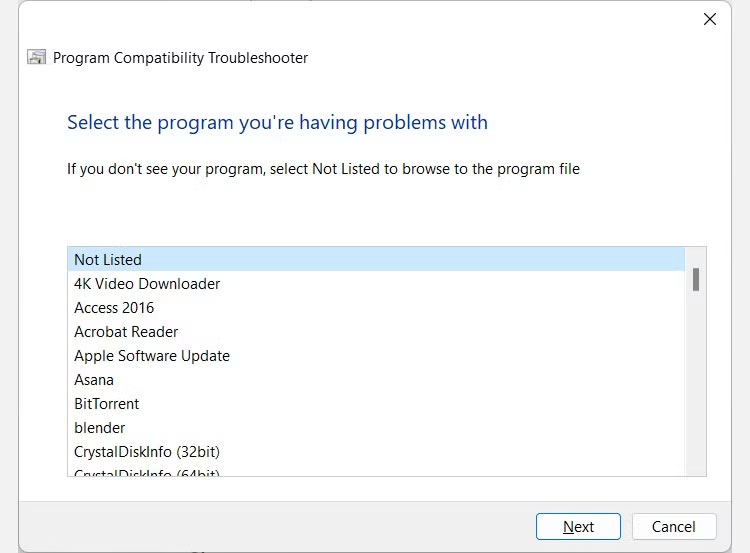
Once you launch the Program Compatibility Troubleshooter, it will search for all the programs that you can troubleshoot and list them for you. Select the program you want to fix, then click Next . And if the program isn't listed, select Not listed and browse for it.
After the tool analyzes the program, it will ask you to choose the troubleshooting option between Try recommended settings and Troubleshoot program .
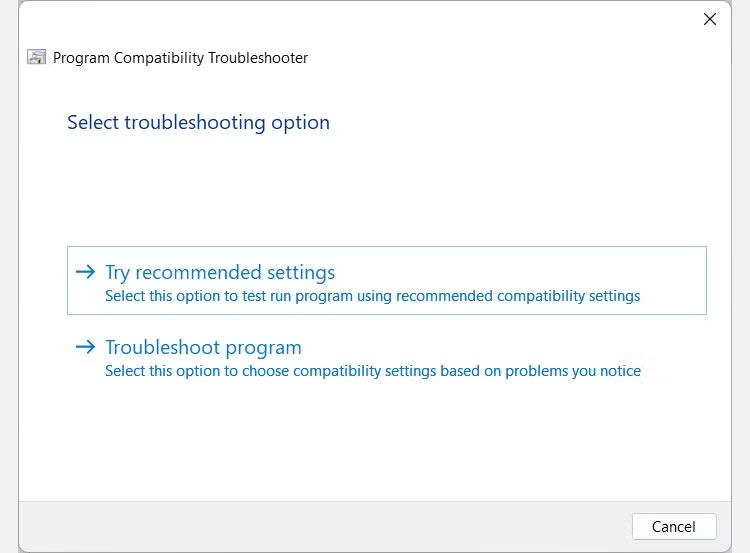
Let's see what each item does.
How to fix compatibility issues with the "Try recommended settings" option
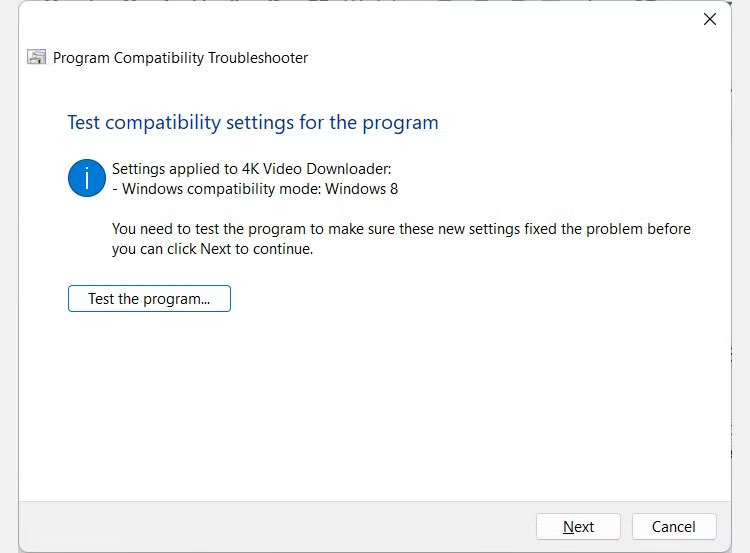
If you select Try recommended settings , Windows will apply the best compatibility settings for the selected program based on your previous version of Windows. However, you will then need to click the Test the program button to launch the application and make sure it works as expected. Then, click Next to continue.
You'll then be asked if you want to save the settings you applied. If they work, click Yes, save these settings for this program . If not, click No, try again using different settings - this is the same as selecting Troubleshoot program as your troubleshooting option.
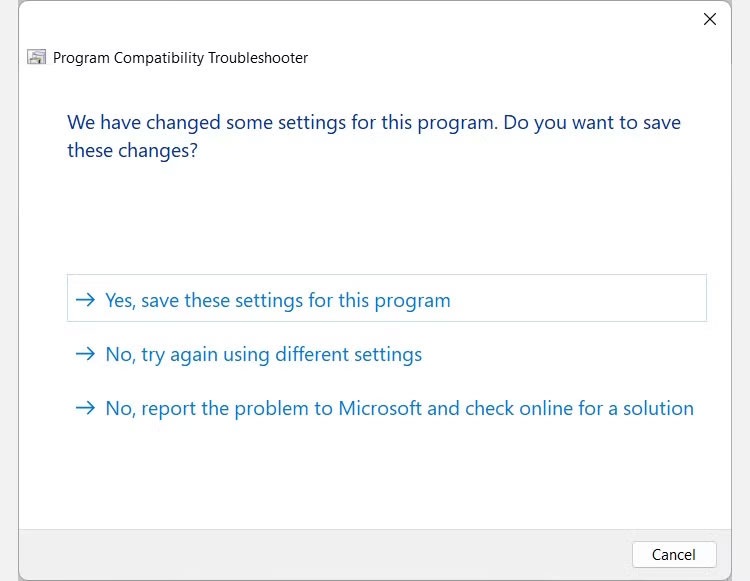
If not, click No, report the problem to Microsoft and check online for a solution .
How to troubleshoot compatibility issues with the "Troubleshoot Program" option
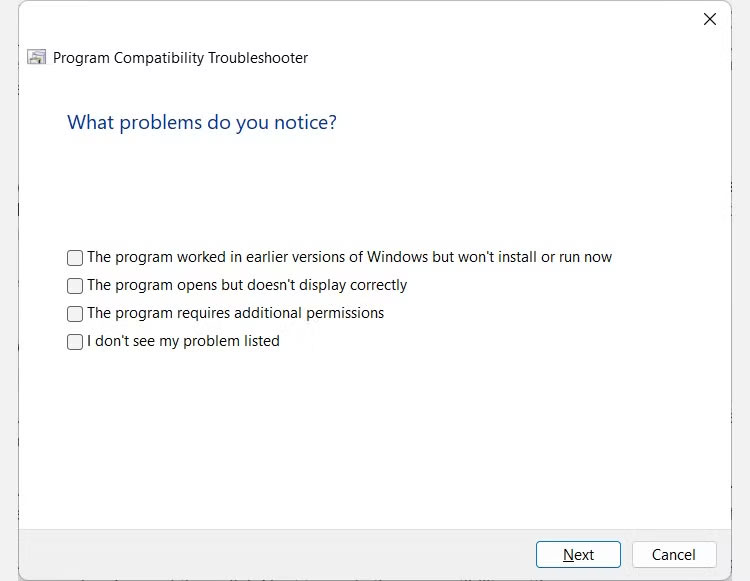
If you select the Troubleshooter program option , you will be given a list of problems to choose from. Check the ones you are experiencing (you can select multiple items), then click Next .
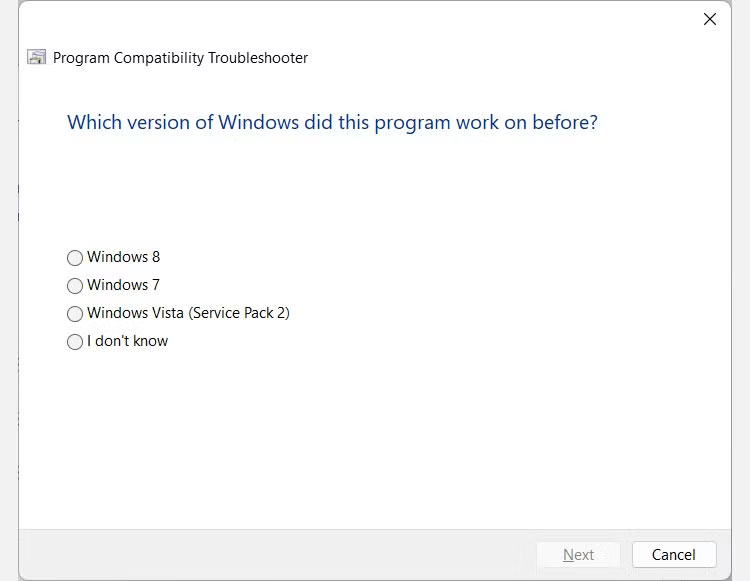
If you have checked The program worked in earlier versions of Windows but won't install or run now , you will be asked to select the previous version of Windows by clicking the appropriate button. Then, click Next to apply the compatibility settings.
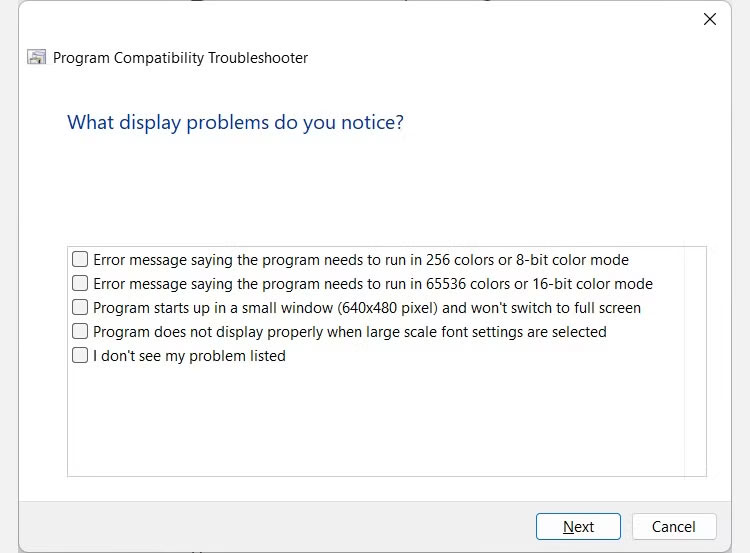
If you checked The program opens but doesn't display correctly when selecting the issue, you'll need to select the display issues you're experiencing. Then, click Next to apply the compatibility settings, and remember that you can select multiple issues to give the tool more information about how to best optimize.
If you checked The program requires additional permissions , the compatibility settings will be applied immediately. And if you selected I don't see my problem on the list , you will be taken to a screen where you have to select the previous version of Windows the program was last running on.
Then you need to click on Test the program button to see if the problem is gone. Then click Next to continue.
If the troubleshooter resolved the problem, click Yes, save these settings for this program on the next screen. If not, click No, try again using different settings to try other troubleshooting steps. If none of the options apply to your situation, click No, report the problem to Microsoft and check online for a solution .
Eliminate program compatibility issues on Windows 11
Now that you know about the Program Compatibility Troubleshooter, you can use it to fix legacy apps that aren't working properly on Windows 11. It's much better than waiting for app developers to update it, which may never happen if they stop working on it.
This is just one of the many troubleshooters you can use on Windows 11. And you can even set keyboard shortcuts for them if you use them often.