PowerPoint 2019 (Part 7): Applying Transition Effects
Have you ever seen a PowerPoint presentation with special effects between each slide? That's what slide transitions are.
Table of Contents
Have you ever seen a PowerPoint presentation with special effects between slides? Those are slide transitions. Transition effects can be as simple as fading out before moving to the next slide, or something much more eye-catching. PowerPoint makes it easy to apply transition effects to some or all of your slides, giving your presentation a professional and polished look.
Introduction to transition effects
There are three categories of transition effects to choose from, all of which can be found on the Transitions tab.
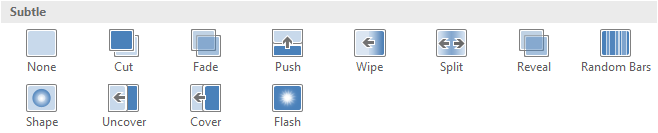
- Subtle: These are the most basic types of transition effects. They use simple animations to move between slides.
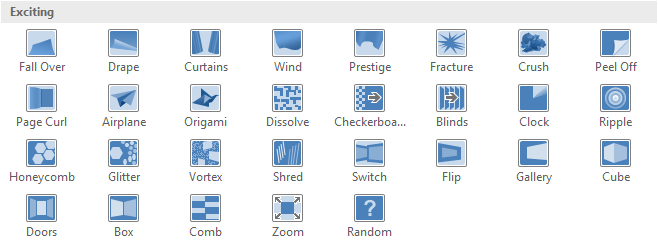
- Exciting: These use more complex animations to transition between slides. While they are more visually appealing than Subtle transition effects , adding too many of these can make your presentation look less professional. However, when used in moderation, they can add a nice touch between important slides.
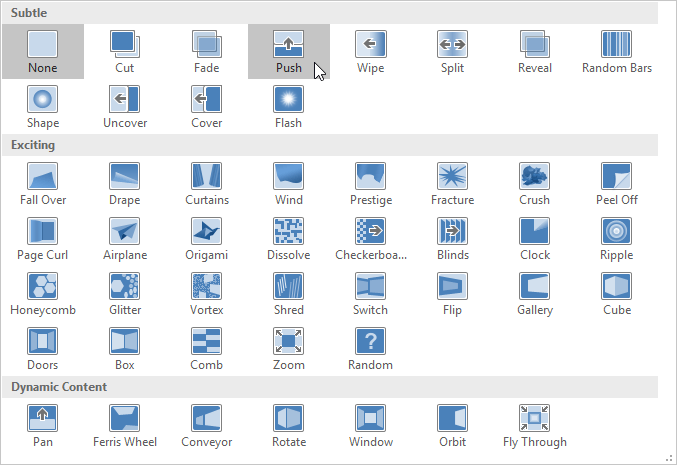
- Dynamic Content: If you're transitioning between two slides using the same slide layout, dynamic transitions will only move the placeholders and not the slides themselves. When used correctly, dynamic transitions can help unify the slides and add a more polished feel to the presentation.

Transition effects should be used in moderation. Adding too many transition effects can make your presentation look silly and may even distract the audience. Consider using mostly subtle transitions or no transition effects at all.
How to apply transition effects
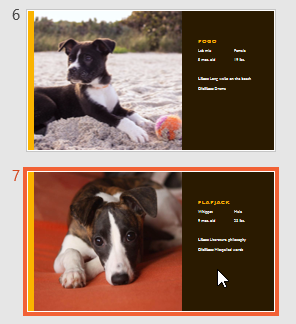
1. Select the desired slide from Slide Navigation. This is the slide that will appear after the transition effect.
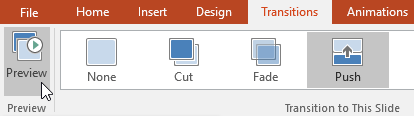
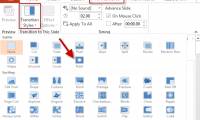
2. Click the Transitions tab , then locate the Transition to This Slide group . By default, None is applied to each slide.
3. Click the More drop-down arrow to display all transition effects.

4. Click on a transition effect to apply it to the selected slide. This will automatically provide a preview of the applied transition effect.
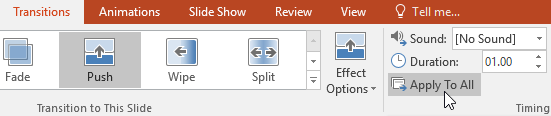
You can use the Apply To All command in the Timing group to apply the same transition to all slides in your presentation. Remember that this will modify any other transition effects you may have applied.
Try applying a few different types of transition effects to the various slides in your presentation. You may find that some transition effects work better than others, depending on the content of the slides.
How to preview the applied transition effects
You can preview the process of applying a transition effect to any selected slide at any time using one of the following two methods:
- Click the Preview command on the Transitions tab.
- Click the Play Animations command in Slide Navigation.

Modify the transition effects.
How to modify transition effects
You can quickly customize the appearance of a transition effect by changing its orientation.
1. Select the slide with the transition effect you want to modify.
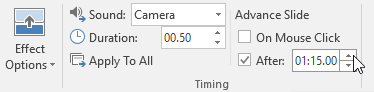
2. Click on the Effect Options command and select the desired option. These options will vary depending on the transition effect selected.
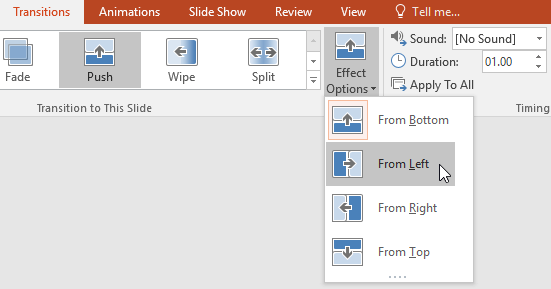
3. The transition effect will be modified and a preview will appear.
Some transition effects will not allow you to modify the direction.
How to modify the duration of transition effects
1. Select the slide with the transition effect you want to modify.
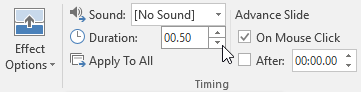
2. In the Duration field in the Timing group , enter the desired duration for the transition effect. For example, reducing the duration to half a second—or 00.50—will make the slide transition faster.
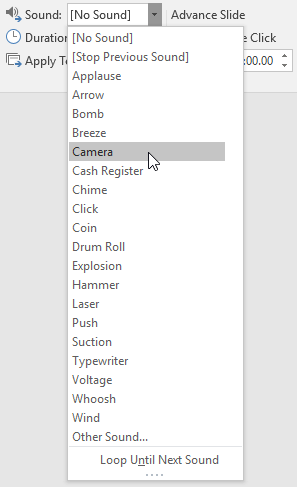
How to add sound
1. Select the slide with the transition effect you want to modify.
2. Click the Sound drop-down menu in the Timing group.
3. Click on the sound to apply it to the selected slide, then preview the transition effect application process to hear the sound.
Sound is best used in moderation. Adding sound between every slide can become excessive or even irritating to the audience during the presentation.
How to remove transition effects
1. Select the slide with the transition effect you want to remove.
2. Select None from the Transition to This Slide group . The transition effect will be removed.

To remove transition effects from all slides, apply the None transition effect to a slide, then click the Apply to All command .
Advanced slide settings
Normally, in Slide Show view, you move to the next slide by clicking, pressing the spacebar, or using the arrow keys on your keyboard. The Advance Slides setting in the Timing group allows the presentation to automatically advance and display each slide at a specific time interval. This feature is particularly useful for unsupervised presentations, such as those at a trade show booth.
How to automatically apply advanced slides
1. Select the slide you want to modify.
2. Find the Timing group on the Transitions tab. In Advanced Slide , uncheck the box next to On Mouse Click .
3. In the After field , enter the amount of time you want the slide to display. For example, it will automatically move the slide after 1 minute and 15 seconds or 01:15:00.
4. Select another slide and repeat the process until all slides have the desired duration. You can also click the Apply to All command to apply the same duration to all slides.
If you need to move to the next slide before the automatic transition occurs, you can always click or press the spacebar to switch slides as usual.
Was this article helpful?
Your feedback helps us improve.
Related Articles
 Transition transition effect in CSS4 minutes read
 Apply transition effects in PowerPoint 20168 minutes read
 Set Slide transition effects in PowerPoint2 minutes read
 PowerPoint 2019 (Part 6): Applying Themes4 minutes read
 MS PowerPoint 2007 - Lesson 10: Slide presentation effects7 minutes read
 Instructions for creating effects in PowerPoint5 minutes read
Reader Comments 0
Sign in with email or Google to join the discussion.