Table of Contents
PixAI creates anime-style images from text prompts and can also use an uploaded image as a reference. A useful workflow is to decide the composition first, choose a model that matches the intended style, generate a small set of variations, and refine only the strongest result.
Set up PixAI
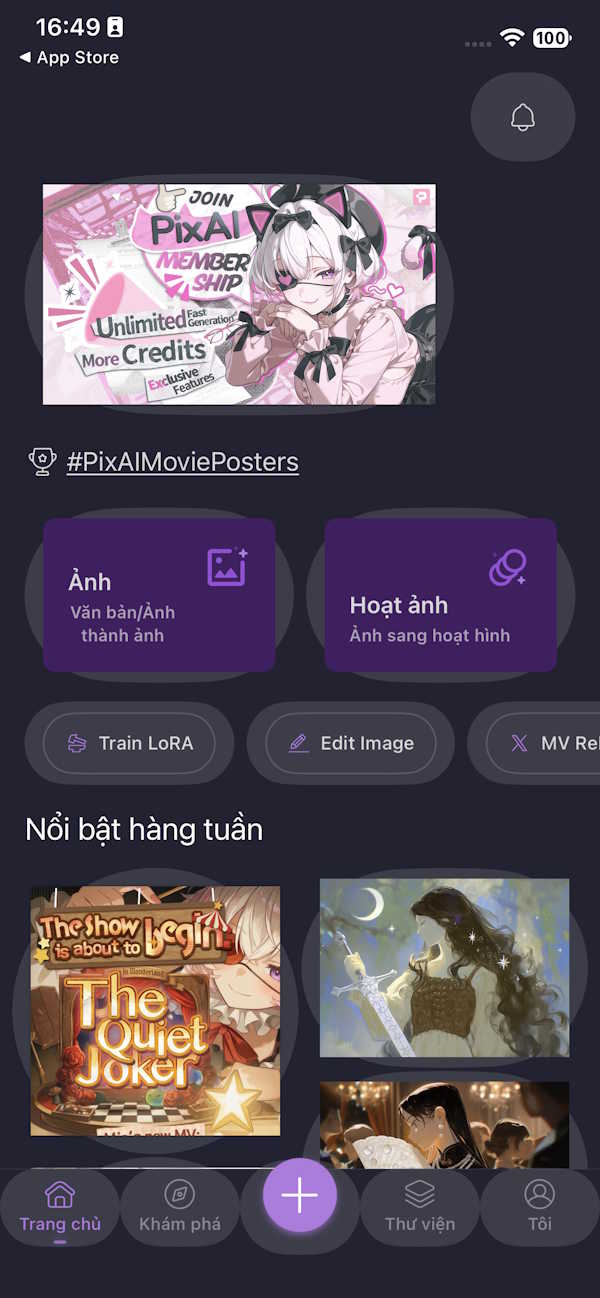
1. Open the app or website and sign in
Open the official PixAI website or install the official mobile app from your device's app store. Create an account using one of the sign-in methods currently offered.
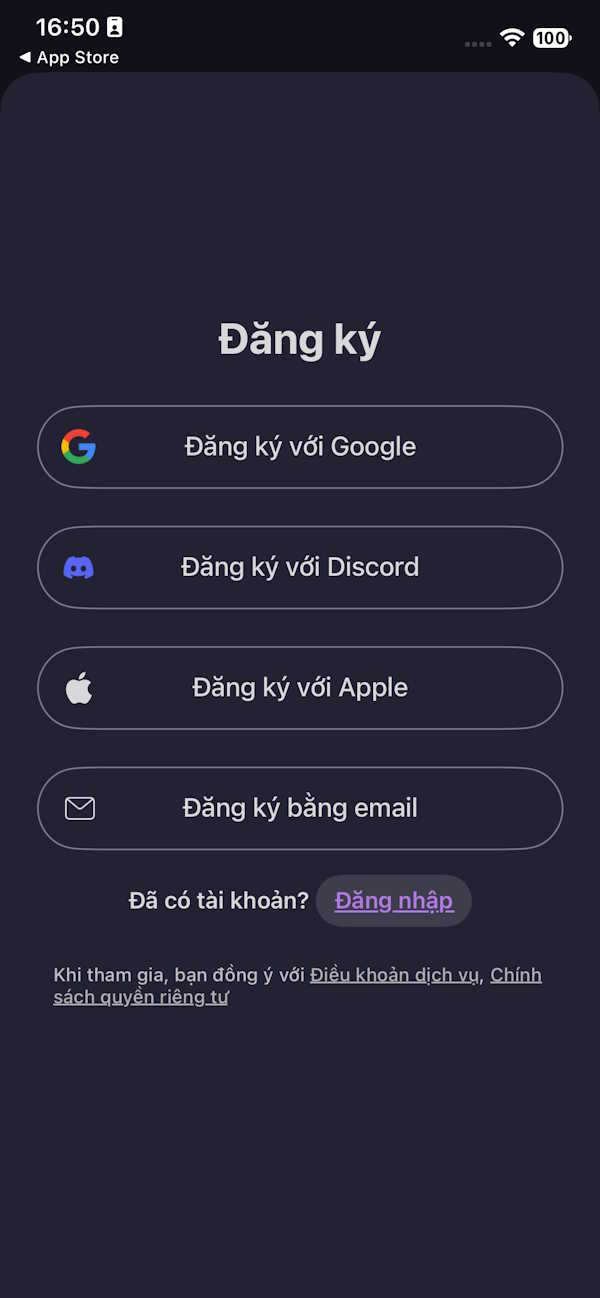
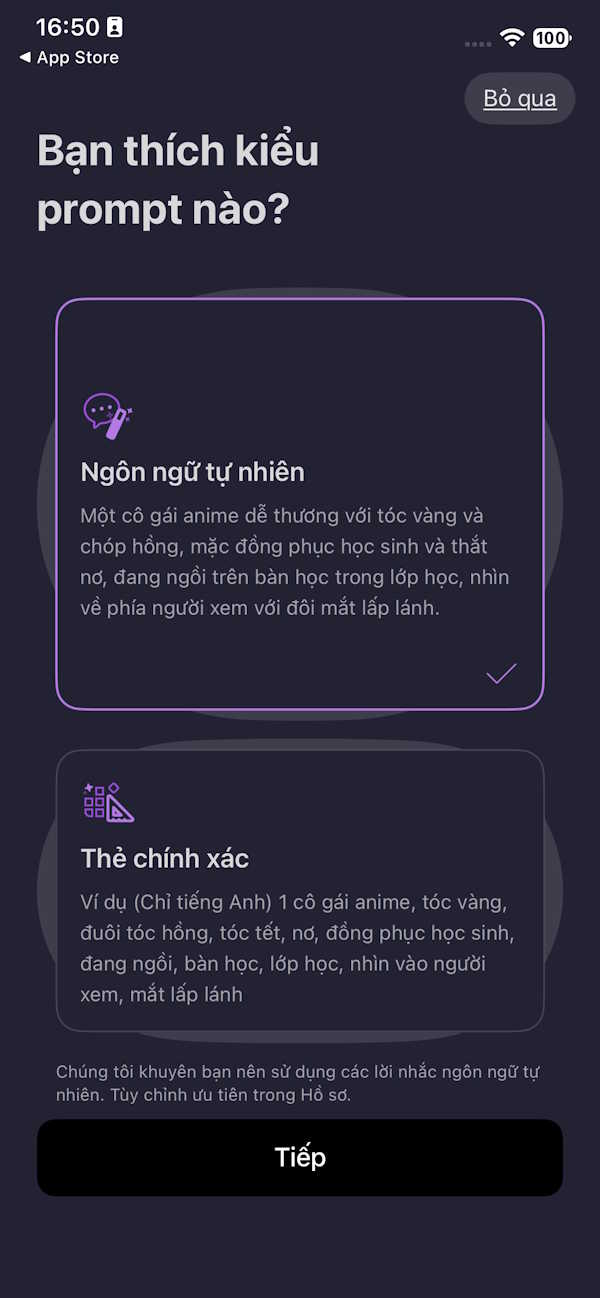
2. Choose your content preferences
During setup, PixAI may ask which kinds of images you prefer. These choices help personalize the model and example recommendations; they do not lock you into one visual style.
Configure the image generation
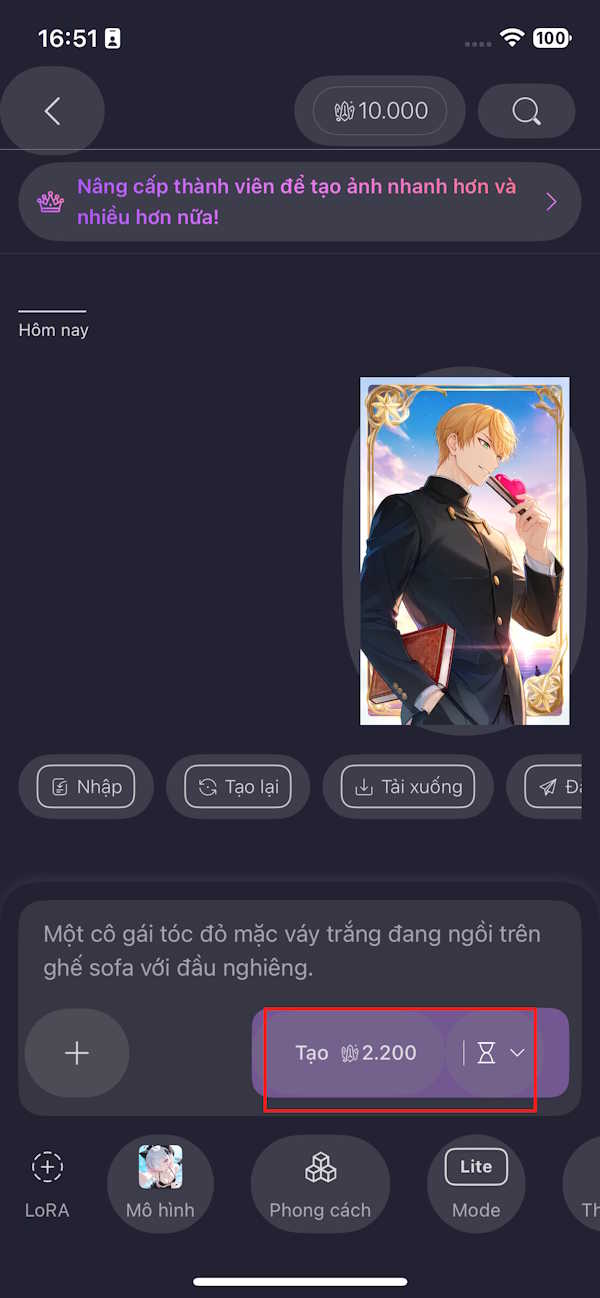
3. Choose a generation mode
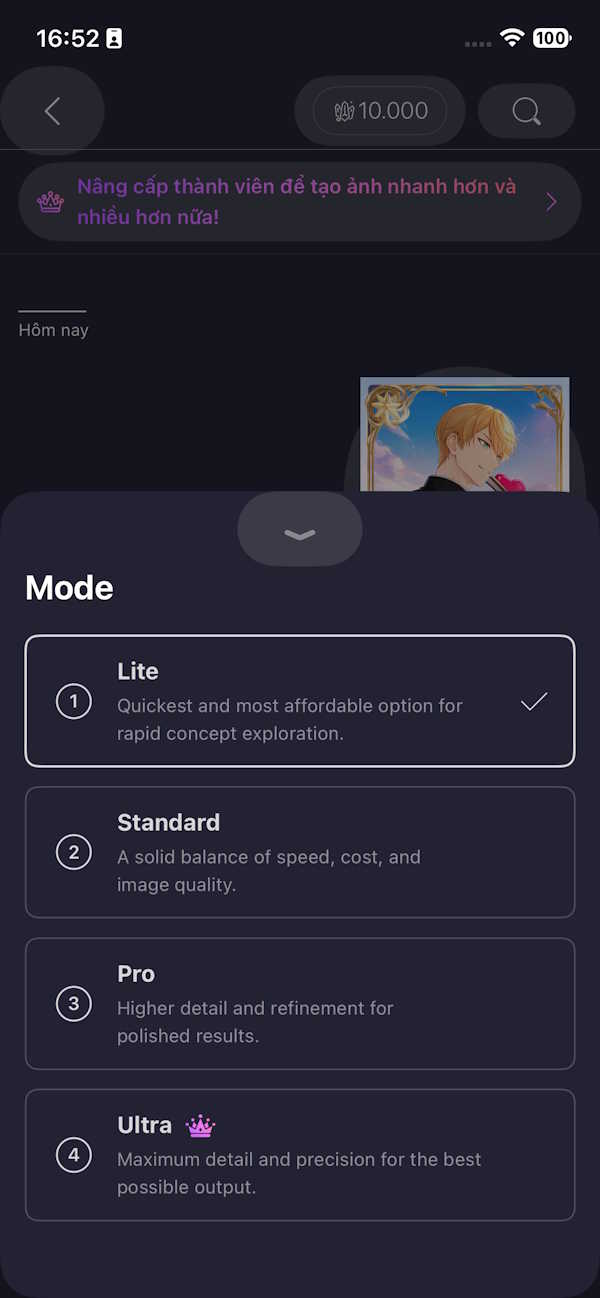
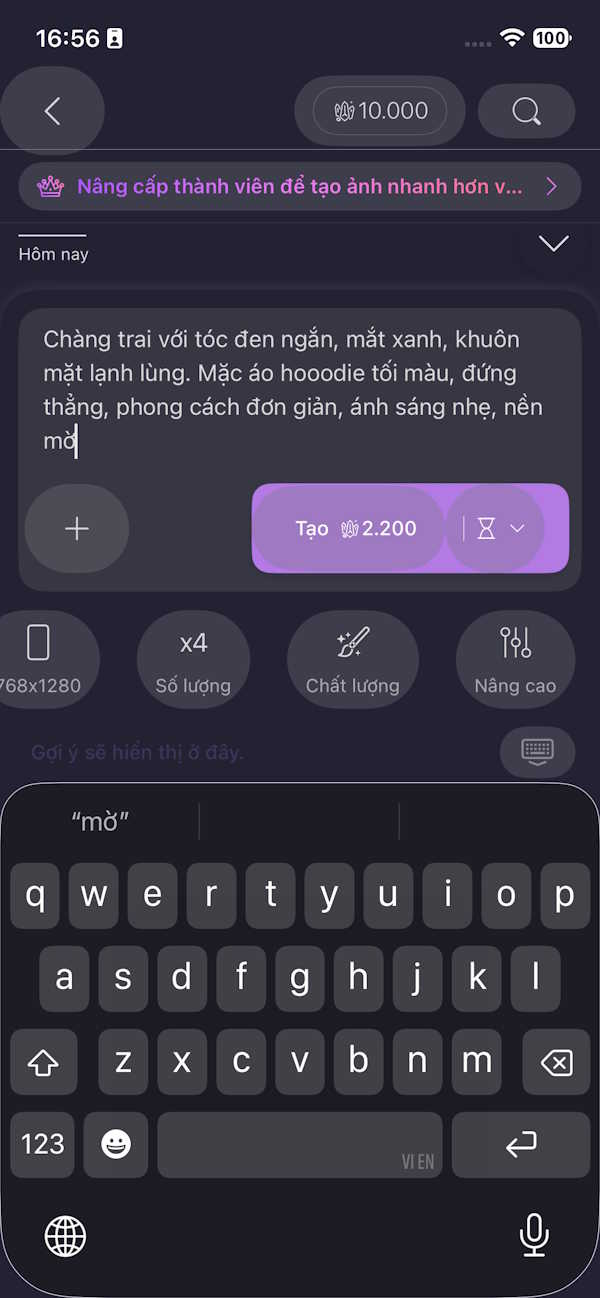
Open the image-generation screen and compare the available speed or quality modes. Each option may use a different number of credits, so check the current cost shown before generating. Use the faster or lower-cost option while testing a prompt, then switch to a higher-quality mode for the final version if needed.
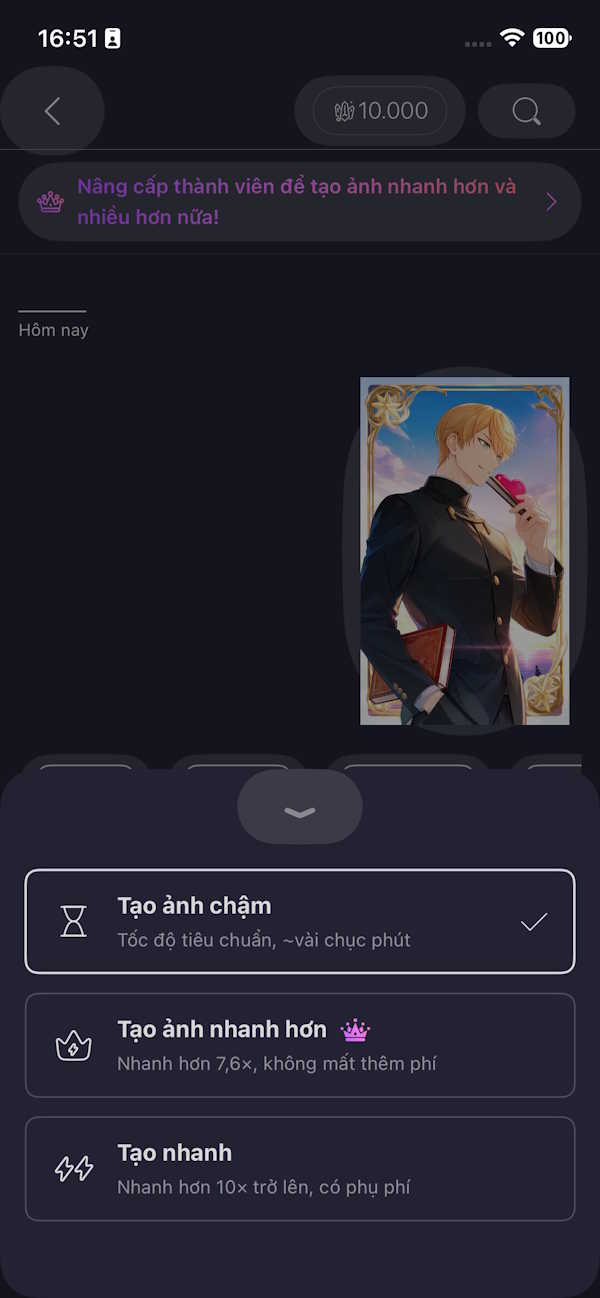
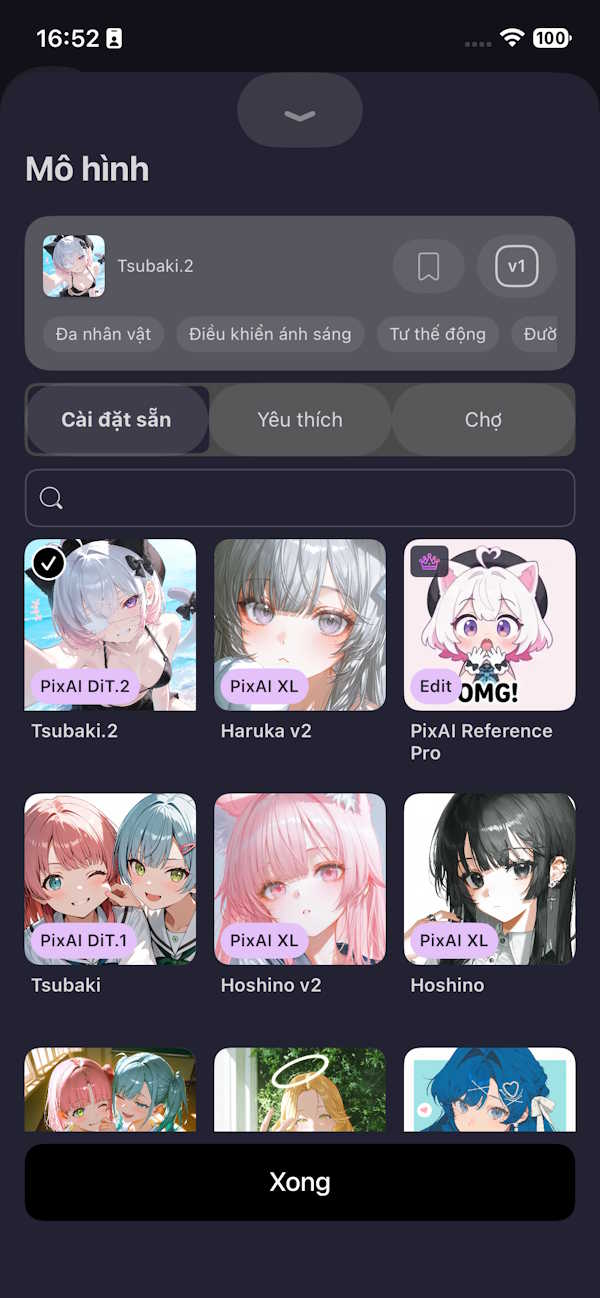
4. Select a model, style and workflow
Choose a model whose sample images resemble the result you want. Model choice affects character proportions, line work, shading and color more than adding a vague style word to the prompt. If PixAI offers a preset or style option, treat it as a starting point and preview its examples first.
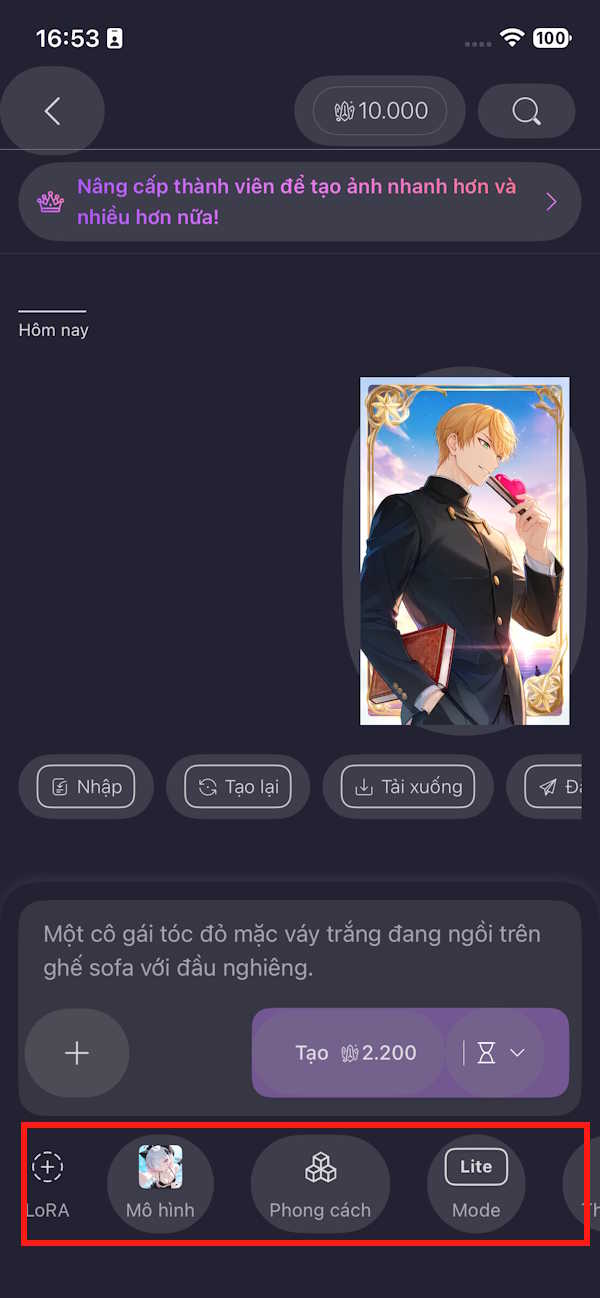
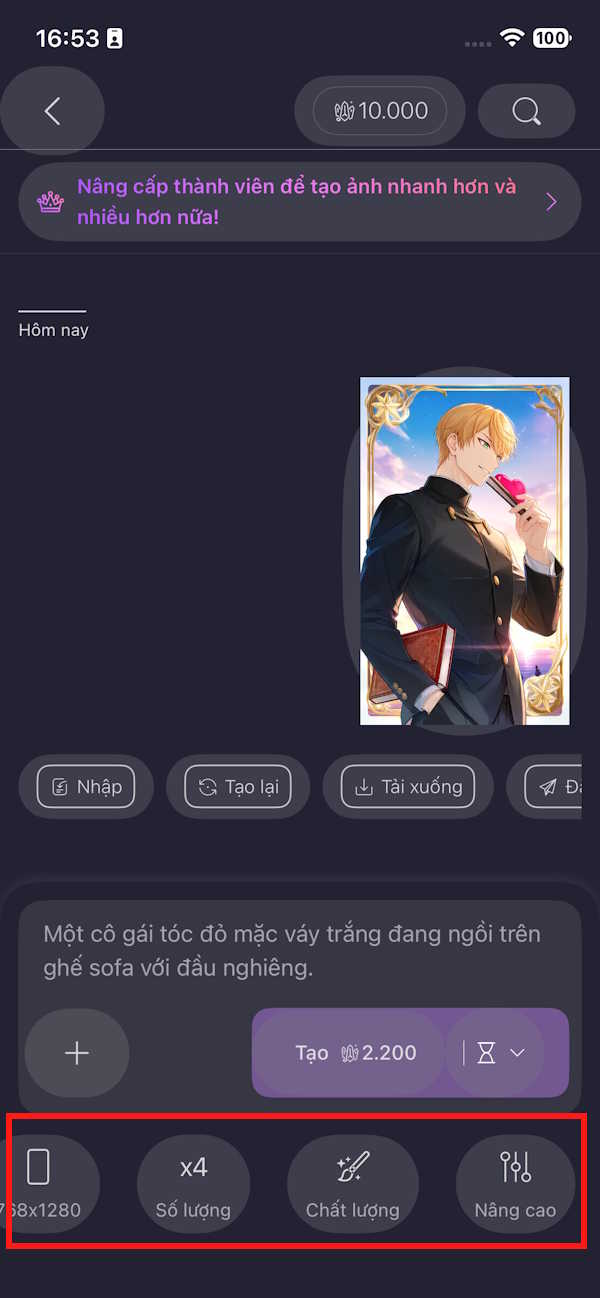
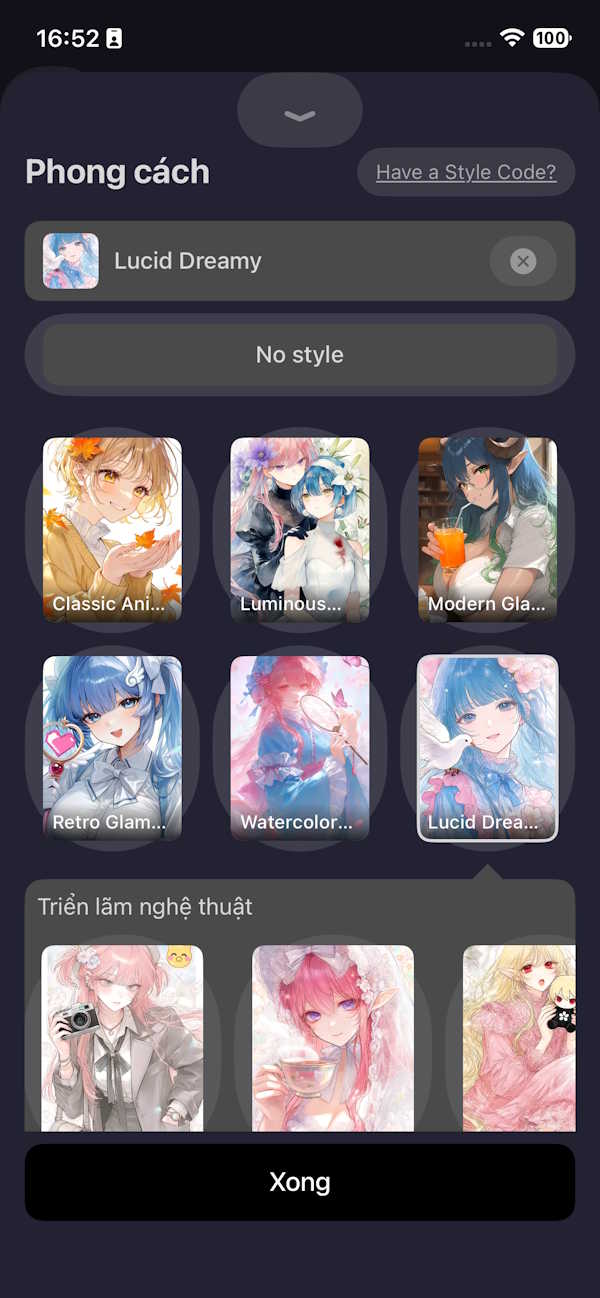
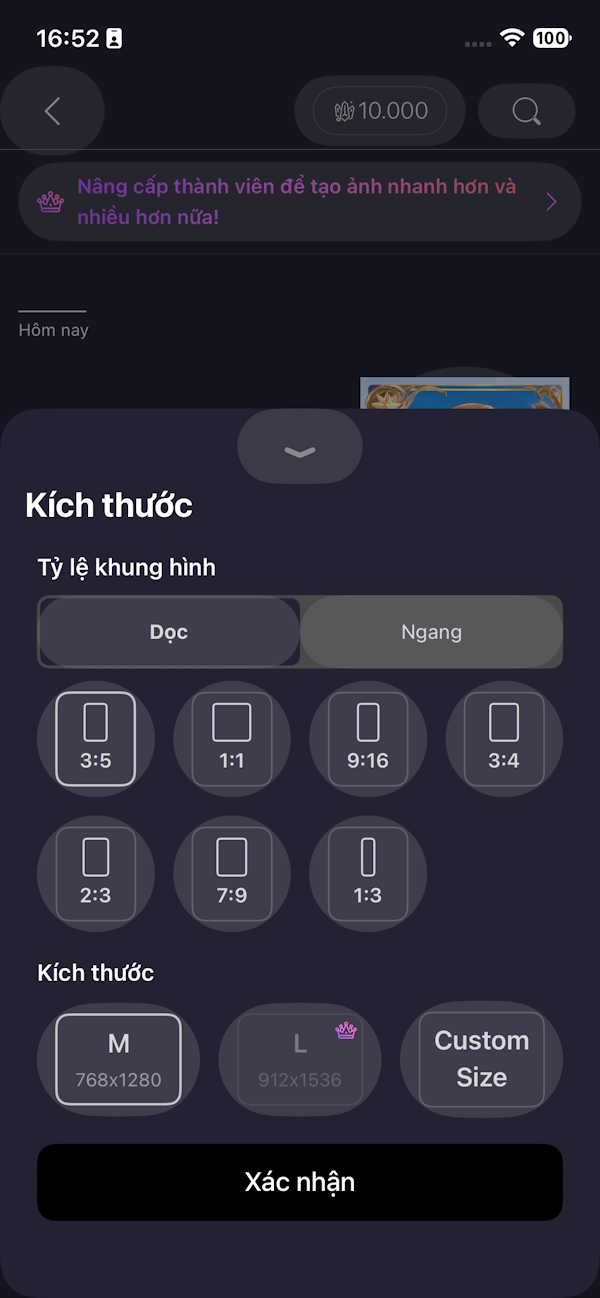
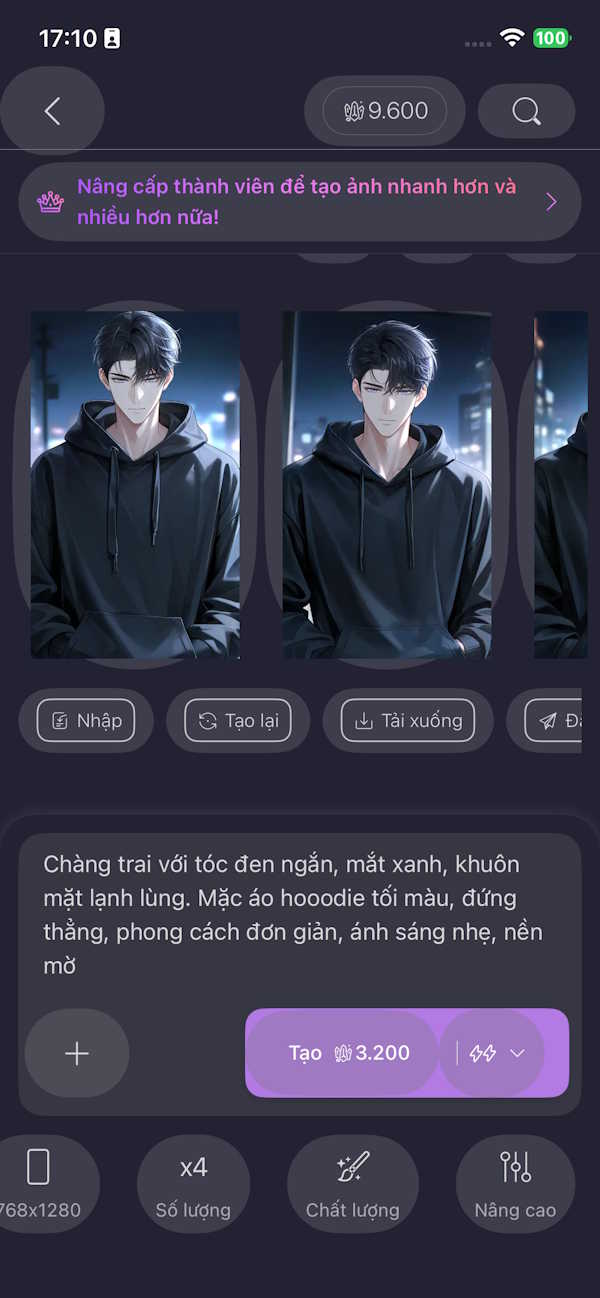
Set the aspect ratio for the intended use: portrait for a character poster or phone wallpaper, square for a profile image, and landscape for a scene. Starting with the correct ratio avoids losing important details to cropping later.
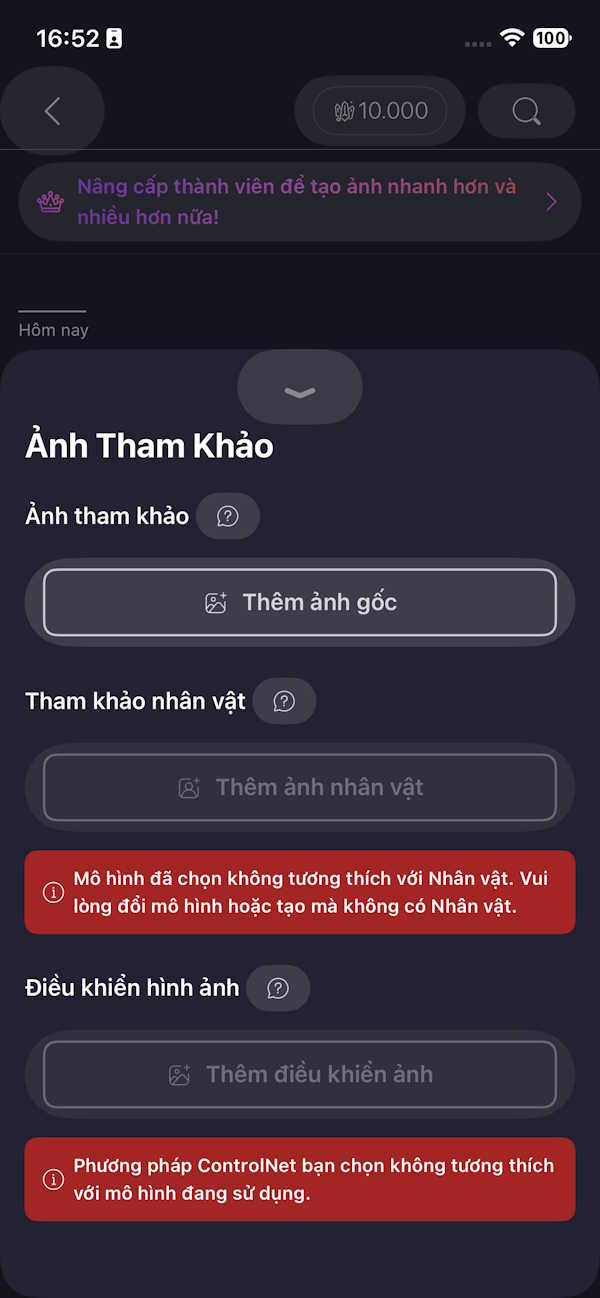
If you upload a reference image, use one you own or have permission to process. Avoid personal or sensitive photos unless you are comfortable sending them to an online service, and review PixAI's current terms before using generated work commercially.
Write a prompt and generate variations
5. Describe the image in a clear order
A good prompt tells PixAI what should be in the frame and how it should be presented. Build it from concrete parts:
- Subject: character, clothing, expression and pose.
- Scene: location, time of day and important background elements.
- Composition: close-up, full body, camera angle and focal point.
- Lighting and color: soft daylight, neon rim light, muted palette or another specific treatment.
- Finish: clean line art, detailed background or cel-shaded look.
For example: young astronomer in a navy coat, standing beside a rooftop telescope, three-quarter view, clear winter night, warm observatory lights, blue and gold palette, crisp anime line art, detailed sky. Avoid stuffing the prompt with conflicting styles or repeated adjectives.
6. Refine the best result
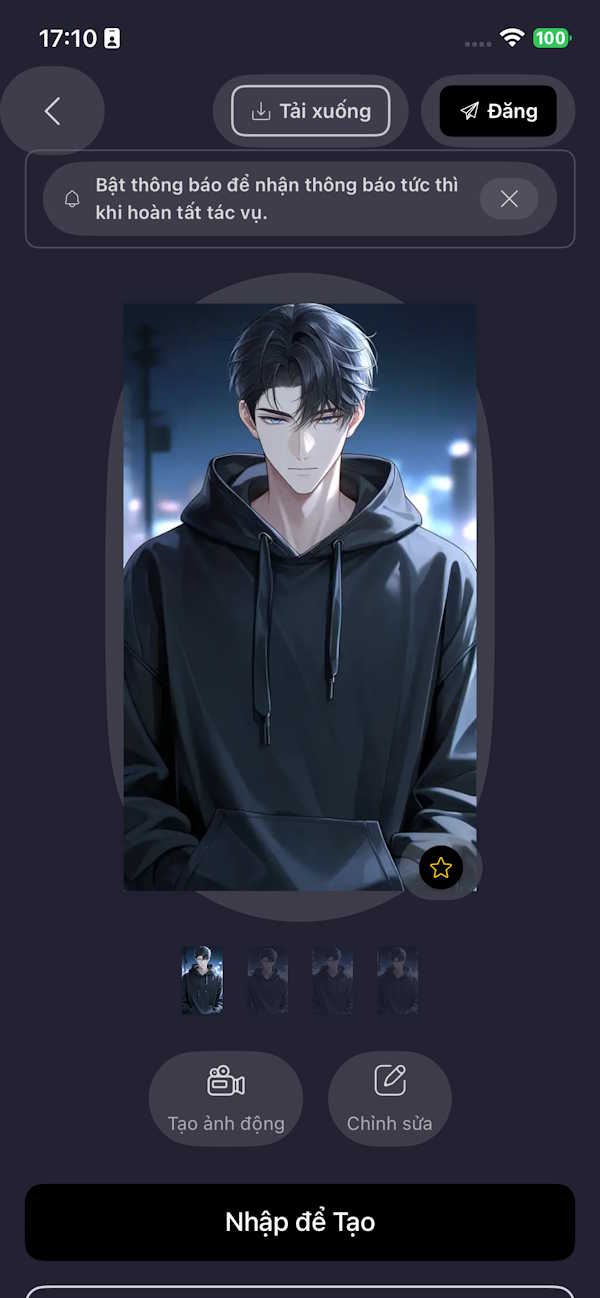
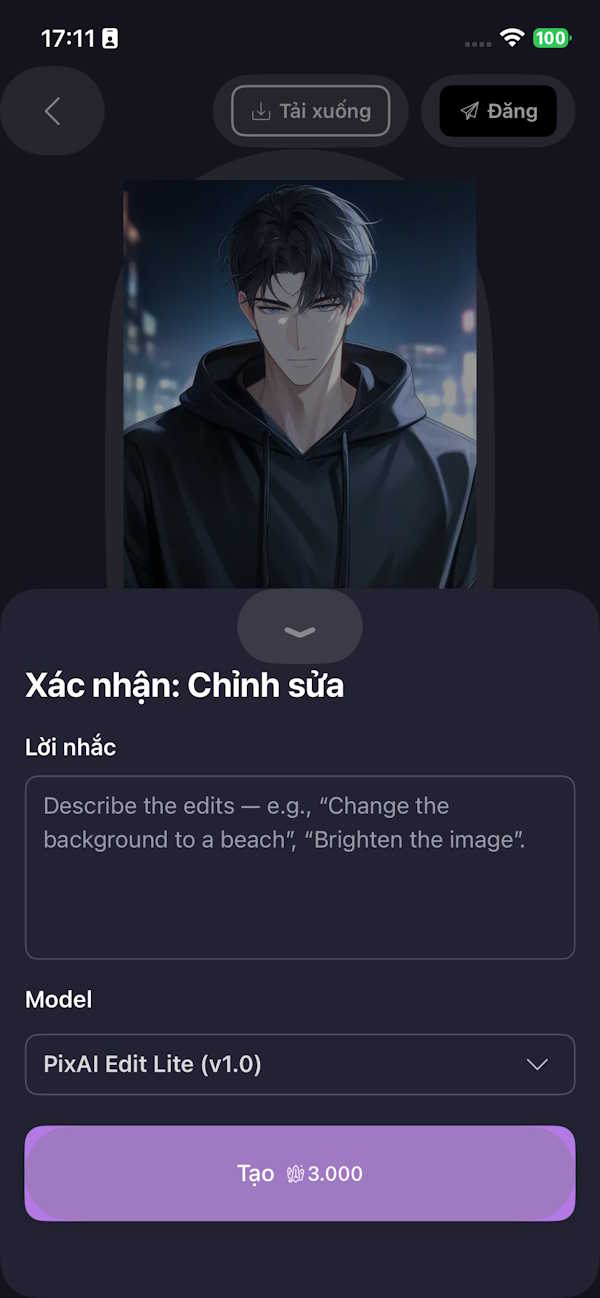
Open the closest variation and identify one or two problems at a time. Adjust the prompt for composition or clothing errors, use any available negative-prompt control for unwanted elements, or regenerate with the same model to keep the visual direction consistent. Inspect hands, eyes, text, repeated objects and background geometry before saving.
Animate or improve the finished image
If the selected result supports animation, use the motion option and preview the clip for warped facial features, flicker or unnatural movement. Subtle camera or hair movement is generally easier to control than a complex full-body action.
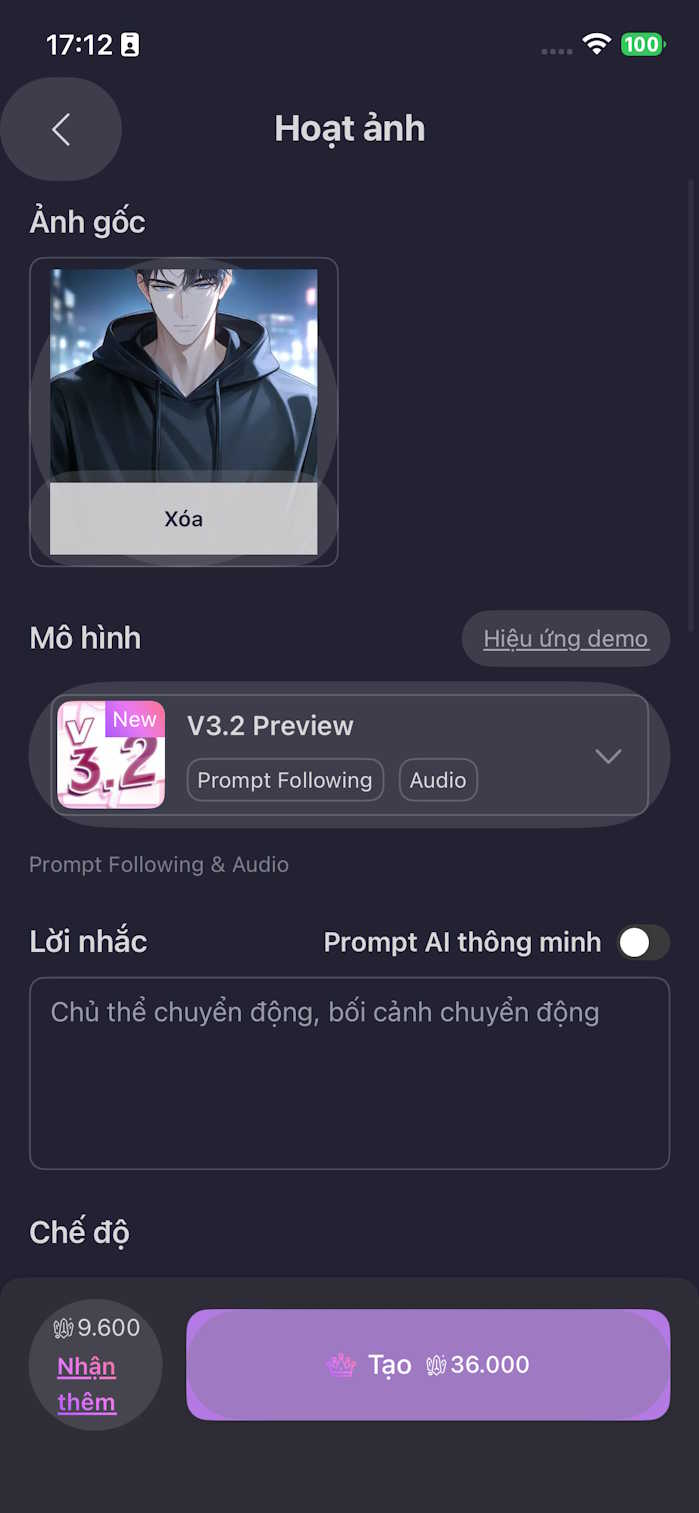
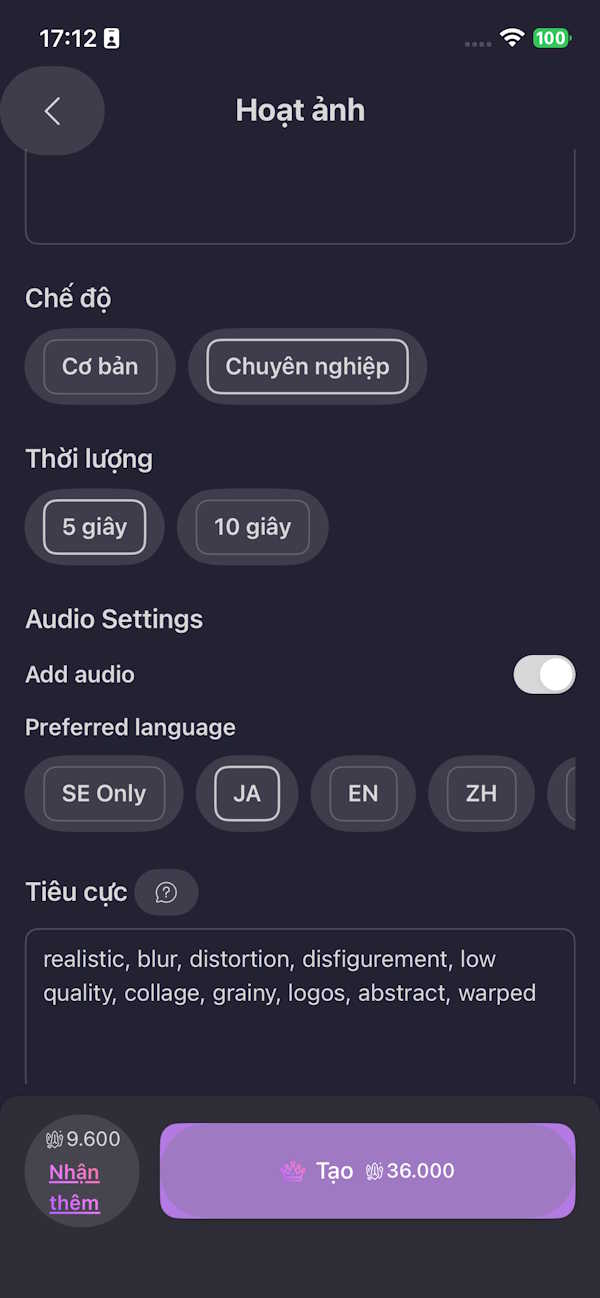
Download the image only after checking the full-resolution version. If a good result is too small, see these AI image upscaling tools. To compare a wider range of generators and privacy tradeoffs, review these free Midjourney alternatives.
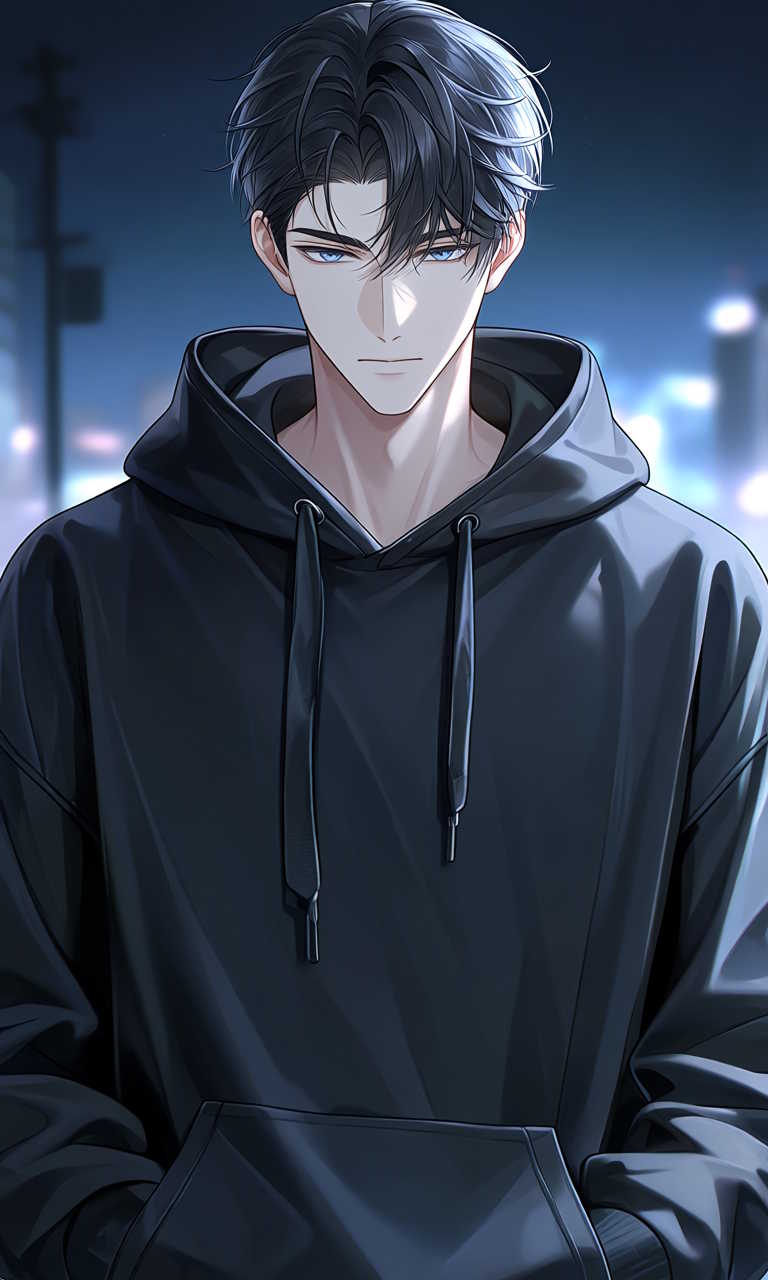
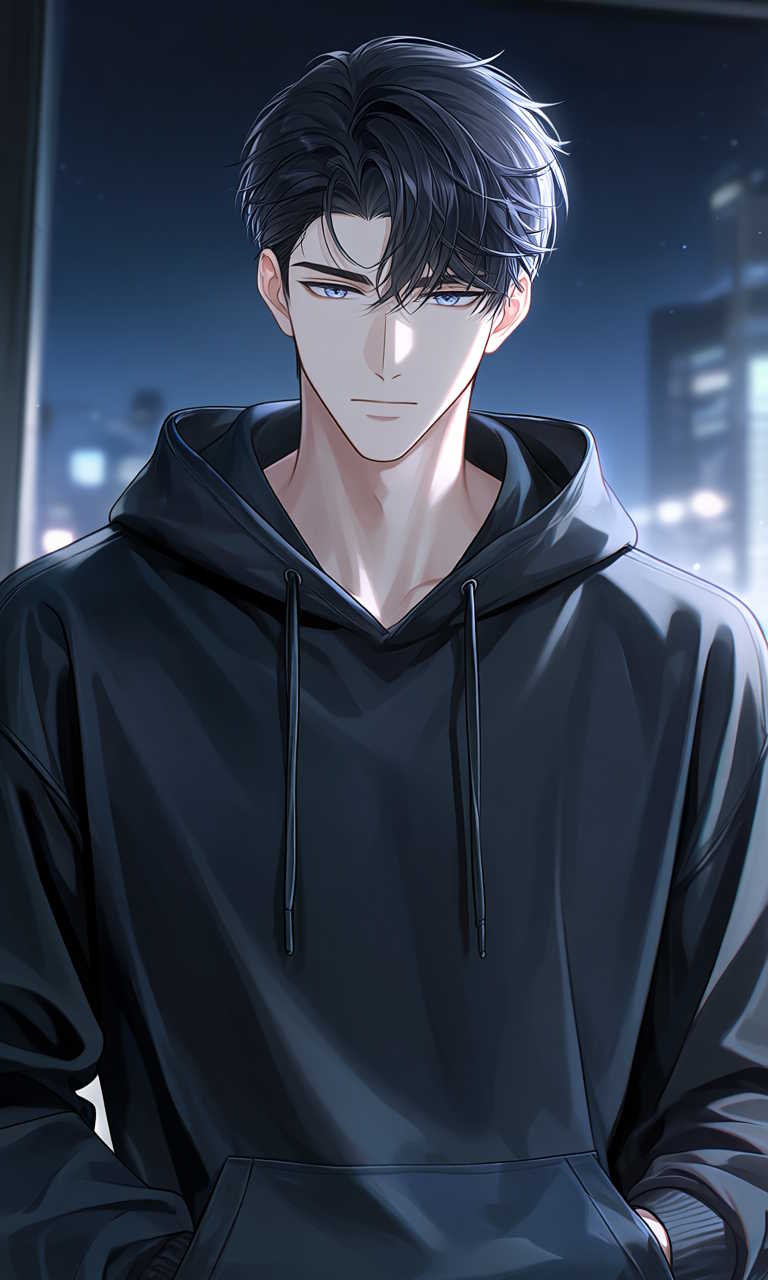
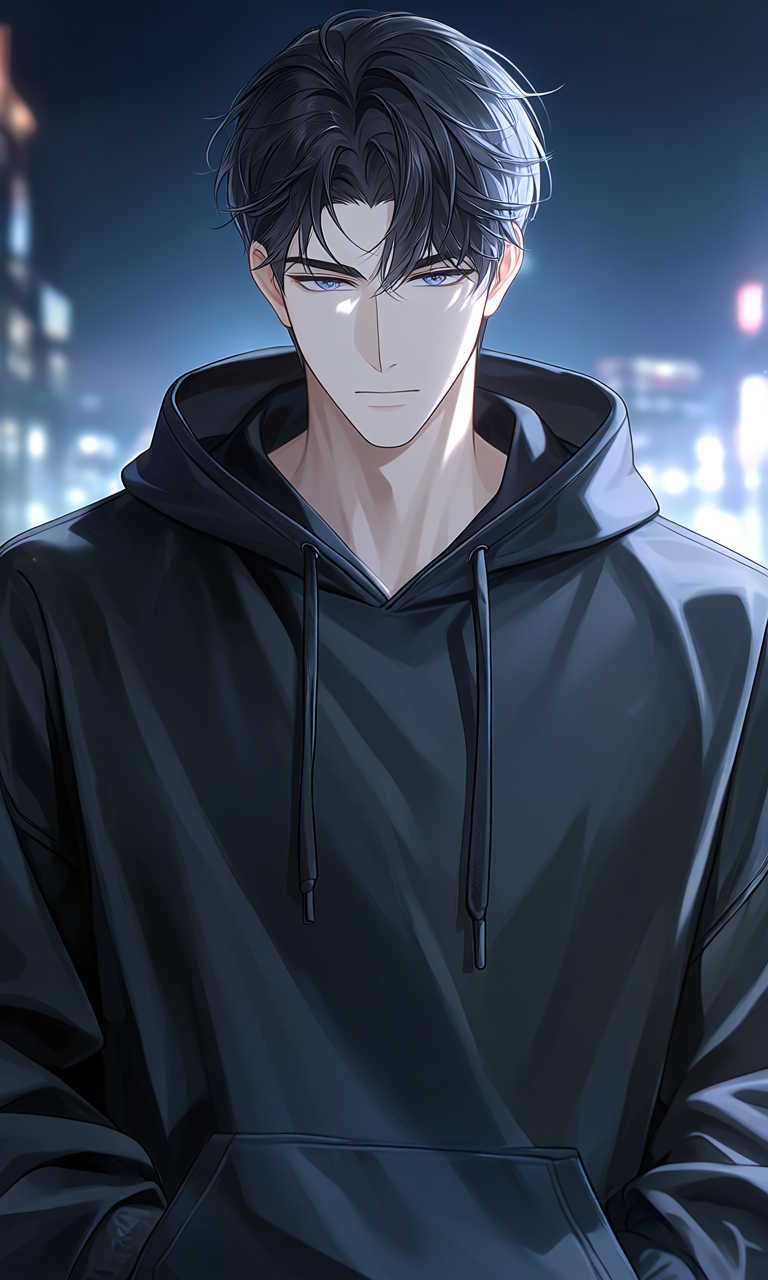
The following examples show how different prompts and model choices can change the final style.
Related Articles
 PixAI - the Ultimate AI Anime Creator5 minutes read
 How to Create Anime Images Right on Canva3 minutes read
 How to Create Anime and Disney Style AI Images on AnimeBuilder: Step-by-Step4 minutes read
 Top Website to Create Anime Images Online Without Free6 minutes read
 What Is Anime? Currently There Are Many Types of Anime6 minutes read
 Guide to Creating AI Images Automatically with N8n and OpenAI10 minutes read
Reader Comments 0
Sign in with email or Google to join the discussion.