MS Word - Lesson 16: Adding Citations and Creating a Citation Folder
Adding citations in Word helps readers of a document get accurate information about the content mentioned in the text, and clearly indicates the source of the reference..
When working on research projects, dissertations, or reference materials, you'll often find a lot of content taken from other sources as references and evidence. Word provides a tool to create citations for your references to demonstrate the accuracy of the content, instead of doing it manually. You can also create a citation list for easier reference. This article will guide you on how to create citations in Word and generate an automatic citation list.
1. Instructions on creating quotations in Word
Step 1:
In the Word interface, click the cursor at the location where you want to create the citation, then click on References , and below, click on Insert Citation > Add New Source .

Step 2:
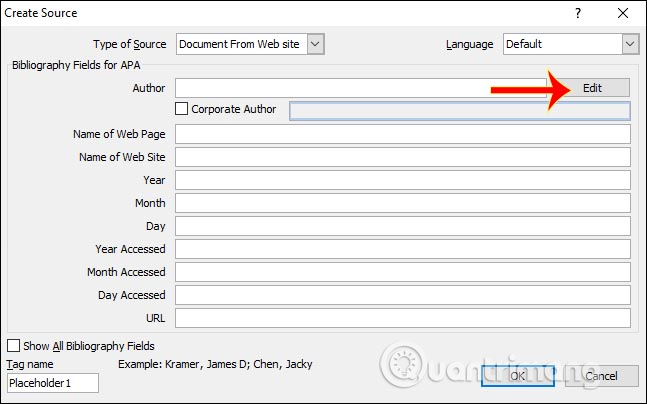
The Create Source dialog box appears. Here, the user enters the following information.
Type of Source : Select the type of data source to extract, for example, select Book if you want to cite from a book. Note that each citation source type will have different input requirements.
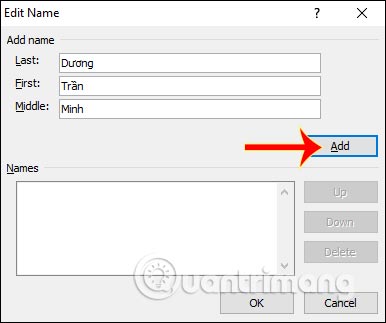
In the Author section, click Edit to enter the full author name.
We enter the author's name and then click Add to add it to the citation.
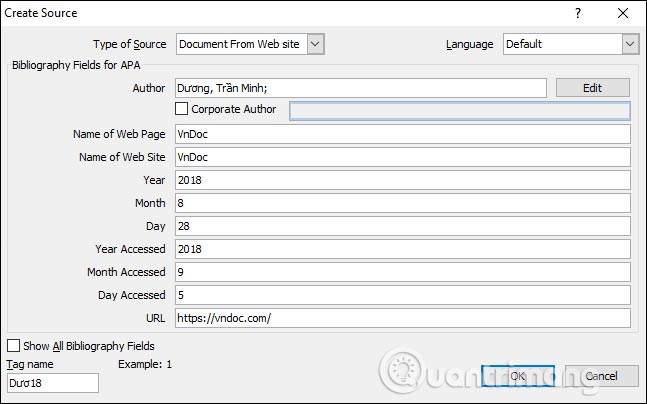
Then fill in the remaining information and click OK to save.
Step 3:
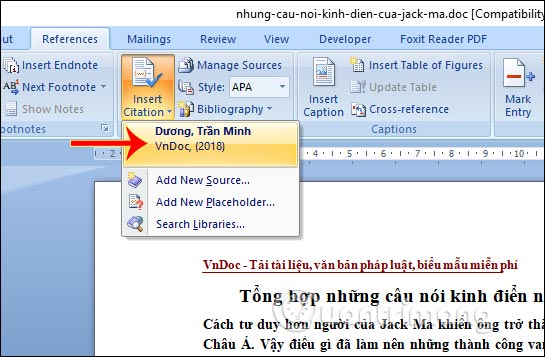
The citation source will then appear at the location where you initially placed your cursor. You can continue creating other citations for the document. Click on Insert Citation and you will see the newly created citation displayed. From this list, you can add the existing citation to the document.
The quotations in the document can still be formatted, such as changing the color to make them stand out more, if you wish.
2. How to create a table of contents in Word
Step 1:
Place the cursor at the location where you want to create the citation table, then click References, select Bibliography, and then Insert Bibliography .
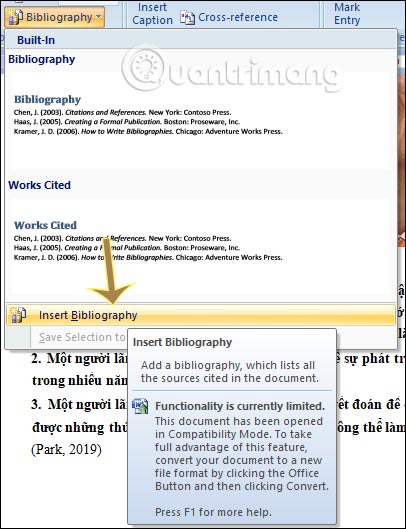
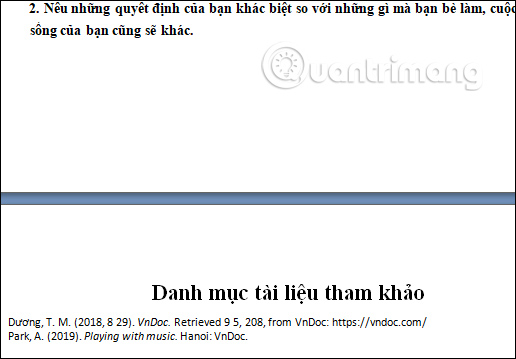
Then, the citation sources you created earlier will display the full information as shown below.
Step 2:
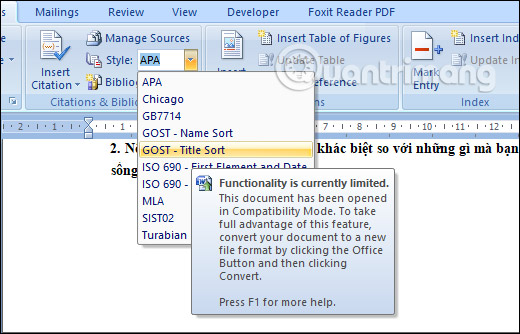
By default, citations in Word are set to the APA style. If you want to change the citation style , click on the Style option and change it to your liking.
Step 3:
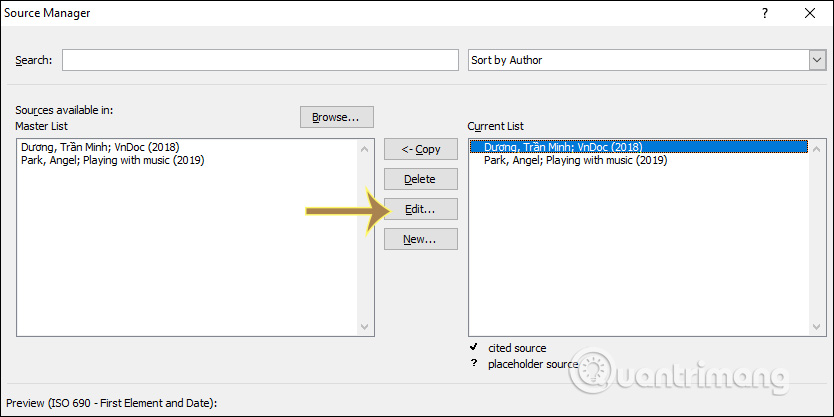
All successfully added citations will be managed in the Source Manager . If you want to change a citation, click on it and select Edit.
Then you change the quoted content and press OK, then press Yes to save.
If a user needs to move a citation source created in Word to another folder or computer, they can access it via the path C:UsersusernameAppDataRoamingMicrosoftBibliography . The Sources.xml file will then be displayed as shown below.

Video tutorial on creating quotations in Word
See more:
- How to circle answers in Word, Excel, and PowerPoint
- How to set standard margins in Word