Table of Contents
The safest way to run OpenClaw with VirtualBox and Vagrant is to create a clean Linux VM from a trusted base box, install Docker inside it, and deploy OpenClaw from the project's official repository or container registry. Do not download an unknown prebuilt .box archive or run an unverified administrator script simply because it promises a one-click setup.
A virtual machine adds useful isolation, but it is not a complete security boundary. OpenClaw can connect to models, files, messaging channels, and tools, so permissions, network exposure, secrets, and third-party skills still require careful review.
What this setup does
Vagrant defines and manages a reproducible VirtualBox VM. OpenClaw then runs inside Docker in that VM. The layers are:
- Host computer: Your Windows, macOS, or Linux system.
- VirtualBox: Provides the virtual hardware.
- Vagrant: Creates and controls the VM from a configuration file.
- Linux guest: Keeps the OpenClaw environment separate from the host.
- Docker: Runs the OpenClaw gateway and related containers.
This pattern is useful for testing agent software without installing its runtime directly on the host. For more background on tool-using agents, see TipsMake's guide to AI agent frameworks.
Before you begin
- Enable hardware virtualization—Intel VT-x or AMD-V—in the computer's firmware settings.
- Use a 64-bit host with enough free memory and disk space for a Linux VM and container images.
- Install software only from official vendor sites.
- Keep model API keys, gateway tokens, and messaging tokens out of screenshots, shared files, and source control.
- Back up important host data before changing virtualization or networking software.
OpenClaw's official Docker guide lists Docker Engine or Docker Desktop with Compose v2 as a prerequisite and recommends using the project's official container images rather than unofficial mirrors.
Step 1: Install VirtualBox
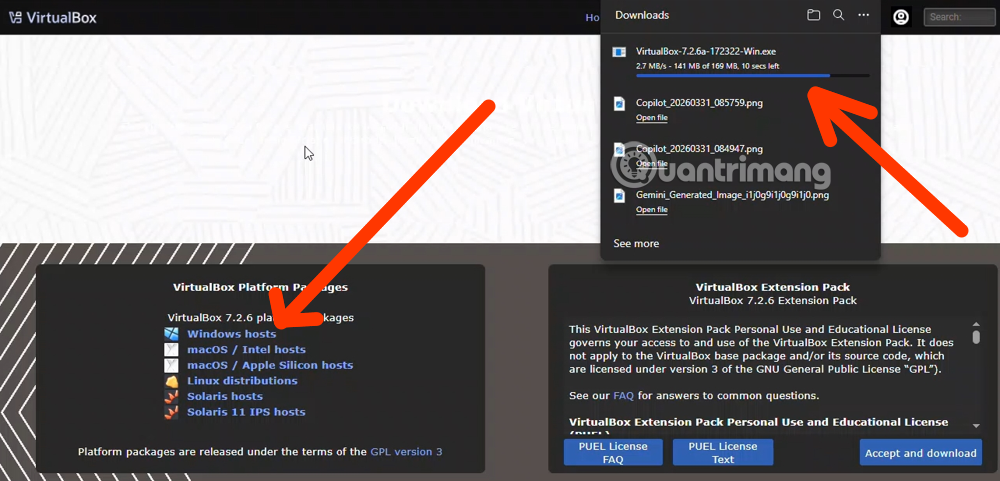
Download VirtualBox from the official VirtualBox downloads page. Choose the host package that matches your operating system and verify the publisher before running the installer.
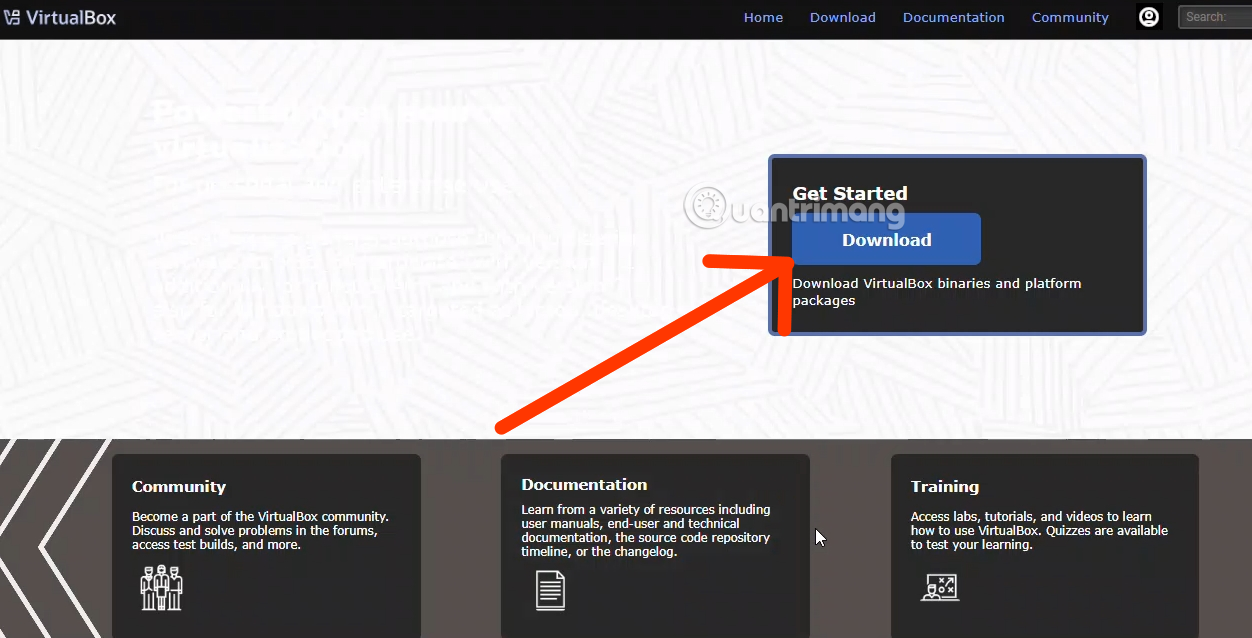
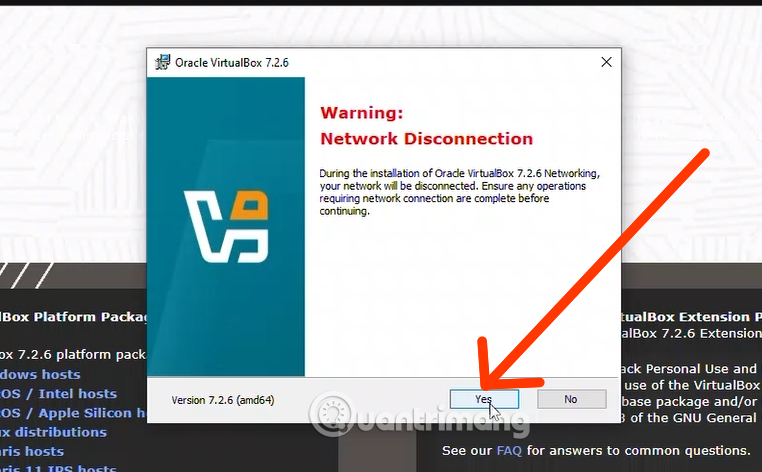
Select the correct host operating system. On Windows, the installer may temporarily reset network adapters while it installs VirtualBox networking components, so save active network work first.
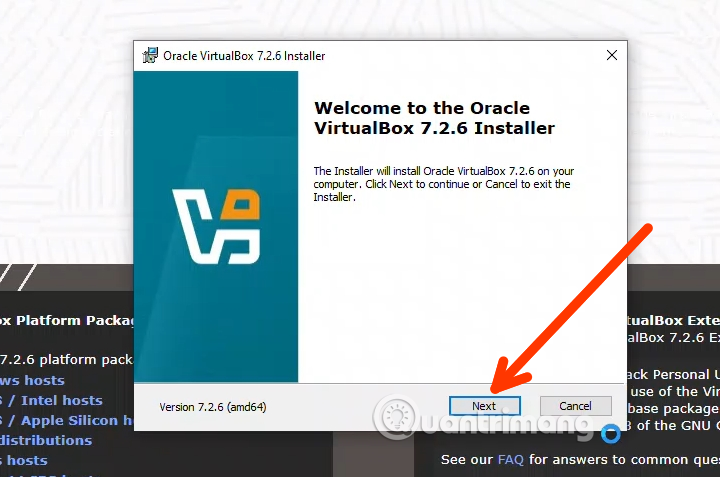
Read each installer warning instead of clicking through automatically. Install only components you need, and accept driver prompts only when the publisher is Oracle or the expected platform vendor.
Finish the installation, then open VirtualBox once to confirm that it starts correctly.
Step 2: Install Vagrant
Download Vagrant from the official HashiCorp installation page. Verify the package signature or publisher where the platform provides that option.
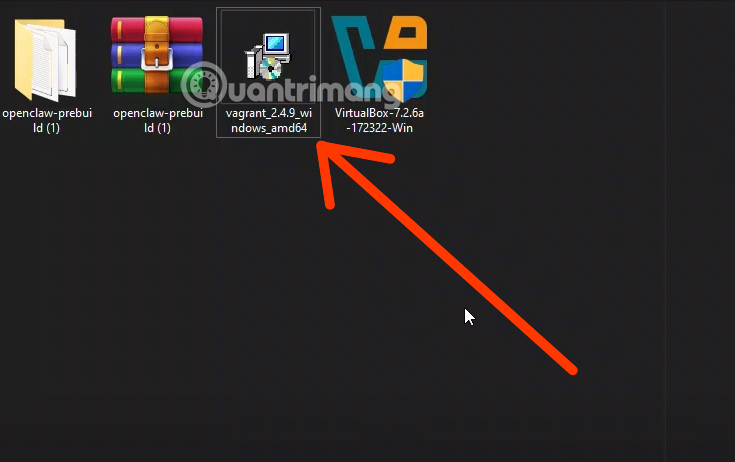
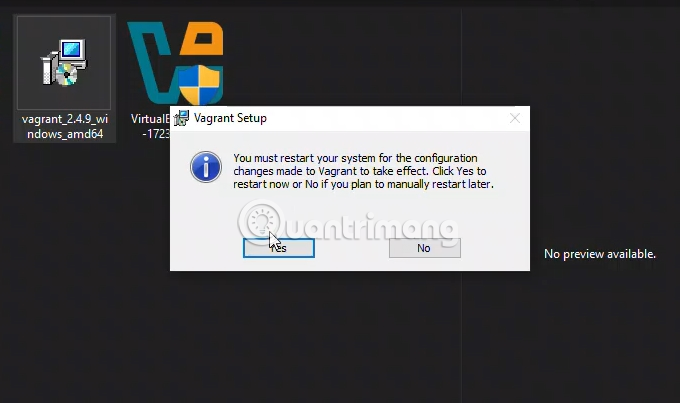
Restart the host if the installer requests it. Then open a terminal and run vagrant --version. A version string confirms that the command is available.
Step 3: Create a clean Vagrant project
Create a new folder with a short path, such as C:OpenClaw-VM on Windows or ~/openclaw-vm on macOS and Linux. Store only the Vagrant configuration in this folder; do not place secrets in it.
Create a Vagrantfile that uses a trusted Linux base box. The exact box and resource values should match your environment. A minimal example is:
Vagrant.configure("2") do |config|
  config.vm.box = "ubuntu/jammy64"
  config.vm.hostname = "openclaw-vm"

  config.vm.provider "virtualbox" do |vb|
    vb.cpus = 4
    vb.memory = 8192
  end
end
Before using a base box, verify its publisher and download page in the official Vagrant registry. Pinning a tested version improves reproducibility. The 8 GB example leaves room for Docker and a local build, but the host must retain enough memory for its own operating system.
Avoid untrusted prebuilt OpenClaw boxes
Some tutorials distribute an archive containing a custom .box file, a Vagrantfile, and a batch script. That bundle can execute provisioning commands with broad access inside the VM and may expose services to the host network. Use it only if you can verify the publisher, checksums, source configuration, image provenance, and every command it runs.
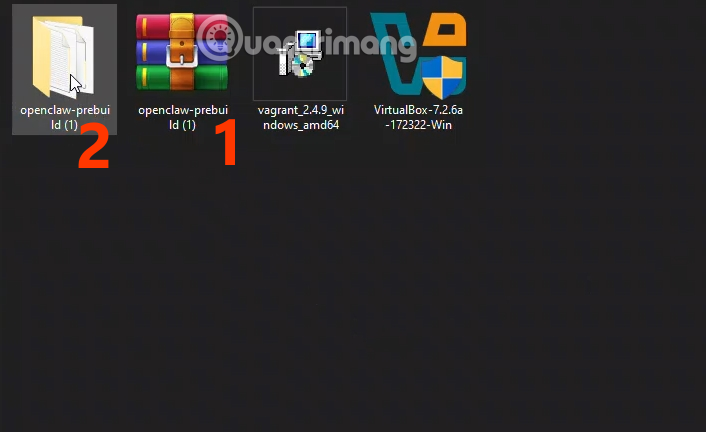
A VM image is executable software. Treat a SharePoint, file-sharing, or shortened download link as untrusted unless it is explicitly published and documented by the OpenClaw project. Building from a known base box and official container image is slower, but easier to audit.
Step 4: Start the VM
Open a terminal in the project folder and run:
vagrant up
vagrant ssh
The first command downloads the selected base box, creates the VirtualBox VM, and starts it. The second opens an SSH session inside the guest. Administrator privileges are not normally required just to run these Vagrant commands after installation.
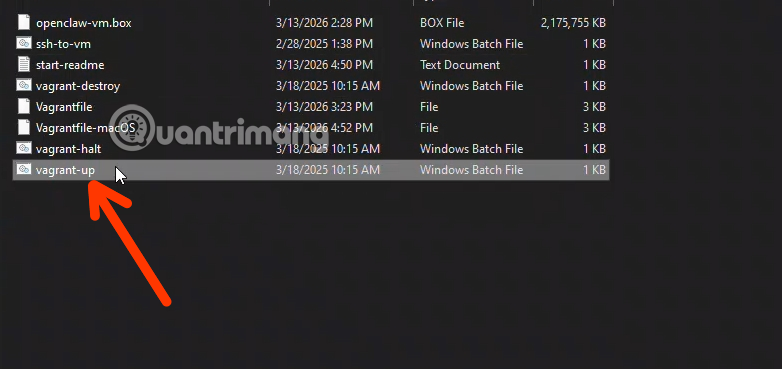
Vagrant displays progress while importing the box and configuring networking. If a third-party script is part of the folder, read it before execution; do not assume a file named vagrant-up.bat is safe.
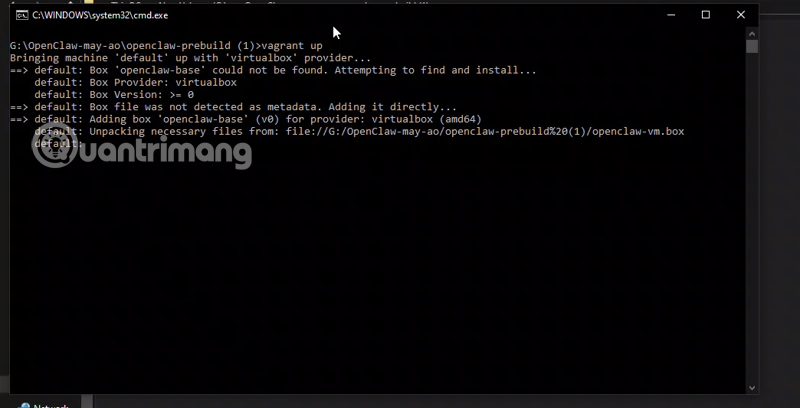
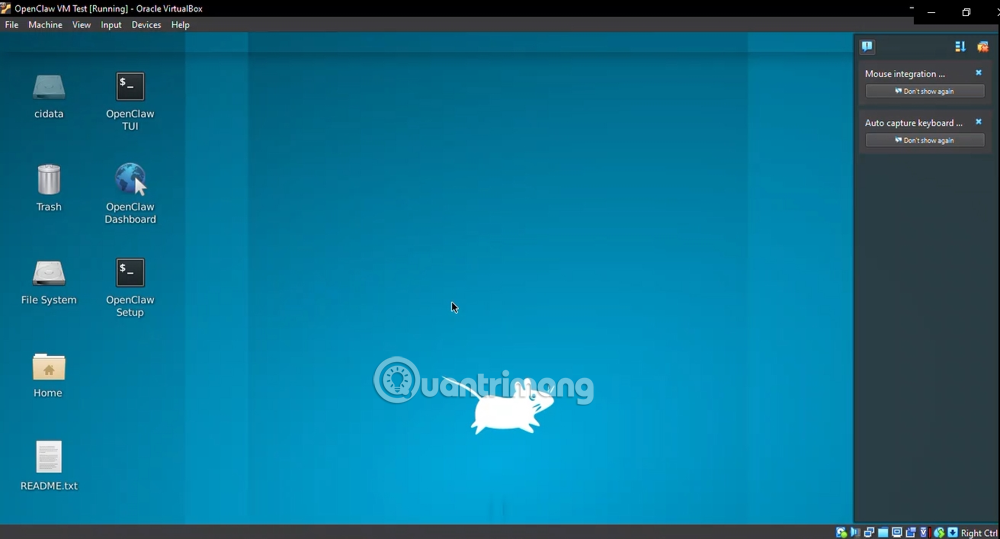
Confirm that the VM appears in VirtualBox and that vagrant ssh reaches the expected Linux guest.
Step 5: Install Docker inside the Linux guest
Follow Docker's official Ubuntu Engine instructions inside the VM. Install Docker Compose v2 as documented, then verify the environment:
docker --version
docker compose version
Avoid piping an unfamiliar remote script directly into a privileged shell. If you use an automated installer, first download it from the official domain and inspect its contents.
Step 6: Deploy OpenClaw from official sources
Inside the VM, obtain the OpenClaw repository from its official GitHub organization, enter the repository folder, and use the documented Docker setup script. To use the official prebuilt image rather than building locally:
git clone https://github.com/openclaw/openclaw.git
cd openclaw
export OPENCLAW_IMAGE="ghcr.io/openclaw/openclaw:latest"
./scripts/docker/setup.sh
The setup performs onboarding, requests provider credentials, generates a gateway token, writes configuration, and starts the gateway with Docker Compose. Prefer a version-specific image tag for a repeatable deployment after testing a release. Do not use a similarly named image from an unofficial registry.
Step 7: Open the Control UI securely
OpenClaw's default Control UI uses port 18789. Keep it bound to a local interface; do not expose it directly to the internet. From a second terminal on the host, create an SSH tunnel:
vagrant ssh -- -L 18789:127.0.0.1:18789
Leave that session open and browse to http://127.0.0.1:18789/ on the host. Enter the gateway token created during onboarding. Treat the token like a password and never publish it in a tutorial screenshot.
Optional: connect a Telegram bot
Telegram integration is optional. Create a bot only through the verified @BotFather account in Telegram, then protect the HTTP API token it returns. Inside the OpenClaw repository, the official Docker guide documents this channel command:
docker compose run --rm openclaw-cli channels add --channel telegram --token "<token>"
Replace the placeholder only in your private terminal. Be aware that command-line tokens may be retained in shell history. Where supported, prefer a protected environment file or secret reference, restrict its file permissions, and rotate the token immediately if it is exposed. Configure who may message the bot and require approval before allowing consequential actions.
Manage the VM
| Command | Purpose |
|---|---|
vagrant status | Show the VM state |
vagrant ssh | Open a shell inside the guest |
vagrant suspend | Save the current VM state |
vagrant halt | Shut down the VM |
vagrant reload | Restart and apply supported configuration changes |
vagrant destroy | Permanently remove the VM after confirmation; back up needed state first |
Container alternatives and their tradeoffs are covered in TipsMake's overview of Docker alternatives.
Security checklist
- Use official VirtualBox, Vagrant, Docker, OpenClaw, and base-box sources.
- Record versions and verify image provenance or checksums.
- Keep the Control UI on localhost and access it through an SSH tunnel.
- Do not mount the entire host drive into the VM.
- Grant OpenClaw only the folders, tools, and accounts required for a test.
- Require confirmation before messages, file deletion, purchases, or external changes.
- Review every third-party skill before installation.
- Take a clean VM snapshot or backup before risky configuration changes.
- Update the guest OS, Docker, OpenClaw, and dependencies regularly.
- Rotate any credential that appears in logs, screenshots, shell history, or shared archives.
Common problems
- VT-x or AMD-V unavailable: Enable virtualization in firmware and check for conflicts with another hypervisor.
- Vagrant cannot find VirtualBox: Confirm compatible versions, restart the host, and verify both commands are on the system path.
- The VM lacks memory: Reduce the allocation or close host applications; use an official prebuilt OpenClaw container image to avoid a local source build.
- The UI does not open: Confirm the gateway is running inside the VM and that the SSH tunnel remains open.
- Port 18789 is busy: Stop the conflicting local service or choose another host-side tunnel port.
- Telegram does not respond: Verify the bot token, channel configuration, gateway logs, and direct-message policy without posting the token.
The bottom line
VirtualBox and Vagrant can provide a repeatable OpenClaw test environment, but the convenience of a prebuilt VM is not worth sacrificing provenance. Create the VM from a trusted base box, install Docker using official instructions, deploy the official OpenClaw image, keep the interface local, and grant only the permissions needed for the experiment.
Related Articles
 How to Install Ubuntu on Virtualbox Virtual Machine11 minutes read
 How to Fix Mouse Error and Virtual Machine Keyboard in Virtualbox4 minutes read
 VirtualBox and Vmware Player: Which Virtual Machine Should You Choose?9 minutes read
 Sharing Data Between a Physical Machine and a Virtual Machine on VirtualBox3 minutes read
 Set Up and Install Windows 8 on Virtualbox3 minutes read
 How to Install Virtualbox on Linux8 minutes read
Reader Comments 0
Sign in with email or Google to join the discussion.