Instructions for replacing a broken laptop screen
TipsMake.com - If you accidentally damage your laptop screen or have many dead spots appear, don't worry. You can completely replace the screen for your laptop, just follow the instructions below.
With the right tools, a little technical knowledge and a little patience, you can replace your broken LCD screen.
Note : The Asus UL50V notebook uses the LED-backlit LCD liquid crystal display as an example. Depending on the user's laptop design, the internal hardware and some of the steps may change. But overall the process is similar.

If the damage is accidentally caused during the laptop warranty period, you should not repair it yourself. Please bring to the warranty center.
Prepare to remove the laptop screen
In preparation, users will need some tools and a new LCD screen. Here, we need to use a small nose screwdriver (preferably with a variety of nose types of different sizes), some thin metal knives or plastic rods.
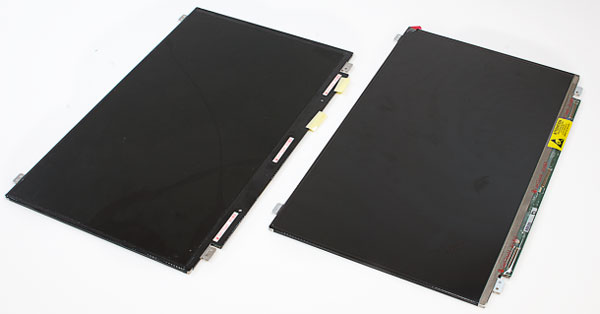
With LCD monitors, we can buy from authorized manufacturers or a third-party vendor. Most importantly, the new LCD screen must be the same type as the laptop's current LCD screen.
Remove the screen border frame
After disconnecting the power and removing the battery, check the frame around the screen. We will need to remove this frame to see the panel screws.

On this laptop, each screw is protected by a rubber pad. Remove the pads to expose the screws, then use the screwdriver to remove the screws.
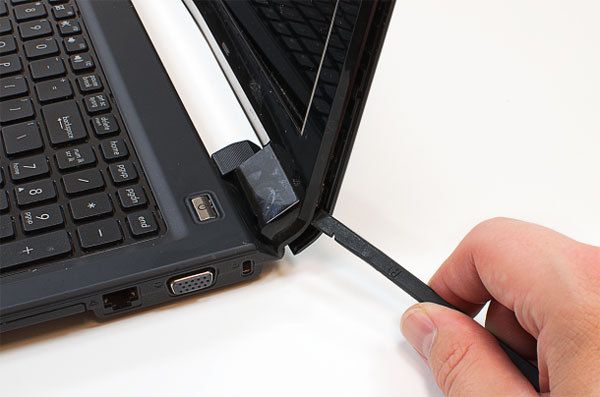
Use a thin metal knife to pry one of the two lower corners of the screen and then use the bar to separate the frame.


Remove the broken LCD panel
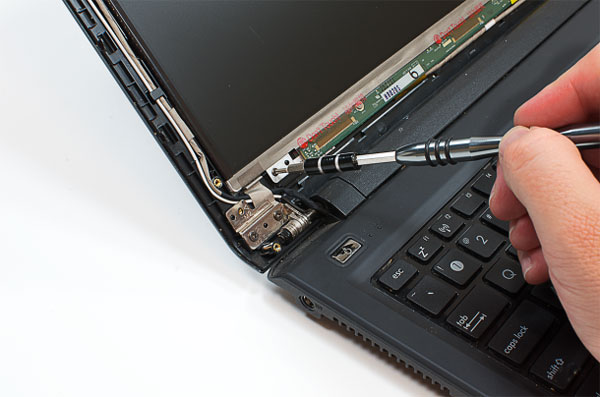
After separating the laptop frame, the LCD display racks showed up. Remove the screen capturing screws into the lid. Then turn the monitor down and remove the connecting cable.
If the laptop is manufactured before 2010 and has a fluorescent LCD screen, there may be two cables. But since this is a backlit LED LCD, there is only one cable connected.

Now, remember the manufacturer brand and monitor model number. Using this information, you can purchase the right monitor that matches the broken screen.
Install new LCD panel

After receiving the new screen, connect the cable to the screen, locate the panel on the lid and screw it.

Check the new LCD panel and reinstall the frame
Before installing the frame again, try checking the new panel. Insert the battery and power cord then turn on the device. If the display is good, you can reinstall the frame and snap the screw back. The replacement is complete.

The process of replacing the laptop LCD screen is not complicated but requires only a little patience and most importantly you need a suitable replacement screen.