Instructions for basic operations on Microsoft Access
This makes Microsoft Access great for doing data entry, since users don't need to work with tables and spreadsheets. If you have difficulty using it, see the instructions for basic operations on Microsoft Access below.
Create a new database
Step 1: Click the File tab and select New
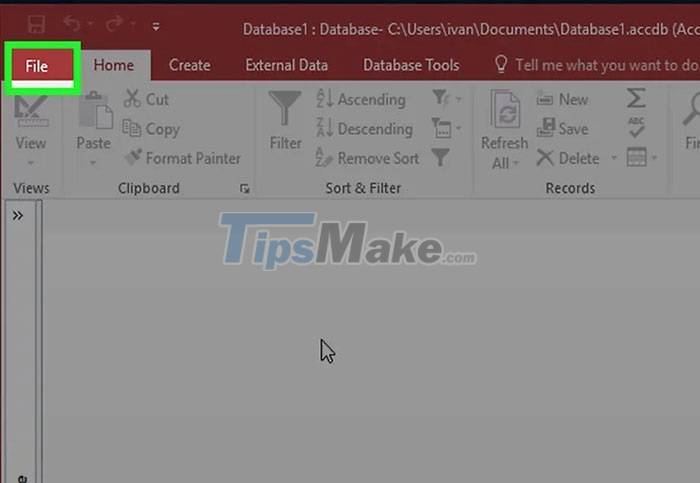
Database is what will hold all data in different forms. Users can choose to create an empty database, an empty web database, or choose from a variety of templates.
The empty database is a standard Access database and is good for local use. Creating an empty database will also create a table.
The web database is designed to be compatible with Access's web publishing tools. Creating an empty database will also create a table.
Templates are pre-built databases designed for multiple uses. Choose a template if you don't want to spend a lot of time putting the database structure together.
Step 2: Name the database

Once you've chosen a database type, give it a name that reflects its purpose. This will be especially helpful if everyone is going to be working with several different databases. Enter the database file name in the File Name box. Select Create to create a new database.
Add data to the database
Step 1: Determine the best structure for your data

If you are creating an empty database, everyone will need to think about the best way to organize the data and add the appropriate structure. There are several ways to format and interact with your data in Access:
Table: This is the primary way data is stored in the database. Tables can be compared to spreadsheets in Excel with data sorted by rows and columns. Therefore, importing data from Excel and other spreadsheet programs is a relatively simple process.
Form: A form is how data is added to a database. While it is possible to enter data into the database directly into tables, using forms allows for faster and more intuitive data entry.
Report: These reports summarize and display the data in the database. Reports are used to analyze data and return answers to specific questions, such as how much profit was generated or where customers are located. They are usually designed to be printed.
Query: This is a way to retrieve and filter data. Users can use queries to display specific entries from multiple tables or create and update data.
Step 2: Create the first table

If you are starting an empty database, Access will automatically start with an empty table. People can start entering their data into this table, either manually or by copying and pasting from another source.
Each piece of data must be given its own column (field), while each record must be a separate row.
For example, each row would be a customer while each field would be a different piece of information about that customer (first name, last name, email address, phone number,.).
People can rename column labels to easily distinguish which fields are what by double-clicking the column headers.
Step 3: Import data from another source
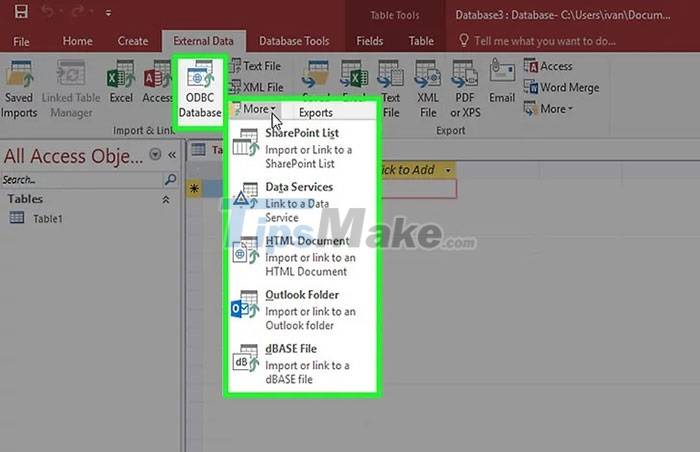
If you want to import from a supported file or location, you can set Access to get the information and add it to your database. This is useful for getting data off a web server or some other shared resource.
- Click the External Data tab.
- Select the file type you're importing. In the Import and Link section, people will see several options for data types. People can click the More button to see more options. ODBC stands for Open Database Connectivity, and includes databases like SQL.
- Navigate to the location of the data. If it is on a server, provide the server address.
- In the next window, select Specify how and where you want to store the data in the current database. Select OK and follow the steps to enter the data.
Step 4: Add another board
People will want to keep different records in different databases. This will help keep the database running smoothly.
For example, a user might have one table for customer information and another for order information. The customer information can then be linked to the order information table.
In the Create section of the Home tab, click the table button. A new table will appear in the database to enter the information in the same way as for the first table.
Set up table links
Step 1: Understand how locks work.
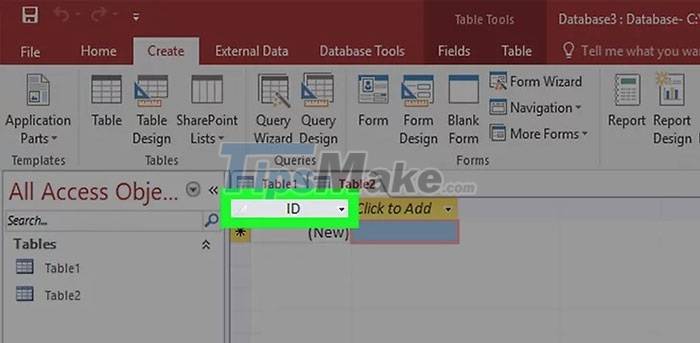
Each table will have a unique primary key for each entry. By default, Access creates an incremented ID column for each entry and is set as the primary key.
Tables can also have foreign keys, which are fields that are associated with another table in the database. Linked fields will contain the same data. Using links helps keep data consistent, efficient, and readable.
For example, in the Orders table, a Customer ID field could be added to track which products a customer ordered. The user can create a link for that field with the ID field in his Customers table.
Step 2: Click the Database Tools tab.
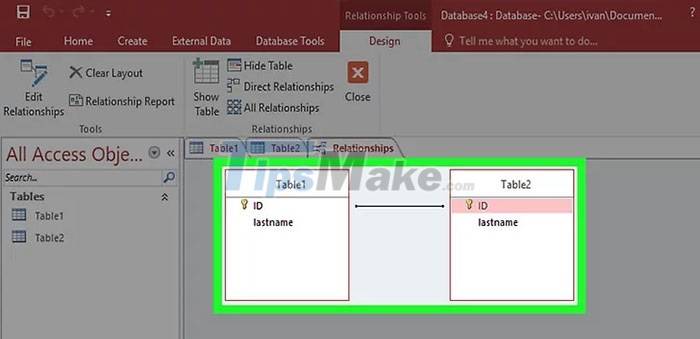
Click the Relationship button to open a new window with an overview of all the tables in the database. Each field will be listed below its table name.
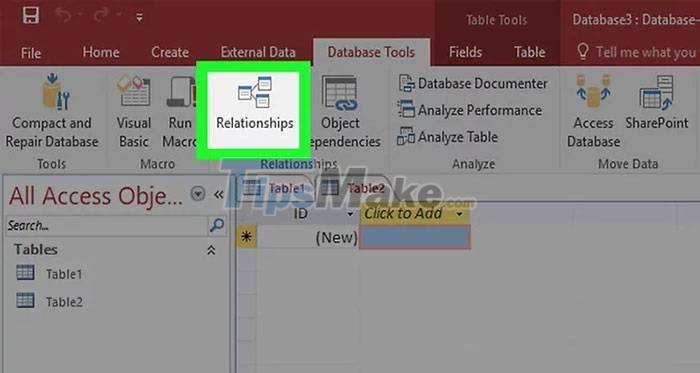
The user will need to create a field for the foreign key before creating the association. For example, if you want to use Customer ID on the Orders table, create a field in the Orders table named Customer and leave it blank. Make sure it's in the same format as the linked field.
Step 3: Drag the field you want to use as a foreign key.
Drop in the field that was created for the foreign key. Click Create in the window that appears to set relationships for the fields. A line will appear between the two tables, joining the fields.
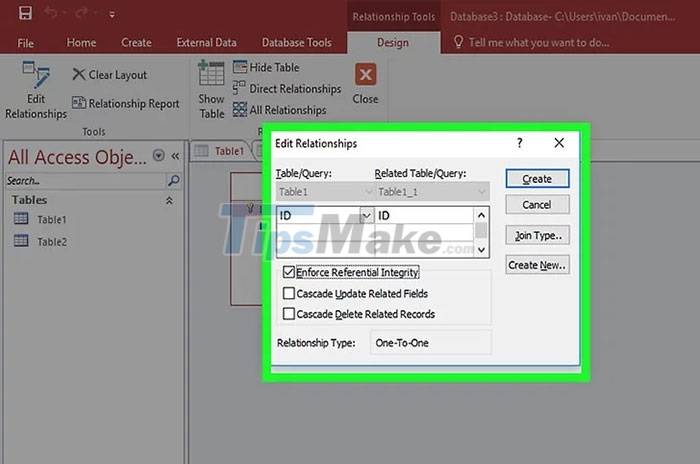
Check the Enforce Referential Integration box when creating a relationship. This will help when data changes in one field, the other will automatically be updated, ensuring the data is always correct.
Execute query query
Understanding the role of query
Query queries are actions that allow you to quickly view, add, and edit data in your database. There are many types of queries, from simple lookups to creating new tables based on existing data. Queries are an essential tool for building reports.
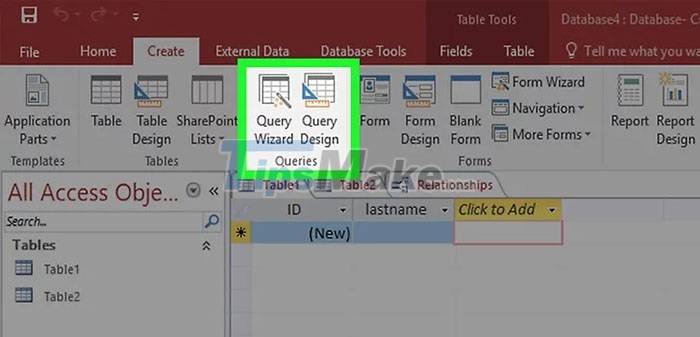
Queries are divided into two main categories: Select and Action. Select will get data from tables and can perform calculations. Actions can add, edit, and delete data from a table.
Use the Query Wizard to create a basic Select query
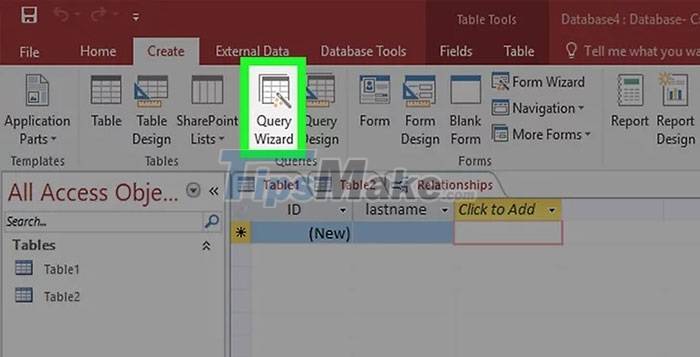
If you want to create a basic Select query, use the Query Wizard to guide the user through the steps. People can select the Query Wizard from the Create tab. This will allow viewing of specific fields from a table.
Create Select Query with Criteria
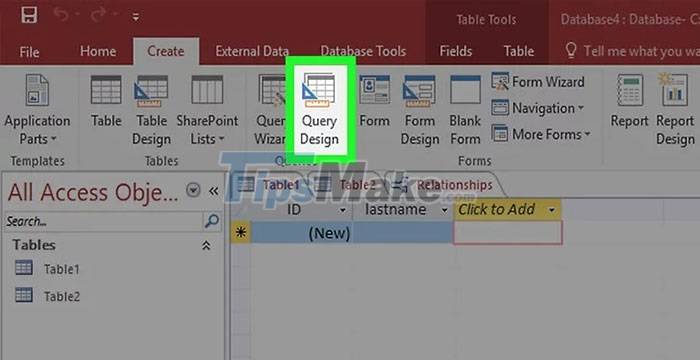
Open the Query Design tool. People can use criteria to narrow down their Select Query and display only the necessary information. To get started, click the Create tab and select Query Design.
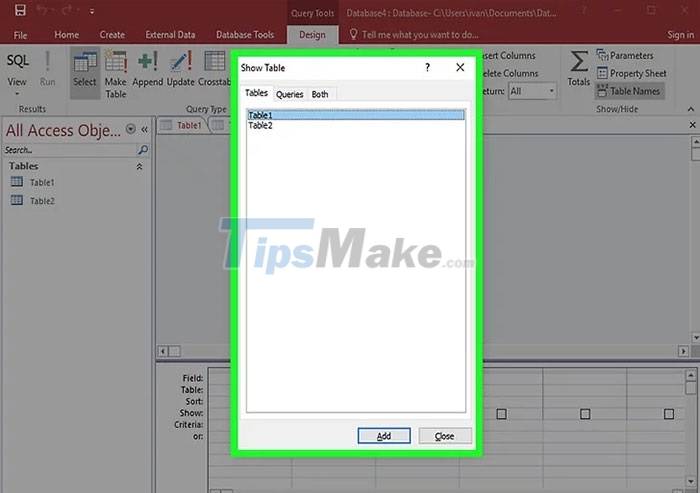
Select the table and Show Table will open. Double-click the table you want to run the query on, and then click Close.
Add retrieved fields. Double-click each field in the table that you want to add to the query. The fields will be added to the Design grid.
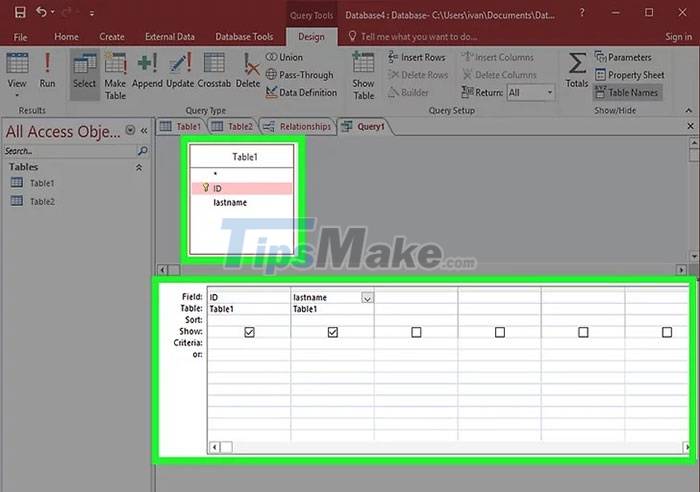
Add a Citieria, such as text or functions. For example, if you only want to display prices higher than $50 from the "Price" field, enter >= 50 in the Criteria. People can use multiple Criteria per query.

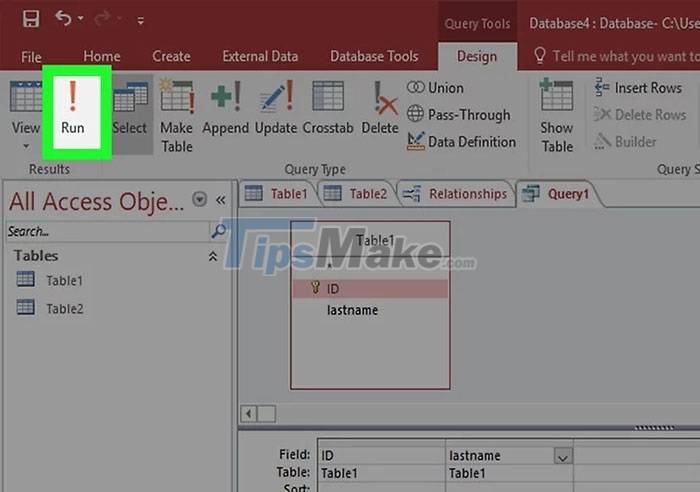
Click Run on the Design tab to see the results. The query results will be displayed in the window. Finally, press Ctrl + S to save the query.
 How to Update Microsoft Word on Windows and Mac
 Top 10 websites that provide free PowerPoint slide templates
 How to open PowerPoint in safe mode
 How to create Brochure in Word with built-in templates
 6 Ways to Fix the Error of Can't Open Excel File
 How to Fix Value Error in Excel Quickly, 100% Effectively