Add WordPress.com features to your blog
QTM - Want to add your own handy features of WordPress.com website? With the following tips, TipsMake.com will guide you how to install and use these functions quickly and simply .
Find the API Key of WordPress.com
First, what you need is to find the API key of WordPress.com. 2 of the best plugins for WordPress, Akismet and WordPress.com Stats, both require WordPress API key. If you already have a WordPress.com account, you can easily find this key in use in the plugin. Log in to WordPress.com with your account, on the top menu bar, select My Account > Edit Profile :

Select the API Key and other Personal Settings path :

Here you will find information about your API key shown above, be careful to copy this value because it will need to be used to activate plugins on your self-created WordPress site:

Create a new WordPress account and find the API Key in it
If you do not have a WordPress account, you can create a free account without going to a blog to get API key parameters. Visit the WordPress.com page, and click the Sign up now button:

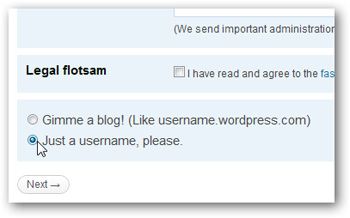
Fill in the confirmation information and click Just a username, please at the bottom of the page, this function will allow you to create a WordPress account that does not come with the corresponding blog. Once you have created an account, you can find API key information by clicking on:
About Akismet
Today's blogs are very vulnerable to spam, so it is difficult and complex to classify and prevent spam with various forms of intrusion. But, WordPress.com comes with a very effective spam filter - it's Akismet plugin. To install and activate this plugin on your WordPress system, log in to the main control panel and select the Plugins link on the left menu:
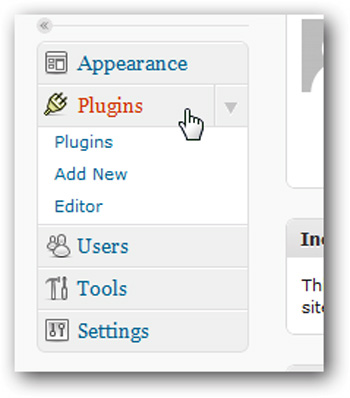
Please note that 2 plugins are available in the default mode: Akismet and Hello Dolly . Here, we need to enable the Akismet plugin to block spam on the blog, but before activating it, you will need the API key. If you don't have a WordPress.com blog or an Akismet account, you can sign up for a WordPress.com account and get the API key above. Or if you only want to use Akismet only, click on the API key link in the plugin description:

If your website size is personal and your total income does not exceed $ 500 / month, please select the free API key :
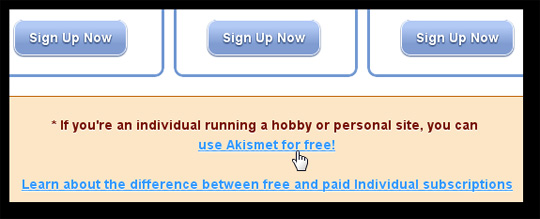
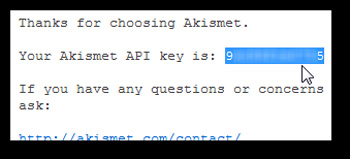
After completing the free registration process, you will receive a notification email containing the API key. Copy this parameter and return to the plugin page at the WordPress dashboard:
At the plugin page of WordPress, select Activate :
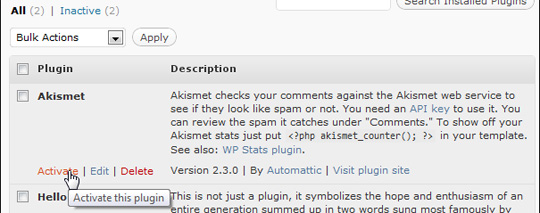
After refreshing, you will see the plugin has been installed and successfully activated. Select the path to enter your Akismet API key to end this process:

Enter the value of Akismet API Key or WordPress.com API Key in the box, select automatic detection and delete spam and comment after 1 month, and select Update options :
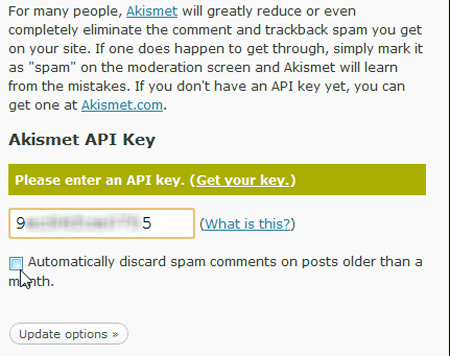
When you enter the correct information and activation key, the system will display a confirmation message of success:

About WordPress.com Stats
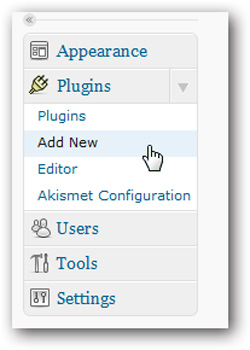
Many bloggers love using Google Analytics or other analytical and statistical tools to know the exact situation of the website. And here, we will show you one of the simplest tools included with WordPress.com. To install this plugin, select Plugins > Add New :
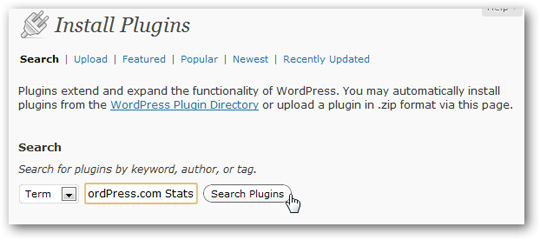
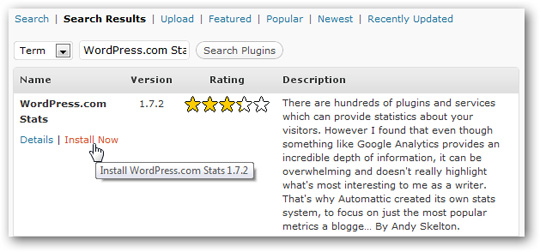
Type the search keyword WordPress.com Stats in the Search box and click Search Plugins :
After finding the right result, click the Install Now button:
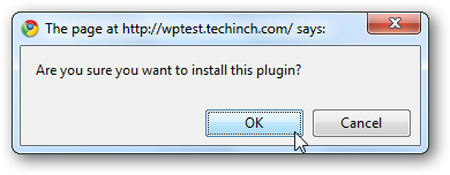
Click OK to confirm:
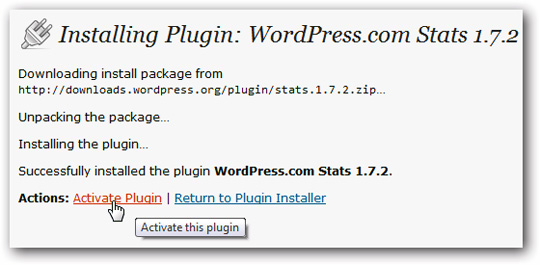
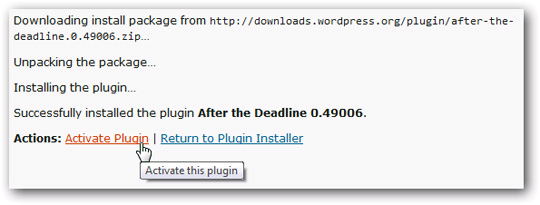
After that, WordPress will automatically download and install the required packages. When finished, select the Activate Plugin link at the end:
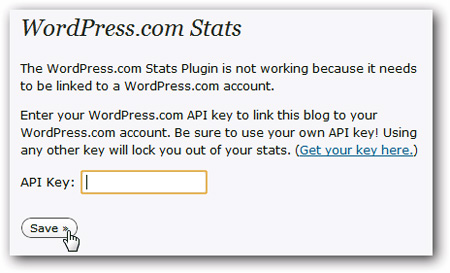
You will see the banner appear on the Plugins page, stating that Stats needs API key parameters . Click on WordPress.com Stats link on banner:

Enter the value of WordPress.com API Key above, click Save :
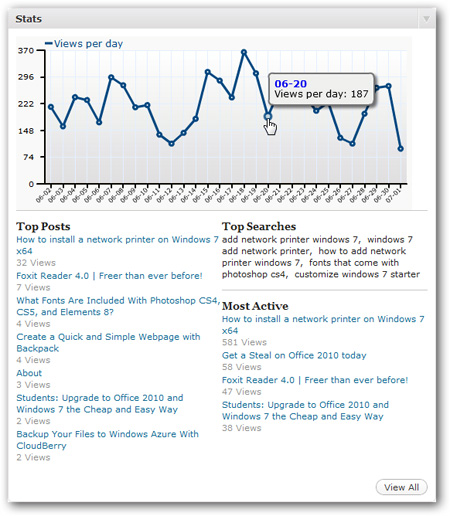
Now, every time you log in to the main WordPress control panel, you will see the Stats toolbar showing detailed diagrams of access status, number of posts . Select View All to see more detailed information. :
Introduction to After The Deadline
Grammatical and spelling mistakes sometimes make users confused, even embarrassed when other readers discover basic spelling errors. Fortunately, WordPress.com has many advanced tools and features built in to help users pronounce, check syntax, spelling . with the name After the Deadline . To install and activate this plugin, apply the same method as above, search the plugin with the keyword After the Deadline .
Now, every time you create a new post, edit it with WordPress's online editor, you will see the blue ABC button on the menu bar:
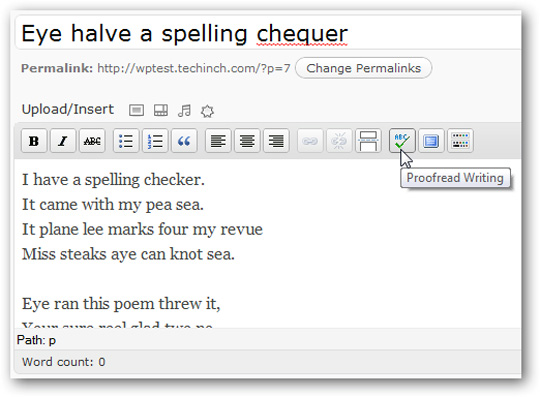
The application will underline the problem words and phrases. Click on the underlined words to correct them to the suggested suggestions, or select Explain to see the details. In fact, no grammar and spelling checker program can be 100% accurate, but with After the Deadline - you can be quite confident in your grammar:
Here are some plugins and outstanding features that should be included in any WordPress blog, you can consider and use them if necessary.
Good luck!
You should read it
- ★ How to migrate blogs from WordPress.com to WordPress.org
- ★ WordPress plugins with more than 300,000 pages that use vulnerabilities are vulnerable to SQL Injection attacks
- ★ Create a backup schedule for Database with Cron Job
- ★ WordPress.com blog service collapsed because of a DoS attack
- ★ 5 best e-commerce WordPress plugins