Table of Contents
This updated guide examines How to Use Spaces on Mac Os X and organizes the essential facts, background, and practical takeaways in clear American English.
Method 1of 4:
Basic Use of Spaces
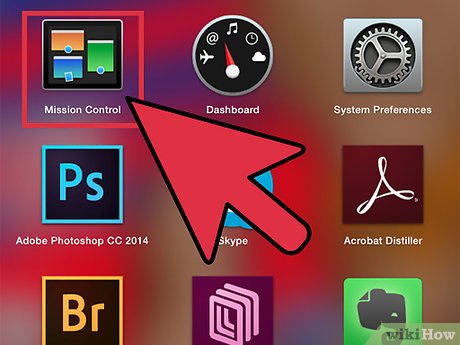 Open Mission Control. to begin to understand how the concept of Spaces works, you'll need to open the Mission Control screen. This shows you the spaces you have active—each of the numbered desktops at the top of the screen represents a space. There are three different ways to access Mission Control:
- Press the "F3" key.
- Click on the "Mission Control" icon on your dock.
- If you have a trackpad, push upwards on the pad with three fingers.
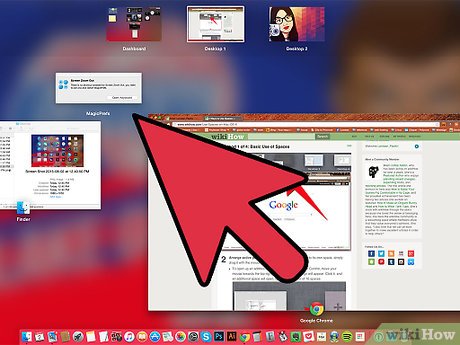 Arrange active programs. To move an active program to its own space, simply drag it with the mouse and drop it on the chosen space.
- To open up an additional desktop space from Mission Control, move your mouse towards the top-right of the screen. A "+" sign will appear. Click it, and an additional space will open, up to the total limit of 16 spaces.

- To remove an open desktop space, move your mouse the the space at the top of the Mission control screen, and click the "x" that appears in the top left. If you have any open programs on the space that you close, they will be automatically moved to your first space.

- To open up an additional desktop space from Mission Control, move your mouse towards the top-right of the screen. A "+" sign will appear. Click it, and an additional space will open, up to the total limit of 16 spaces.
 Click on a space to leave Mission Control. When you click on a space, Mission Control will disappear and your display will show only the space you selected.
Method 2of 4:
Switching Between Spaces
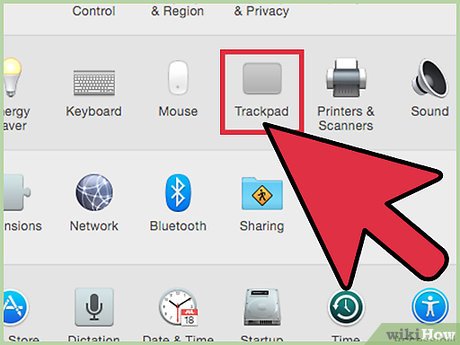 Use the trackpad. To switch between spaces on a Mac with a trackpad, swipe left or right on the pad with a four-fingered gesture. This will cycle you through the open spaces in your chosen direction.
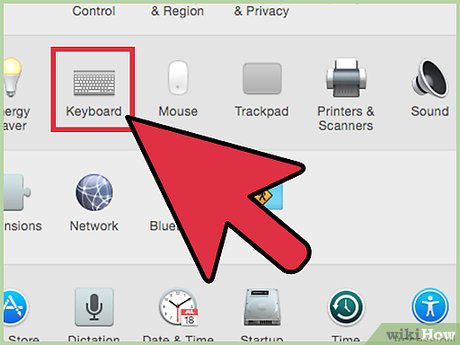 Use keyboard shortcuts. If you don't like using the trackpad, you can cycle left and right through your open spaces by pressing CTRL+LEFT ARROW or CTRL+RIGHT ARROW.
- This shortcut also can be used to go to each space individually. To do so, press CTRL and the number of your desired space, e.g. CTRL+2 to go to the second space.
Method 3of 4:
Full Screen Apps
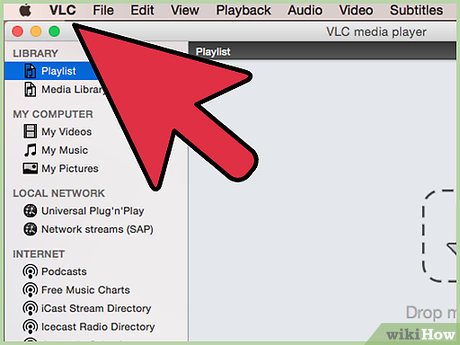 Check if the application you are running supports full screen mode. If it does, you will see a full-screen icon that looks like two diagonal arrows in the top-right of the program window.
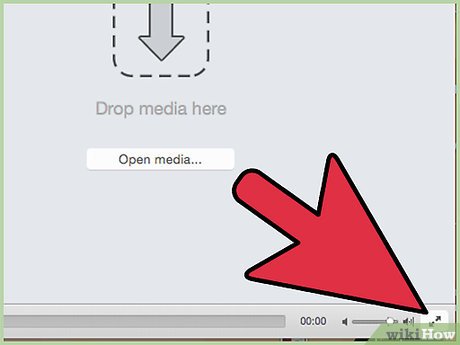 Click the icon to switch to full screen mode. Use the methods above to switch between your spaces, one of which will now contain only your full screen application.
 Leave full screen mode when finished. To switch a full screen program back to normal, move your mouse to the top right corner of the screen. Click the blue icon that appears in the top right of the full screen program window. Your program will return to its original space.
Method 4of 4:
Moving Applications Into Spaces
Spaces in OS X Lion allows you to expand into other desktop spaces while you work, without visiting Mission Control.
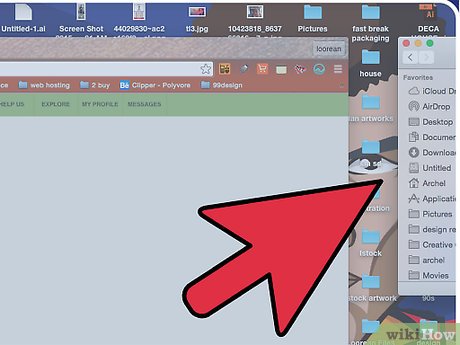 Drag the application you wish to move. If you wish to move an open program to a different space, just drag it right to the edge of the screen. After a two second pause the program will move into the next space along.
FAQ
What is How to Use Spaces on Mac Os X about?
It provides a structured overview of space, explains the main context, and highlights practical takeaways for readers.
Why does this topic matter?
Understanding the main concepts helps readers evaluate the issue, avoid common mistakes, and make better-informed decisions.
How should readers use this information?
Use the guidance as a practical starting point, confirm details that may have changed, and follow current product, safety, or security recommendations.
Related Articles
 How to Remove Extra Spaces and Spaces in Word3 minutes read
 How to Remove Spaces in Excel5 minutes read
 How to Remove Spaces Between Characters and Numbers in Excel4 minutes read
 What Is Facebook Spaces and How to Use This Virtual Reality Social6 minutes read
 How to Remove Spaces and Carriage Returns in Word5 minutes read
 How to Remove Extra Spaces, Remove Extra Spaces, Extra Lines in Word9 minutes read
Reader Comments 0
Sign in with email or Google to join the discussion.