How to use Instant Markup to edit screenshots on iPhone
If a photo is worth a thousand words, a bookmarked picture indicates exactly what you're saying is definitely worth more. iOS 11 has such a feature and is called Instant Markup.
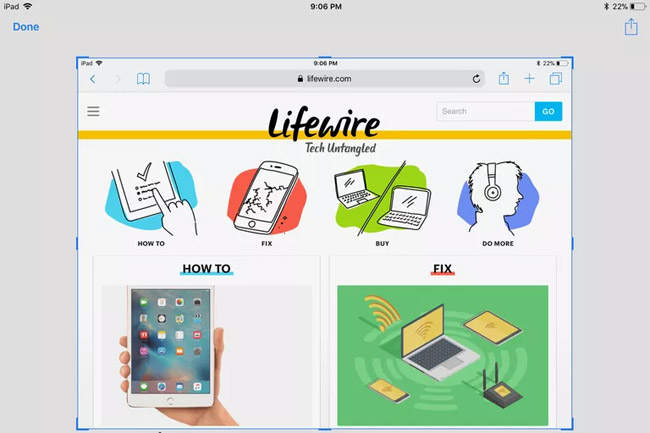
The Instant Markup feature not only allows you to take screenshots on your iPad, iPhone or iPod touch device, but also allows you to edit and add images immediately when the photo is taken. You can easily add text to screenshots as well as signatures and shapes in any size and color you like.
Instant Markup also provides screenshots, copy or delete specific sections. Once completed, the newly updated image can be saved to a photo album or shared with others.
1. Open Instant Markup
To access the Instant Markup interface, you first need to capture a screen shot by simultaneously holding down the Power button and the device's Home button. On iPhone X, press and release the volume up button plus the Side button (Power) at the same time.

As soon as you hear the sound of the camera, the screen has been taken and a preview of the image will appear in the lower left corner of the screen. Touch the thumbnail preview quickly, as it only appears for about five seconds before disappearing.
2. How to use Instant Markup

The screen shot will now be displayed in the Instant Markup interface, with the row of buttons located directly below and displayed from left to right as follows:
- Pen: Allows you to draw on your screenshot with the width of the standard pen
- Marker: Same as above, but with the width of the usual marker
- Pencil: Same as above, but with pencil points
- Eraser: Delete all items with just one finger touch
- Lasso: With this tool, you can select any marker in the screenshot and move them to another place
- Color Swatches: Allows you to choose between white, black, blue, green, yellow or red
On the far right of this row of buttons is a plus symbol inside a circle. Pressing this button will open a menu containing the following options:
- Text: Place a text box in front of the screenshot, allowing you to resize and align text when choosing one of three fonts (Helvetica, Georgia, Noteworthy).
- Signature: Allows you to sign with your finger or a stylus and place it anywhere on the screen shot
- Magnifier: Enlarge the areas specified by the user on the image
- Square Icon: Place a resizable square anywhere on the screen shot
- Circle Icon: Add resizable circles anywhere on screenshots
- Speech Bubble: Add one of four animated dialogue-style bubbles
- Arrow: Add adjustable arrows to the screenshot
Undo and redo buttons are provided in the lower left corner of the editing screen. They can be used to add or remove previous edits.
3. Save the image after using Instant Markup

When satisfied with the screen shot that you marked and you want to store it in the photo album, first click the Done button in the upper left corner. When the pop-up menu appears, select the Save to Photos option .
4. Share photos in Instant Markup

If you want to share your edited image via email, social network or other media, select the share button (the square with the up arrow) in the upper right corner of the screen. The iOS sharing panel will appear, prompting you to choose from a number of different applications and options.
See more:
- 18 tips for screen capture tool on iOS 11 you should not ignore
- How to take screen shots of iPhone 7, iPhone 7 Plus?
- How to edit Live Photos on iOS 11