How to Use a Computer Without a Mouse
On Windows
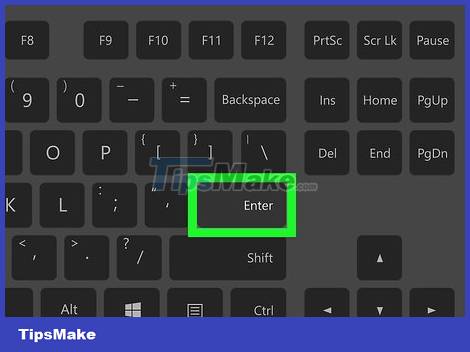
Try using basic keyboard shortcuts. You can use the arrow keys of the calculator and the ↵ Enter key to move the selections in the open window and select them in turn. Additionally, typing a character on the desktop or in a Windows application (such as File Explorer) switches your selection to information that begins with that character. Some keyboard shortcuts that you can use are as follows:
- Alt+Tab ↹ — Switch between open windows.
- Alt+F4 — Close the open application or window.
- ⊞ Win+D — Minimize the entire window to show the desktop.
- Ctrl+Esc — Opens the Start menu.
- ⊞ Win+E — Open File Explorer.
- ⊞ Win+X — Opens the Advanced settings menu.
- ⊞ Win+I — Open Settings.
- ⊞ Win+A — Opens Action Center.

Make sure your computer has a number pad. Without the number pad on the right side of your computer's keyboard (next to the row of number keys at the top of the keyboard), you won't be able to use this method.
You can still use the keyboard shortcuts listed in the first step.

Open Start by pressing the ⊞ Win key (the key with the Windows logo). You will see a screen showing the Start window.
You can also press Ctrl+Esc to open the Start window.

Type ease of access to find your computer's Ease of Access Center.

Select Ease of Access Center . Use the arrow keys to select this option at the top of the Start window if necessary, and then press ↵ Enter. The screen will display the Ease of Access Center window.

Select the Make the keyboard easier to use link in the middle of the window. Press the ↓ key until you have selected this option, then press ↵ Enter to open it.

Select the Set up Mouse Keys link in blue near the top of the page. Drag to the bottom of the screen with the ↓ key, and then press ↵ Enter.
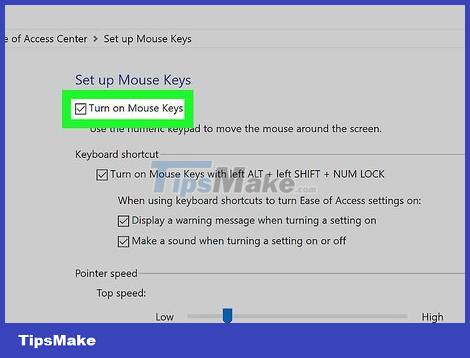
Enable Mouse Keys. Press the ↓ key to select the box and the text "Turn on Mouse Keys" and then press the + key.
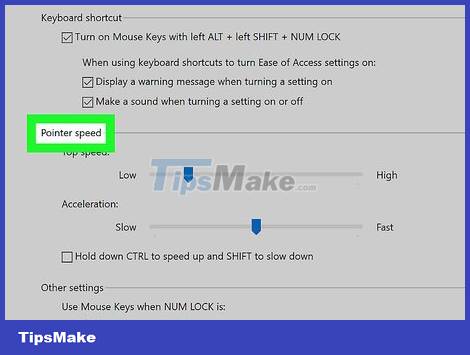
Scroll down to the "Pointer speed" section. Press the ↓ key until you have selected the "Top speed" slider in the "Pointer speed" section.
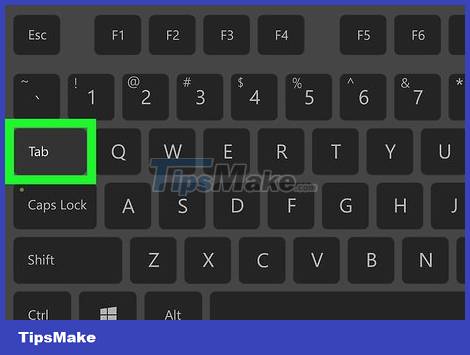
Adjust the speed of the mouse pointer. After you have adjusted a value, you can press the Tab key ↹ to move to another selection:
Top speed - Indicates the movement speed of the mouse pointer when at the fastest level. Press → key to increase the fastest mouse speed or press ← key to decrease speed. This setting can be very high (such as 75% or higher).
Acceleration - Indicates the time at which the mouse pointer reaches its maximum speed. Press → key to increase acceleration, or press ← key to decrease. This setting will be around 50%.
Select OK at the bottom of the window. This will enable Mouse Keys and close the window.

Use the numeric keypad to move the mouse pointer. You can use the 4, 8, 6 and 2 keys to move left, up, right, and down, respectively.
Use the 1, 7, 9 and 3 keys to move the cursor by 45°.
If the mouse doesn't move, press the Num key (or Fn+Num on some computers), and then try moving the mouse again.

Press 5 to perform a click operation. You should see this key in the center of the numeric keypad.
If pressing 5 opens a list of options, press the / key in the numeric keypad to disable the feature. You can click using the 5 key right after that.

Open the right-click menu. Every Windows computer has a "right-click menu" key with a framed ☰ icon. For each information (such as an icon) selected, pressing this key opens a right-click menu.
Note, if you haven't clicked something with the 5 key, the right-click menu will just be a regular list of options displayed in the corner of the screen.
On Mac

Use basic keyboard shortcuts. You can use your Mac's arrow keys and Return key to move the mouse pointer's selection around the open window, but you can also use the following keyboard shortcuts to perform some more complex operations: :
- ⌘ Command+Q — Exit the application (or open window).
- ⌘ Command+Space — Open the Spotlight search bar in the center of the screen.
- ⌘ Command+Tab ↹ — Switch to the next window.
- ⌘ Command+N — Open a new Finder window if you are on the desktop.
- Alt+F2, then ⌘ Command+L — Open System Preferences.
- Ctrl+F2 — Select the Apple Menu (press ⏎ Return to open).
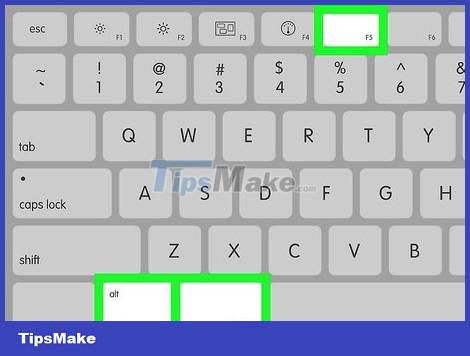
Open the Accessibility Options window. Depending on the model, you will use one of the following shortcuts:
- MacBook with Touch Bar - Tap the Touch ID button 3 times continuously.
- MacBook without Touch Bar - Press Fn+⌥ Option+⌘ Command+F5 at the same time.
- iMac (desktop Mac) - Press ⌥ Option+⌘ Command+F5 at the same time.
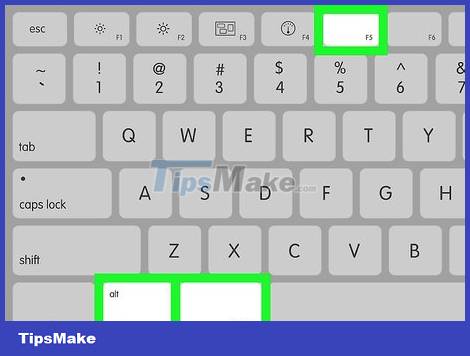
Enable Mouse Keys. Tap the Touch ID button 3 times (on Macbooks with Touch Bar) or press ⌘ Command+⌥ Option+F5 (on all Macs) to do this.
You can also use the ↓ key to check the "Enable Mouse Keys" box and press the ⏎ Return key (or Spacebar on some computers) to check.

Keep the Accessibility Options window open. This allows you to disable Mouse Keys using the keyboard shortcut you used to enable Mouse Keys.
However, you cannot type while Mouse Keys is on.
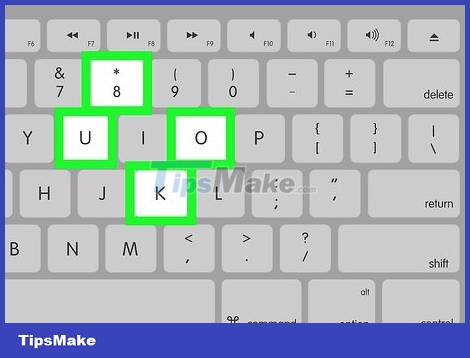
Move the mouse pointer. By using the U, 8, O, and K keys, you can move the mouse pointer left, up, right, or down, respectively.
Press the J, 7, 9 or L keys to move the cursor 45° left, up then left, up then right, or down then right.
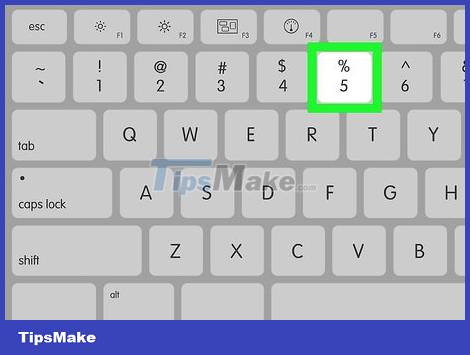
Click with the 5 key. The 5 key is equivalent to the left mouse button when you use Mouse Keys.
You can also hold the Control key while pressing the 5 key to perform a right-click operation.
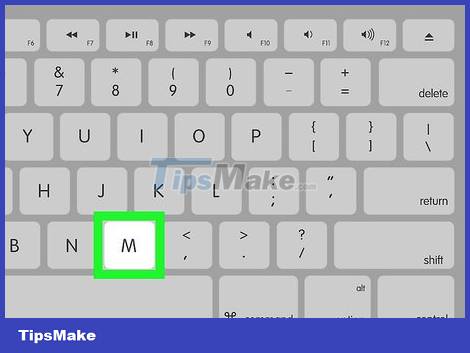
Keep clicking. By moving the mouse pointer over an icon and pressing the M key, you get a "hold" action, allowing you to drag the icon below the mouse pointer with the scroll keys.
This is also useful when you want to enable menus that require a hold, such as the delete menu.
You can press the (.) key to stop keeping the mouse clicked.