How to take screenshots by region on Macbook, Windows
Taking a screenshot by region on your computer gives you more flexibility when working, especially when you only need to save a small part of the screen. Try the simple steps below to save time and effort..
How to take screenshots on Windows and Macbook by region
I. How to take screenshots on Windows computers
1. Use shortcut keys
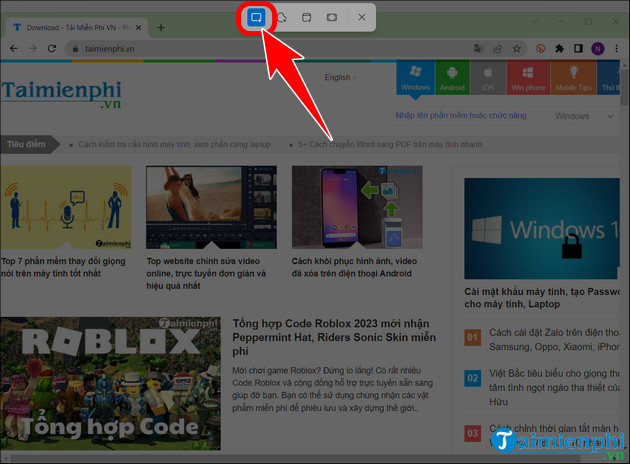
Step 1: Press the key combination Windows + Shift + S => select the capture icon by region .
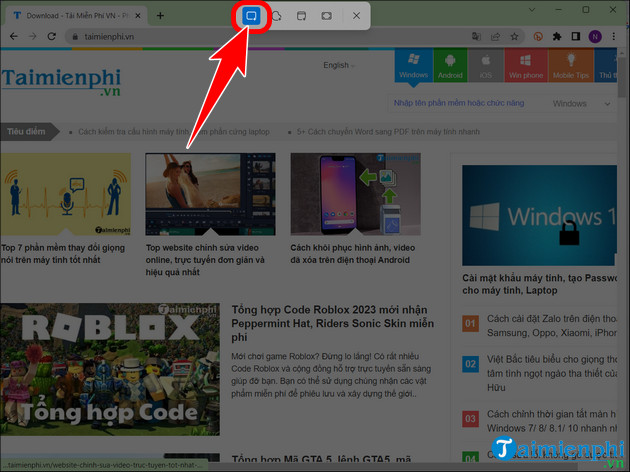
Step 2: Drag the mouse to the screen capture area.

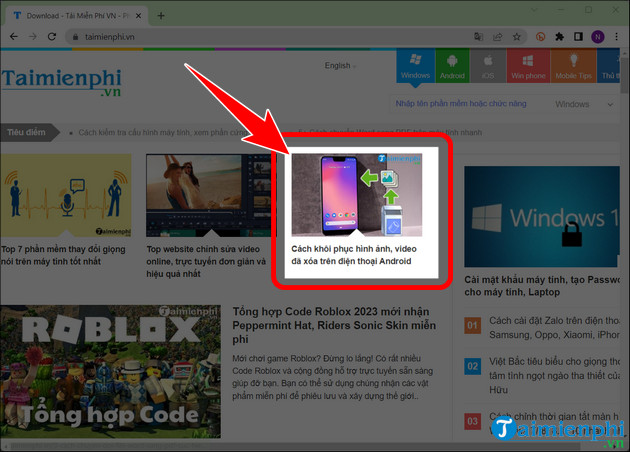
- Click Screenshot notification .

Step 3: The results of the computer screen capture by region will be displayed as shown below. Here, you can save the image and share it with everyone.

2. Use the Snipping Tool
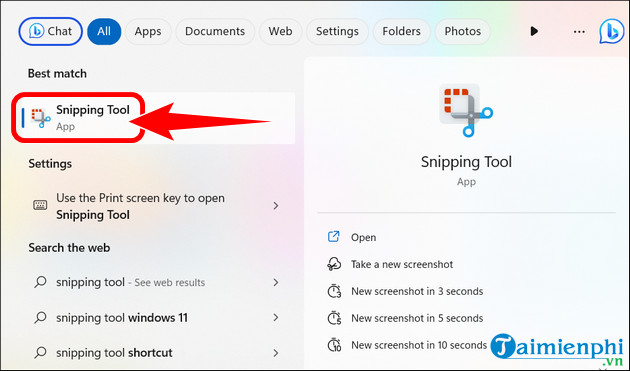
Step 1: Click the search bar and type Snipping Tool .

- Click to open the Snipping Tool . With this tool you can take screenshots of Windows 11, 10 by region very simply.
Step 2: Click New .
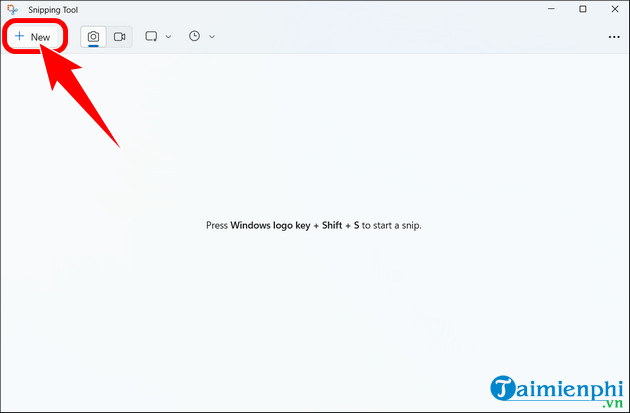
- Select computer screen capture mode by region .
Step 3: Drag the mouse to the screenshot area.
II. How to take screenshots on Macbook computer
1. Use shortcut keys
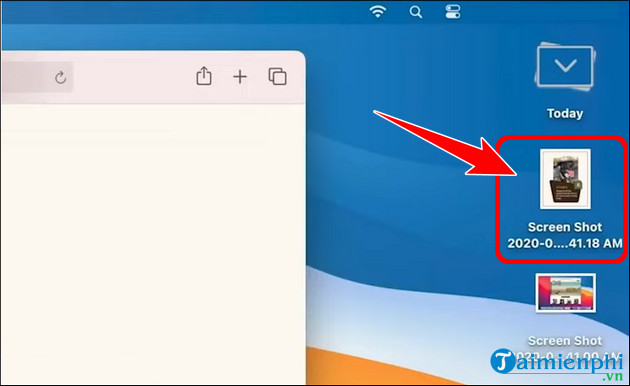
Step 1: Press the key combination Command + Shift + 4 , the mouse pointer will change to a cross .
- Drag and drop the mouse to the screen capture area.

Step 2: Once completed, the results will be saved to the Desktop .
2. Use Command + Shift + 4 + Spacebar
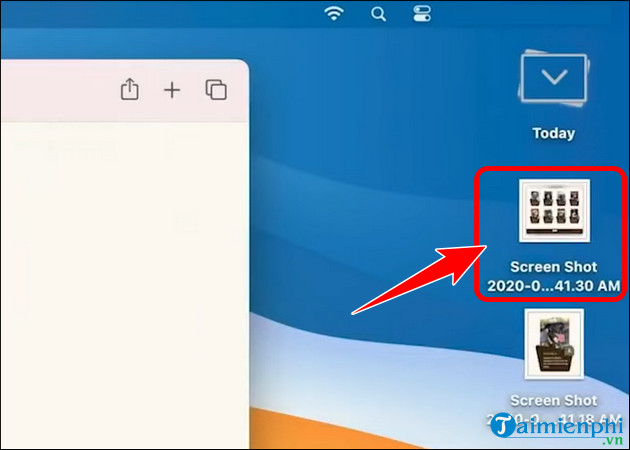
Step 1: Press the key combination Command + Shift + 4 + Spacebar , at this moment the mouse changes to the camera icon , move the mouse to the active tab such as Safari,. and release the mouse to take a screenshot by area.

Step 2: The photo will be automatically saved on the Desktop screen as shown below.
III. Why should we take screenshots of computer screens by region?
- Save important information to review when needed.
- Easily share with other users.
- Serve for work or personal purposes.
- Save images of an area of the computer extremely conveniently.
For many users, taking screenshots without software is always the top operation because saving images without software is faster, supporting work effectively, thanks to taking advantage of the available features and tools in Windows and Macbook operating systems.