Table of Contents
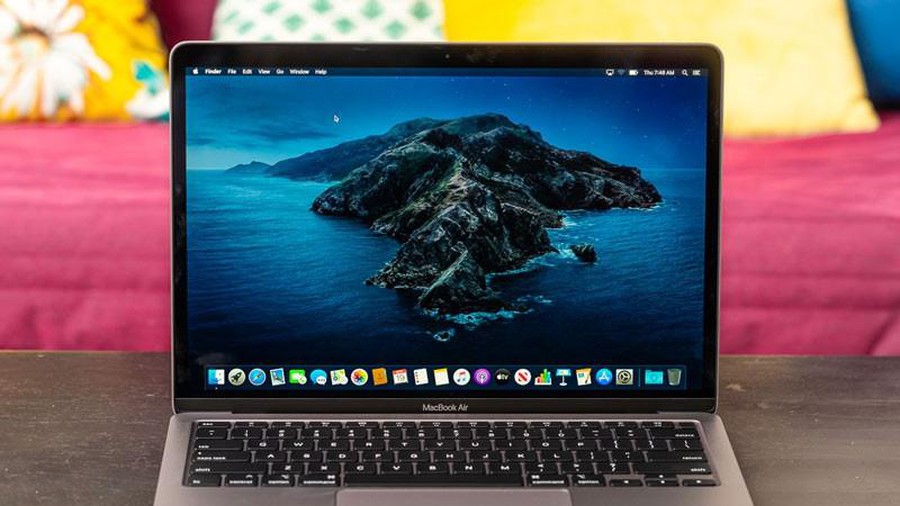
Taking a screenshot of a MacBook is a fairly simple operation, but not everyone new to this platform knows it. Now, TipsMake will guide you on how to take screenshots of MacBook - Mac OS easily and quickly.
Key Takeaways About Take a Screenshot of a MacBook
- Taking a screenshot of a MacBook is a fairly simple operation, but not everyone new to this platform knows it.
- Now, TipsMake will guide you on how to take screenshots of MacBook - Mac OS easily and quickly.
- Then, click this icon to move to the area you want to take a screenshot of.
- Use the key combination Command + Shift + 4
- Take screenshots of MacOS computers in many different ways
- Summary of keyboard shortcuts used to take Macbook screenshots
- Epilogue
Use the Key Combination Command + Shift + 4
Using the above method of taking a screenshot of a MacBook computer , you can press the key combination Command + Shift + 4 at the same time, then click the + icon on the screen instead of the regular mouse cursor icon. Then, click this icon to move to the area you want to take a screenshot of. Successfully captured screenshots are automatically saved in the desktop section of Mac OS.
Besides, you can also refer to other MacBook screen capture software that is very convenient, especially with the ability to save photos to the cloud, you will no longer need to save captured photos to your device.

Take Screenshots of MacOS Computers in Many Different Ways
Every user can take a screenshot of a MacBook using many different ways to take a screenshot of a MacBook . Here are some of the simplest ways to take screenshots on MacBook :
- Press and release Command + Shift + 3 : to take a screenshot of the MacBook screen right from the entire computer screen without having to select a screen frame to capture.

- Press the key combination Command + Shift + 4 + Spacebar (bar) : the mouse icon will turn into a camera image and when you move to an element such as a web browser window, home screen or application, the window will pop turn blue. And you can click a window to take a screenshot of your MacBook at that window only.

Summary of Keyboard Shortcuts Used to Take Macbook Screenshots
Below is a brief summary of keyboard shortcuts to take screenshots on MacBook Air or other Apple Mac lines that you should know:
- Command+shift+3 : Captures full screen .
- Command+Shift+Ctrl+3 : Capture full screen and copy to Clipboard .
- Command+shift+4 (simultaneously drag the mouse with 3 fingers) : Captures an area .
- Command+shift+4+Option : Capture an area from the center .
- Command+shift+Ctrl+4 : Capture an area and copy to Clipboard .
- Command+shift+4+Space bar : Captures the current window .
- Command+shift+3 : Capture screen to a file .
- Command+shift+Control+3 : Can take screenshots on MacBook to Clipboard .
- Command+shift+4 : Captures a selection to a file .
- Command+shift+Control+4 : Captures a selection to the Clipboard .

Epilogue
With a simple way to take a screenshot of a MacBook with the shortcuts introduced above by TipsMake, we hope you can easily and successfully take a screenshot of a MacBook to store or share information.
FAQ
How do you take MacBook screenshots with keyboard shortcuts?
Taking a screenshot of a MacBook is a fairly simple operation, but not everyone new to this platform knows it.
What should you check before working with Take a Screenshot of a MacBook?
Now, TipsMake will guide you on how to take screenshots of MacBook - Mac OS easily and quickly.
What can you do if the first method does not work?
Then, click this icon to move to the area you want to take a screenshot of.
Related Articles
 Summary of the Most Common Keyboard Shortcuts on MacBook: Main Insights7 minutes read
 Useful Keyboard Shortcuts on MacBook4 minutes read
 The Priceless Combination of Common Macbook Keyboard7 minutes read
 The Simplest and Fastest Way to Take a Screenshot on a MacBook In 202613 minutes read
 Keyboard Shortcuts for Taking Screenshots on Various PC and Laptop Models5 minutes read
 Keyboard Shortcuts in Illustrator Are Often Used, Keyboard Shortcuts Are7 minutes read
Reader Comments 0
Sign in with email or Google to join the discussion.