How to Install Mesa (OpenGL) on Linux Mint
Mesa is an open-source implementation of the OpenGL specification - a system for rendering interactive 3D graphics. Technically, OpenGL is just a specification, implemented by your graphics driver. There's no such thing like an OpenGL SDK...
Table of Contents
Part 1 of 3:
Preparing Your Linux Mint Operating System for OpenGL Development
-
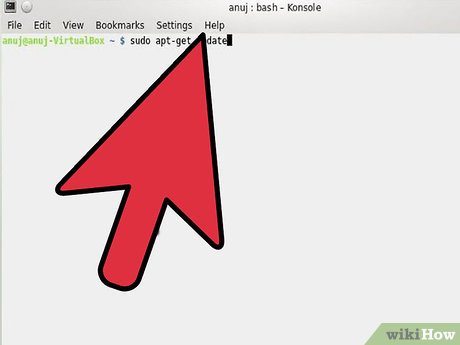 Open a terminal and enter the following commands to install the necessary libraries for OpenGL development:
- Enter sudo apt-get update
- Enter sudo apt-get install freeglut3
- Enter sudo apt-get install freeglut3-dev
- Enter sudo apt-get install binutils-gold
- Enter sudo apt-get install g++ cmake
- Enter sudo apt-get install libglew-dev
- Enter sudo apt-get install g++
- Enter sudo apt-get install mesa-common-dev
- Enter sudo apt-get install build-essential
- Enter sudo apt-get install libglew1.5-dev libglm-dev
-
 Get information about the OpenGL and GLX implementations running on a given X display. To do this, enter glxinfo .
Part 2 of 3:
Creating Your First OpenGL Program
-
 Open up a terminal. Make a directory, change into the directory and use your favorite text editor such as nano or gedit to create your OpenGL source code. Enter the following commands below.
- Enter mkdir Sample-OpenGL-Programs
- This will create a directory to hold your OpenGL programs.
- Enter cd Sample-OpenGL-Programs
- This will change you into your directory.
- Enter nano main.c OR gedit main.c
- Enter mkdir Sample-OpenGL-Programs
- Copy and paste OR type the code:
#include
#include void renderFunction() { glClearColor(0.0, 0.0, 0.0, 0.0); glClear(GL_COLOR_BUFFER_BIT); glColor3f(1.0, 1.0, 1.0); glOrtho(-1.0, 1.0, -1.0, 1.0, -1.0, 1.0); glBegin(GL_POLYGON); glVertex2f(-0.5, -0.5); glVertex2f(-0.5, 0.5); glVertex2f(0.5, 0.5); glVertex2f(0.5, -0.5); glEnd(); glFlush(); } int main(int argc, char** argv) { glutInit(&argc, argv); glutInitDisplayMode(GLUT_SINGLE); glutInitWindowSize(500,500); glutInitWindowPosition(100,100); glutCreateWindow("OpenGL - First window demo"); glutDisplayFunc(renderFunction); glutMainLoop(); return 0; } -
 Save the file and exit.
Part 3 of 3:
Compiling and Running Your OpenGL Application
-
 Enter the Sample-OpenGL-Programs directory. While there, run the following command:
- g++ main.c -lglut -lGL -lGLEW -lGLU -o OpenGLExample
- This command will compile and link your OpenGL libraries.
- g++ main.c -lglut -lGL -lGLEW -lGLU -o OpenGLExample
-
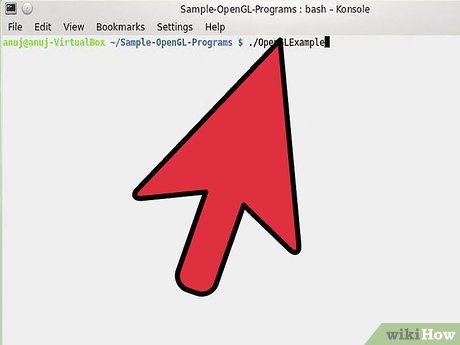 Run the program. To do this, type the following:
- Enter ./OpenGLExample
-
 Wait for a result. If you did everything right, a window will open. It will show a white square on a black background. The window will be titled "OpenGL - First window demo".
4 ★ | 71 Vote
- Create bootable USB with Linux Mint 19.3
- 10 reasons you can't not 'love' Linux Mint
- How to upgrade from Linux Mint 19.3 to Linux Mint 20
- 6 Best New Features in Linux Mint 21.2 'Victoria'
- Linux Mint 20.2 'Uma' Released: What's Notable?
- Some notable changes on Linux Mint 20
- Learn about OpenGL
- How to Install Linux Mint Operating System
- How to set up or disable Linux Mint update notifications
- Why Linux Mint is the best distro to start migrating from Windows 11 to Linux?
MORE LIKE THIS
- How to Delete an Apple ID
- How to Find Your Apple ID
- How to Use Clonezilla
- How to Visually Customize CMD in Windows 10
- How to Make a Program Using Notepad
- How to Use MatLab to Solve Matrix Equations and Perform Statistical Analysis
- How to Import, Graph, and Label Excel Data in MATLAB
- How to Create a Pull Request on Github
- How to Compile & Run Java Program Using Command Prompt
- How to Create an XL Worksheet for Continued Fractions
-
 The latest Murder Mystery 2 codes and how to enter them.
-
How to enter Roblox codes on your phone, PC, or laptop.
-
Instructions for setting up a network on Windows 10 version 1903
-
Latest Muscle Legends codes (April 22, 2026) and instructions on how to enter them.
-
The latest Roblox codes for April and how to enter Roblox Promo Codes 2026
-
How to allow applications to access the Windows 11 firewall.
 The latest Murder Mystery 2 codes and how to enter them.
 How to enter Roblox codes on your phone, PC, or laptop.
 Instructions for setting up a network on Windows 10 version 1903
 Latest Muscle Legends codes (April 22, 2026) and instructions on how to enter them.
 The latest Roblox codes for April and how to enter Roblox Promo Codes 2026
 How to allow applications to access the Windows 11 firewall.