How to Set up a Wireless Network in Puppy Linux
Method 1 of 3:
Set up your new router
-
 Plug your router into your internet socket if you want to share your internet.
 -
 Plug your router into your PC with an ethernet cable.
 -
 Go to your browser and type in the address "http://192.168.0.1 192.168.0.1" or "http://192.168.2.1 192.168.2.1", or "http://192.168.1.1 192.168.1.1".
 -
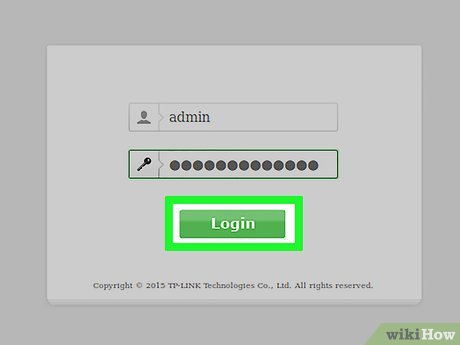
 Enter your user name and password from your router (often "admin" and "admin") then your internet service provider.
 -
 Enable wireless and set your encryption (WPA as a minimum, WEP can be cracked in seconds) use AES encryption if you have it available, skip if you do not. and type a memorable passkey that is at least 64 characters. It's a hassle, but you only have type it a few times.
Method 2 of 3:
Detecting your wireless adapter
-
 Click the "Connect" icon on your desktop.
 -
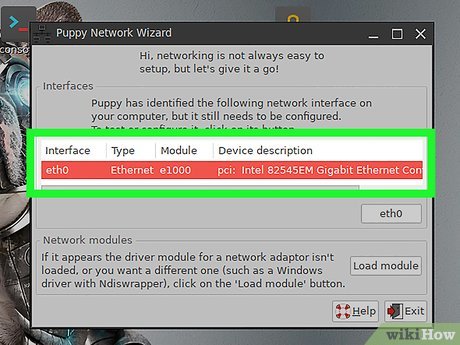
 In the "Connect" box, click "Connect to Internet by network interface".
- If under "Interfaces" (or "Driver Modules" if Puppy 2 series) a wireless device appears skip to "Connecting to a network" (below).
-
 Click "Load module", choose automatic and click OK, if this is successful skip to "Connecting to a network" (below).
- If your wireless adapter isn't found automatically, find the manufacturer and model, choose it from the list and click OK.
- If your wireless adapter isn't on the list, check WirelessWorking for a list of cards which may work with Puppy.
- If your wireless adapter isn't on the list, choose "ndiswrapper" from the list and choose your Microsoft Windows driver (.inf file) and click OK until you return to the Network setup screen.
-
 Click "Save".
Method 3 of 3:
Connecting to a network
-
 Under "Interfaces", click on the newly detected wireless adapter.
 -
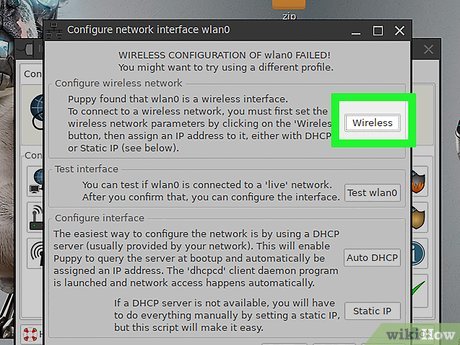
 Click on the "Wireless" button.
 -
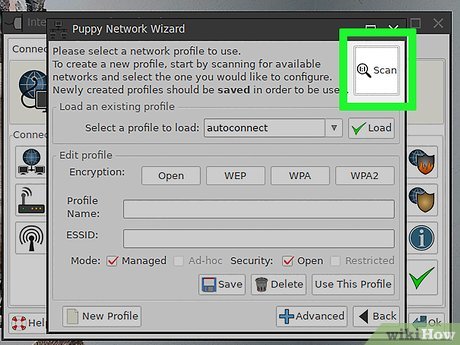
 Click on "Scan" (this may take a number of attempts), choose your own network (find your manufacturer and model), then click OK.
 -
 Choose your "Encryption" by clicking on "WEP" or "WPA/skip, then enter your passkey where it says "Provide a key".
 -
 Click "Use This Profile".
 -
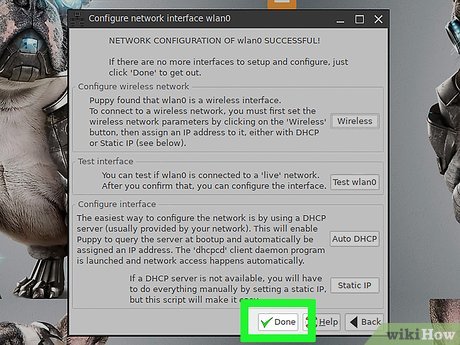
 Click "Auto DHCP" (or "Static IP" and enter the IP addresses manually if "Auto DHCP" doesn't work) then you are connected.
 -
 Click "Save" and this connection will be launched at every boot.
 -
 If everything works, and you can check by opening Google in a browser, then click Done.
Share by
Lesley Montoya
Update 04 March 2020

