How to Set Java Home
Do you want to set Java Home? The variable Java Home, generally written as JAVA_HOME, is set to the install path of Java. Learning how to set JAVA_HOME in Windows and Linux isn't hard to do. Assuming that the path for the Java Development....
Method 1 of 2:
For Windows
-
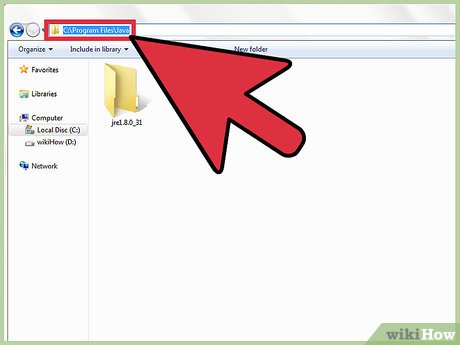 Assuming that the path for the Java Development Kit (JDK) during installation is not changed, it will be in a directory under C:Program FilesJava. This path will have the JDK, let's assume it has jdk1.6.0_06. So the install path is C:Program FilesJavajdk1.6.0_06.
 -
 Setting JAVA_HOME using "My Computer":
- Right click on the My Computer icon on your desktop and select properties
- Click the Advanced Tab
- Click the Environment Variables button
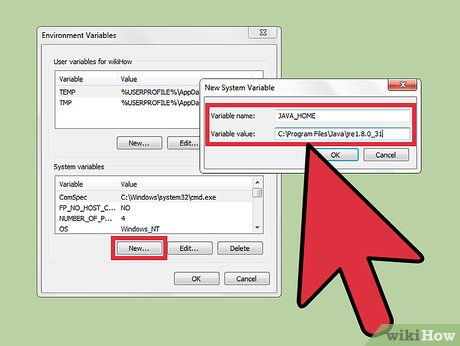
- Under System Variable, click New
- Enter the variable name as JAVA_HOME
- Enter the variable value as the install path "C:Program FilesJavajdk1.6.0_06"
- Click OK
- Click Apply Changes
- Restart the computer to make sure the changes are reflected.
-
 Setting JAVA_HOME using command prompt
- Open command prompt
- Type the following in the command prompt
set JAVA_HOME = C:Program FilesJavajdk1.6.0_06
and press enter
The JAVA_HOME is set.
Method 2 of 2:
For Linux
-
 To set the JAVA_HOME we use .bash_profile which is a start-up script. This particular file is used for commands which runs when the normal user logs in. The steps to set JAVA_HOME are:
- Login to your account and open .bash_profile file
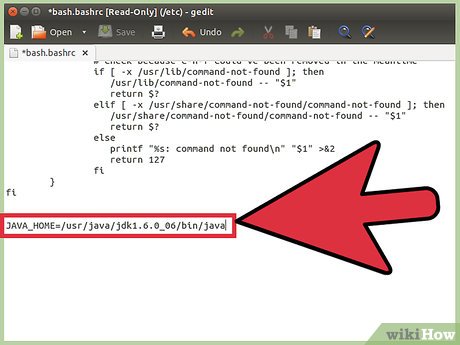
$ vi ~/.bash_profile - If your path is set to /usr/java/jdk1.6.0_06/, set JAVA_HOME as follows:
export JAVA_HOME=/usr/java/jdk1.6.0_06/ - Save and close the file. Logout and login back to see new changes, or type source ~/.bashrc
- Login to your account and open .bash_profile file