How to Reduce Video Size
This wikiHow teaches how to reduce the size of video files, including the resolution and the final file size on Windows and Mac computers, and on your iPhone or iPad. Visit https://handbrake.fr/downloads.php in your browser. Handbrake is a...
Table of Contents
Method 1 of 5:
On Windows (Handbrake)
-
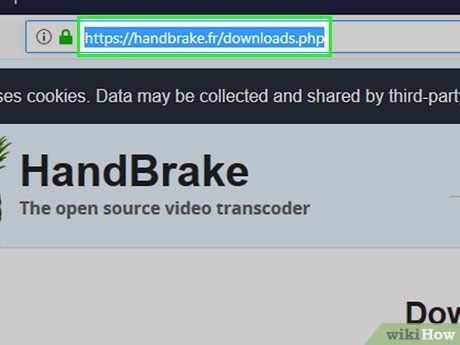 Visit https://handbrake.fr/downloads.php in your browser. Handbrake is a free program that will allow you to re-encode your video files so that they are lower resolution and smaller file sizes.
 -
 Click the Download Handbrake button.
 -
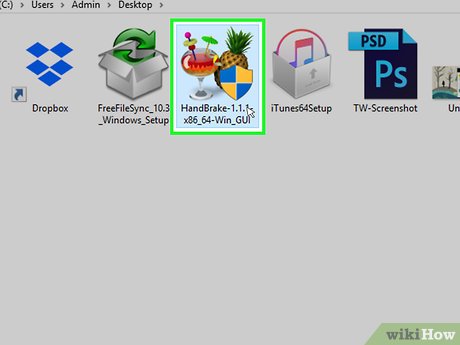 Click the installer. You'll see this at the bottom of your browser after it downloads. You can also find it in your Downloads folder.
 -
 Click Yes when prompted by Windows.
 -
 Click Next to proceed through the installation.
 -
 Click Finish at the end of the installation.
 -
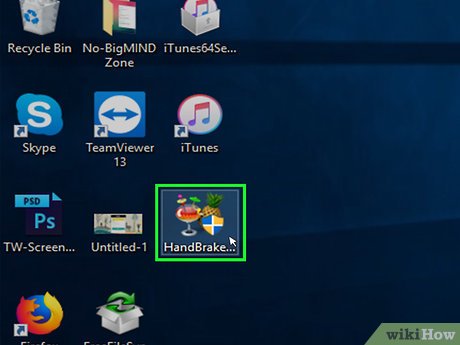 Double-click Handbrake on your desktop.
 -
 Click the Source button. You can find this in the upper-left corner of the Handbrake window.
 -
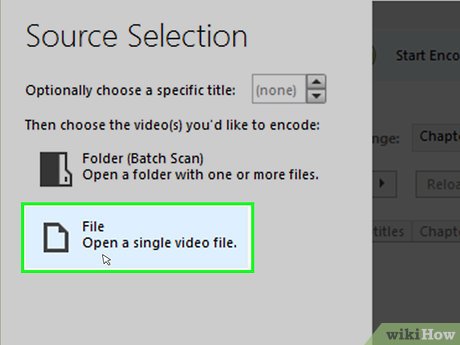 Click File.
 -
 Browse for the file you want to reduce the size of.
 -
 Click Open after selecting the file.
 -
 Click the Browse button in the Destination section.
 -
 Set where you want to save the output file to.
 -
 Find the Size section of the Picture tab.
 -
 Type a smaller number into the Width field. This will lower the resolution of your video, which can drastically lower the file size. For example, changing the value from 1920 to 1280 will change the video from 1080p to 720p, resulting in a much smaller file. Resolution changes are more noticeable on larger screens.
- Other values you could enter to change the size and maintain the aspect ratio are 1024, 1152, 1366, 1600, and 1920. Note that these are common resolutions for widescreen videos. If your videos are a different aspect ratio, such as a vertical cellphone video, you'll want to use different values.
-
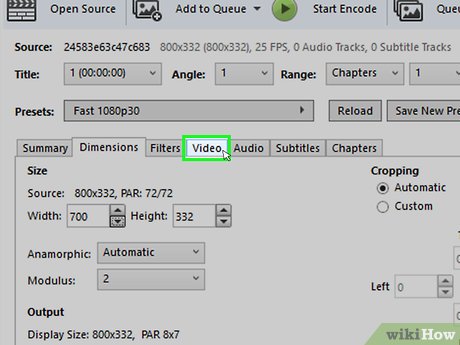 Click the Video tab.
 -
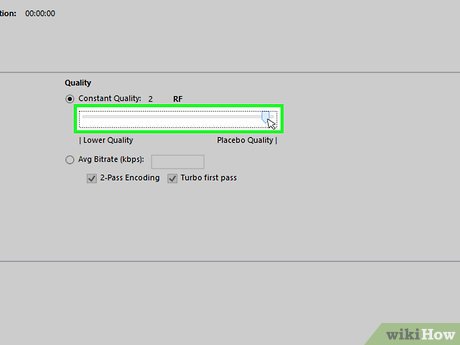
 Click and drag the Constant Quality slider to the left. Increasing the value will lower the quality, which will result in a smaller file size.
- 20 is considered DVD quality. If you're going to be playing the video on a small screen, you can probably go as high as 30. For larger screens, stick to 22-25.
-
 Click and drag the x264 Preset slider to the right. The slower you set this slider, the smaller your final file size will be. Set this to as slow as you can handle.
 -
 Click the Preview button. You'll see this at the top of the window.
 -
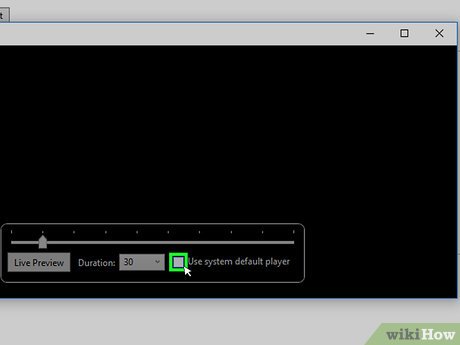 Check the Use system default player box.
 -
 Click Play.
 -
 Watch the preview to determine the quality.
 -
 Make any adjustments you'd like and run another preview.
 -
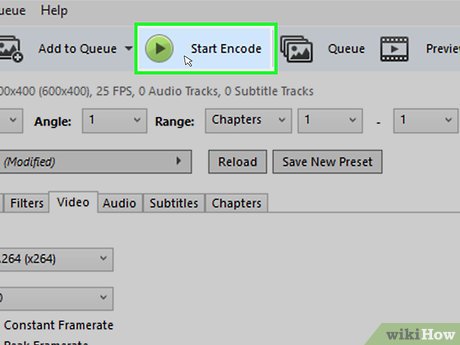 Click the Start button when you're satisfied. The encoding process will begin. The time this takes will vary greatly depending on the size of the video, your encoding settings, and your computer's processing power.
 -
 Open your newly-encoded file. You'll find the new video file in the location you set for it earlier. Play it to test the quality and ensure that the encoding went smoothly. You should notice a large change in the file size.
Method 2 of 5:
On Mac (Handbrake)
-
 Visit https://handbrake.fr/downloads.php in your browser. This is the website for the free Handbrake utility, which you can use to change the size of your video files.[1]
 -
 Click the Download Handbrake button. This will download the Handbrake installer for Mac.
 -
 Click the installer after downloading. You'll see this in the lower-right corner of your desktop. You can also find it in your Downloads folder.
 -
 Drag Handbrake to your desktop or Applications folder.
 -
 Double-click Handbrake.
 -
 Click Open.
 -
 Browse for the video you want to convert. The file browser will open when as soon as your launch Handbrake.
 -
 Select the file and click Open.
 -
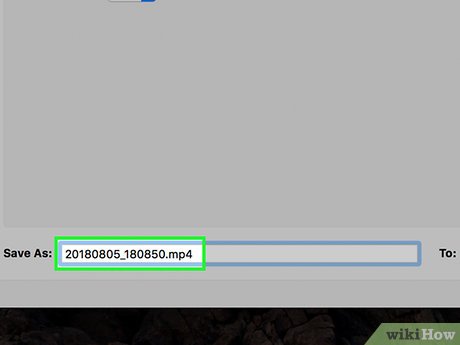 Type a new name for the converted file in the Destination section. If you don't change the name, Handbrake will overwrite the original video file.
 -
 Click Picture Settings. This button can be found at the top of the window.
 -
 Enter a smaller resolution number in the Width field. Changing the resolution will make the video appear smaller on the screen, and also dramatically decrease the file size. You may not notice resolution changes if you're going to be watching the video on a mobile device, making it a good way to reduce file size.[2]
- If the width is "1920," try changing it to "1280." This effectively changes the video from 1080p to 720p. Other possible Width values for widescreen video include 1024, 1152, 1366, 1600, and 1920.
- Make sure "Keep Aspect Ratio" is checked. This will automatically change the height of the video to match the new width so that the proportions stay the same.
-
 Click the X button. This will close the Picture Settings window and keep your new settings.
- Changing the video resolution is not necessary to reduce the file size, but can be a big help.
-
 Click and drag the Constant Quality slider to the left. The higher the number, the lower the quality and the smaller the file. You may need to try and adjust the settings a few times until you find the right one for you.[3]
- 20 is considered DVD quality. You can probably lower the quality to as much as 30 and still be able to satisfactorily watch it on a small screen.
- If you're planning on watching on a large screen, you shouldn't raise the quality slider above 22-25.
-
 Click and drag the Encoder Options Preset slider to Slow. If you can, select an option even slower than Slow. The slower your compression settings, the smaller the end result file will be.
 -
 Click the Preview Window button.
 -
 Click Live Preview.
 -
 Watch your preview clip after it encodes.
 -
 Make any adjustments to your settings. Based on the quality of your preview clip, you can go back and make any adjustments to your settings that you'd like.
 -
 Click the Start button. This will begin encoding the video with your chosen settings. The time this will take will vary dramatically depending on the length of the video and the quality settings you chose.
Method 3 of 5:
Mac (iMovie)
-
 Open iMovie. iMovie is a piece of video editing software included with the Mac operating system. You can find it in your Applications folder.
 -
 Click the Projects button.
 -
 Click the + button.
 -
 Click Movie.
 -
 Click No Theme.
 -
 Type a name for the new file.
 -
 Open the folder containing your video file.
 -
 Drag the video file into the top-left frame of the iMovie window.
 -
 Drag the clip down onto the timeline.
 -
 Click the File menu.
 -
 Click Share → File.
 -
 Click the Resolution menu and choose a smaller resolution. This will decrease the actual size of the video frame, as well as reduce the file size. Reducing the resolution will not be as noticeable on smaller screens.
 -
 Click the Quality menu and select a lower quality. This will reduce the visual quality of the video and result in a smaller file.
 -
 Click the Compress menu and select Smaller File.
 -
 Click Next.
 -
 Type a name for the file.
 -
 Click Save.
 -
 Wait for the file to convert. This may take a while for larger video files.
Method 4 of 5:
Android
-
 Open the Play Store on your Android. You can find this in your list of apps or on your Home screen. The icon looks like a shopping bag with the Google Play logo.
 -
 Tap the Search bar.
 -
 Type video compress.
 -
 Tap Video Compress in the list of results.
 -
 Tap Install.
 -
 Tap Open. This button appears after the app has downloaded and installed.
 -
 Tap Allow. This gives access to your video files.
 -
 Tap the folder containing your video files. This is typically "Camera."
 -
 Tap the video you want to shrink.
 -
 Tap Compress Video.
 -
 Tap the final size you want to get. You'll see the new resolution and file size of the video displayed for each option.
 -
 Wait while your video compresses.
 -
 Find your new video. Compressed videos will be saved to the Super Video Compressor folder on your device's storage. The file will have the same name as the original with "video compress" appended to the front.
Method 5 of 5:
On iPhone and iPad
-
 Open the App Store.
 -
 Tap the Search tab.
 -
 Type compress video into the search field.
 -
 Tap Get next to Video Compressor.
 -
 Tap Install.
 -
 Tap Open. You can also tap the Compress app on your Home screen.
 -
 Tap OK to allow access to videos.
 -
 Tap the video you want to compress.
 -
 Tap Choose.
 -
 Tap and drag the Target Size slider. By default, the app will target a 50% reduction in file size. As you drag the slider, you'll see the estimated final file size.
 -
 Tap Save.
 -
 Wait while the video processes. You can monitor the progress at the top of the screen.
 -
 Find your newly-compressed video. Your compressed video will be in the camera roll as the most recent item.
Was this article helpful?
Your feedback helps us improve.
Related Articles
 How to reduce video size but keep quality6 minutes read
 5 ways to reduce video capacity for iPhone4 minutes read
 How to reduce video file size using Format Factory on a computer.3 minutes read
 6 ways to reduce video size for iPhone6 minutes read
 How to reduce the size of Video online without software4 minutes read
 How to reduce the size of Video by Format Factory3 minutes read
Reader Comments 0
Sign in with email or Google to join the discussion.