How to Recognize Sent Messages in Apple Messages
To recognize sent messages in Apple's Messages app, open Messages → Select a conversation → Check to see if 'Delivered' appears under the most recent message..
On iOS

Tap the Messages app.

Tap a chat.

Tap the text field. It's located right on your keyboard.

Type a message.

Tap the blue arrow button. This is the step to send the message.

Look for 'Sent' under the most recent message. This text will appear right below the message bubble.
If the message doesn't say 'Sent', look at the top of the screen to see if you see 'Sending.' or 'Sending 1 of X'.
If you don't see any text below the most recent message, that message hasn't been sent yet.
If the "Send Read Receipts" option has been enabled on the recipient's side, the text will change to "Read" when the message is viewed by the recipient.
If you see "Sent as a Text Message," the message was sent using your carrier's SMS service, not Apple's iMessage servers.
On Mac
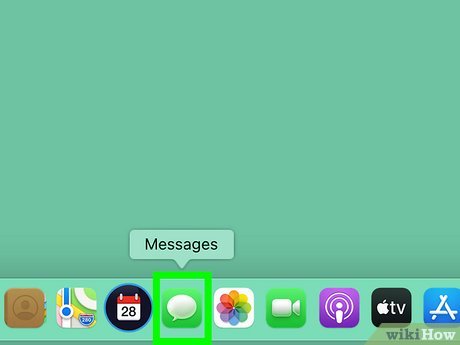
Open the Messages app.

Click on a chat.
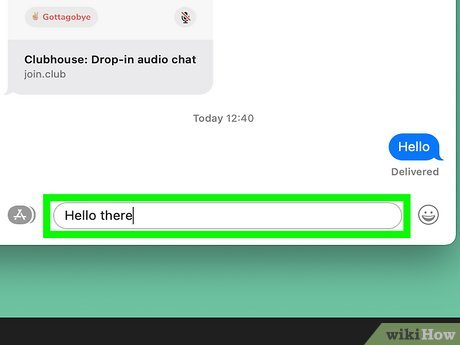
Type a message.
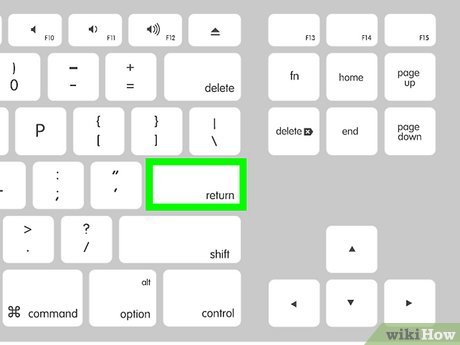
Press ↵ Enter.
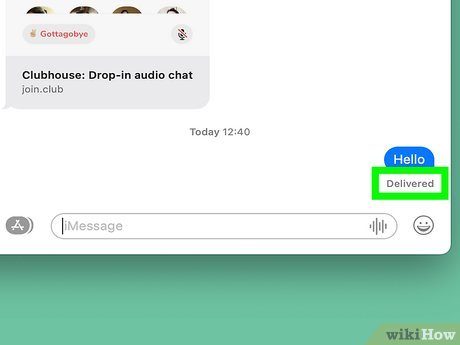
Look for 'Sent' under the most recent message. This text will appear right below the message bubble.
If the "Send Read Receipts" option has been enabled on the recipient's side, the text will change to "Read" when the message is viewed by the recipient.
If you see "Sent as a Text Message," the message was sent using your carrier's SMS service, not Apple's iMessage servers.
If you don't see any text below the most recent message, that message hasn't been sent yet.