How to Make a Gear in Onshape
Part 1 of 3:
Starting with the Wheel
- Open Onshape and sign in. Go to your documents and click on Create. Then in the drop down menu pick Document.... Name your document and press OK.
-
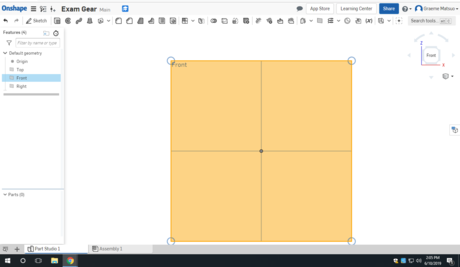
 Go to the front view. Start a sketch on the front face.
 -
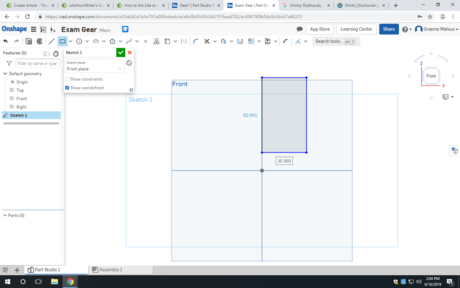
 Draw a rectangle starting somewhere on that middle vertical line.
 -
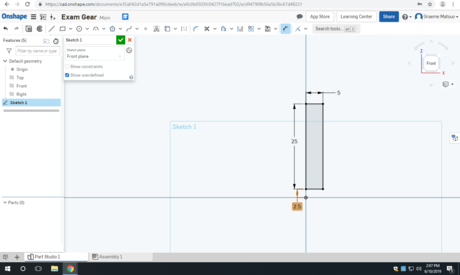
 Add relevant dimensions to your rectangle.
- Whatever you input for the vertical dimensions will be doubled when the gear is done. This can be changed to adjust for different applications.
-
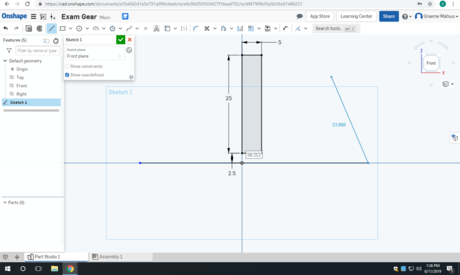
 Draw a line across the horizontal line from the front view coincidental to the origin.
 -
 Click this line and make it a construction line.
 -
 Find and click the revolve tool. Select the rectangle sketch as the face you want to revolve and select the construction line as the revolve axis.
Part 2 of 3:
Making a Tooth
-
 Go to the right view of your document. Start a sketch on the right face of your wheel.
 -
 Draw a line starting at the origin and going vertically until past the end of the wheel.
 - Make the line into a construction line.
-
 Draw a center point circle coincidental to the origin.
 -
 Set the dimension as the difference between the two circles.
 -
 Draw two lines coincidental to both circles near the construction line you drew earlier.
 -
 Set the dimensions for the points at the bottoms of the lines to the construction line.
 -
 Set the dimensions for the points at the tops of the lines to the construction line.
 -
 Select the region that you just worked on.
 -
 Select the Extrude tool. Remove that area from the wheel.
 -
 Select the Fillet tool. Apply it to the four lines in yellow above. The default radius is 5mm but you can use 2.5 mm as well.
Part 3 of 3:
Finishing Up
-
 Select the Circular Pattern tool and make the change from Part Pattern to Face Pattern. Select all the yellow faces above.
 -
 Select the face of the wheel. That is on the outside as shown.
 -
 Select the number of times you want the faces selected to be repeated around the wheel.
Share by
Isabella Humphrey
Update 05 March 2020


