How to lock a data area in Word
The article instructs you to lock 1 data area or 1 section in a Word document. 1. Lock an arbitrary Section in Word Step 1: Select the position Sectin you want to delete by placing the cursor in the position you want to create Section -> Layout -> Continous.
Table of Contents
The article instructs you to lock 1 data area or 1 section in a Word document.

1. Lock 1 arbitrary Section in Word
Step 1: Select the Sectin position you want to delete by placing the cursor at the position you want to create Section -> Layout -> Continous:

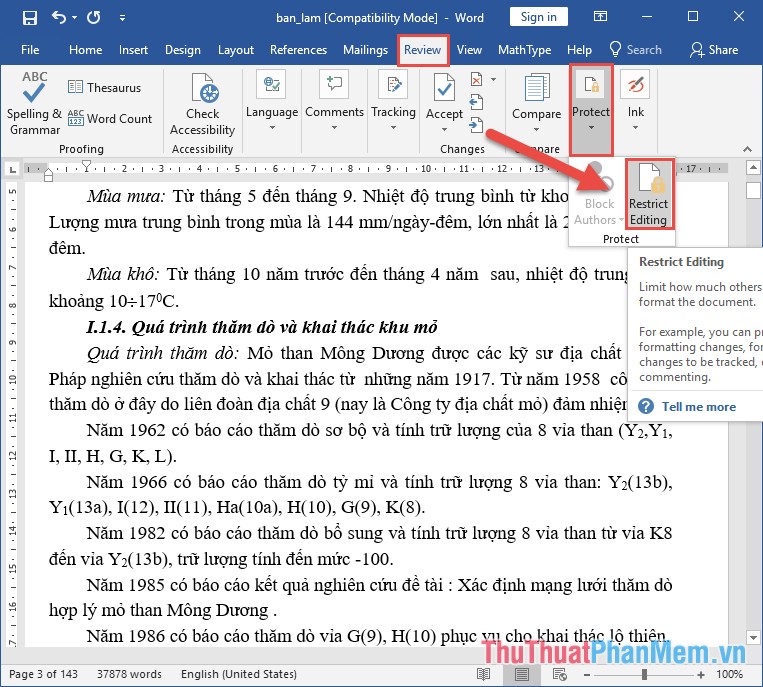
Step 2: Go to Review tab -> Protect -> Restrict Editing:
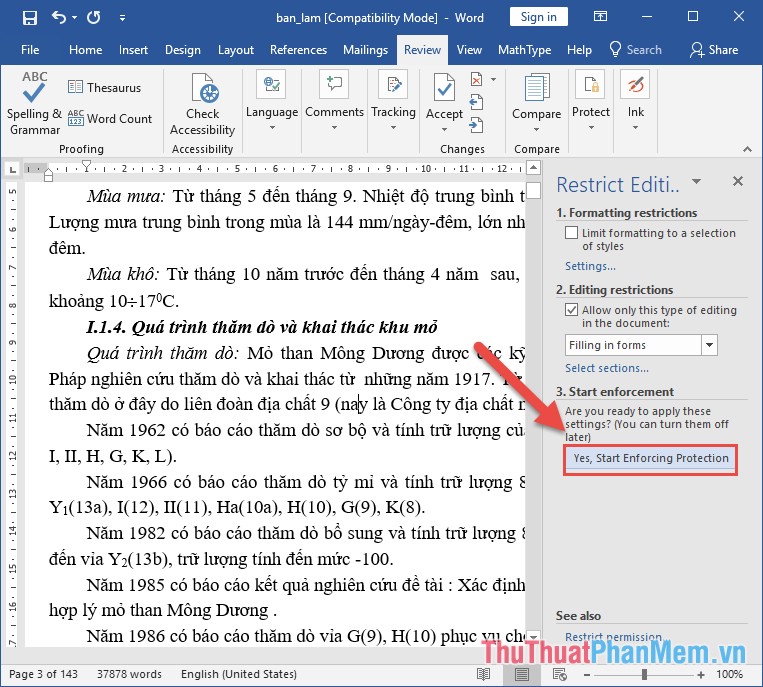
Step 3: Restrict Editing window appears in section 2. Editing restrictions check the Allow only this type of editing in the document -> select Filling in forms:

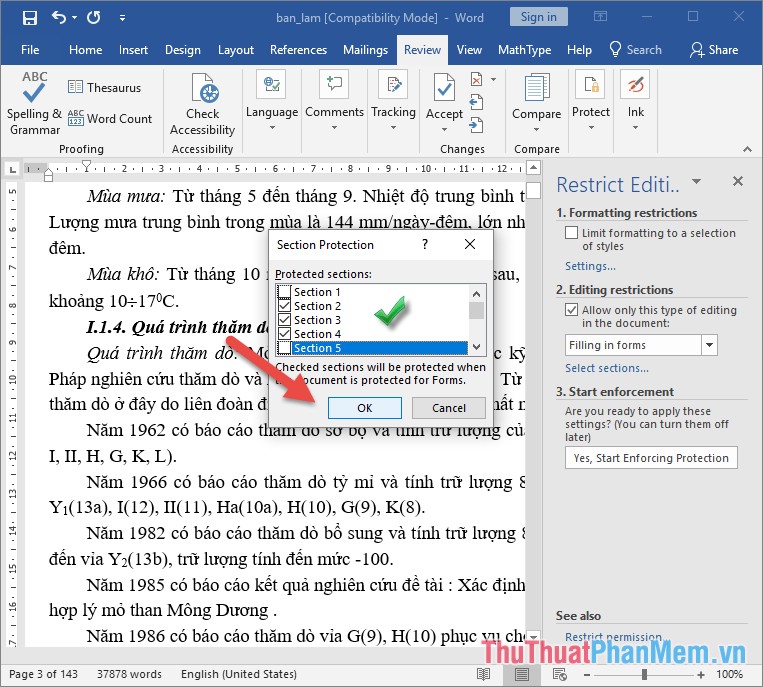
Step 4: Next, click Select sections .:

Step 5: A dialog box appears and select the section to lock -> select OK:
Step 6: Click Yes, start Enforcing Protection:
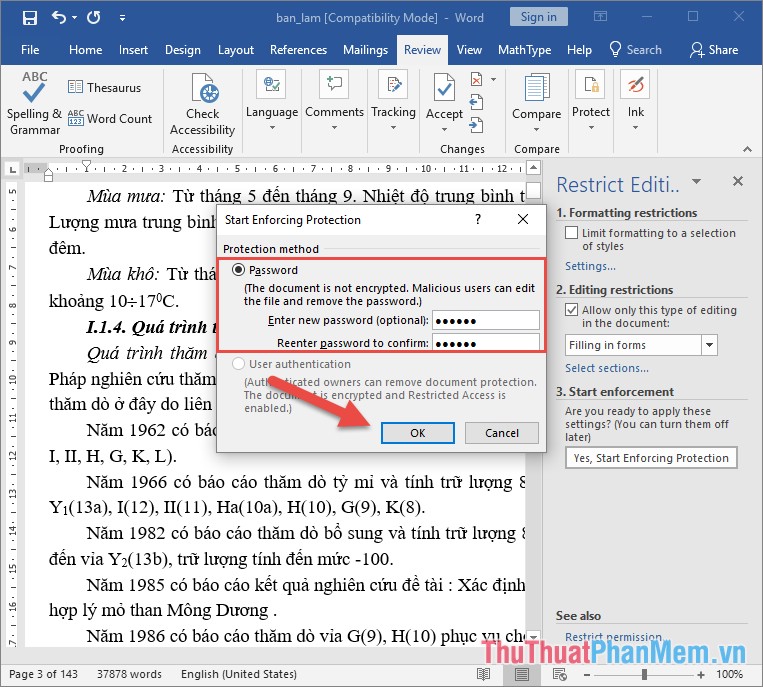
Step 7: A dialog box appears enter the password to lock the data area -> click OK:
After completing the entire section, the locked section cannot be edited, you can only edit the position on the non-locked sections:
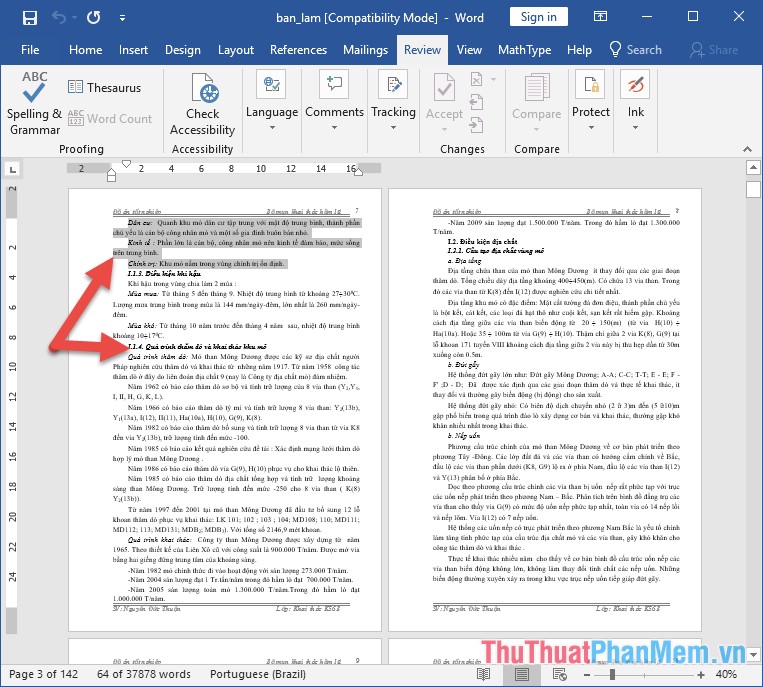
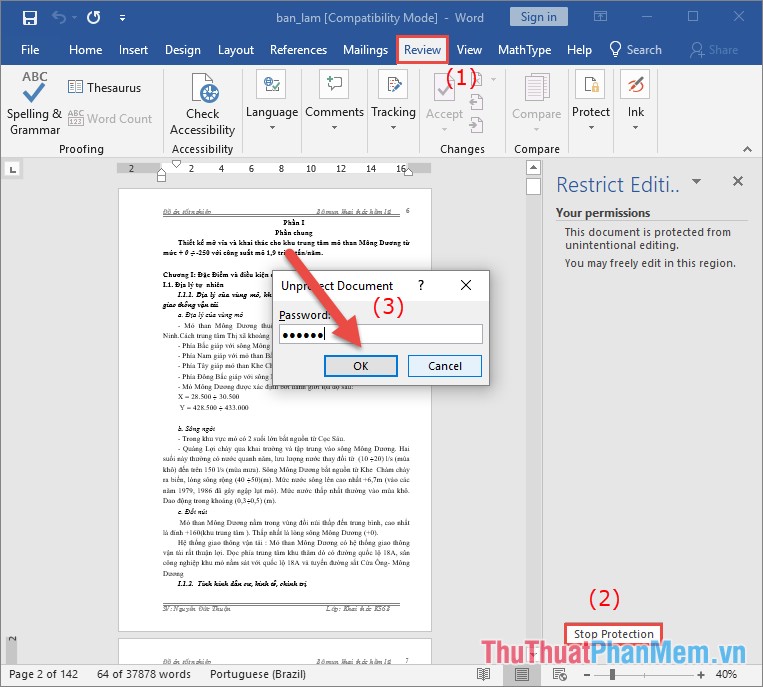
To unlock editing content, go to Review -> Restrict Editing tab , click Stop protection -> enter set password -> OK to unlock, edit content:
2. Partially locked, 1 small area of data
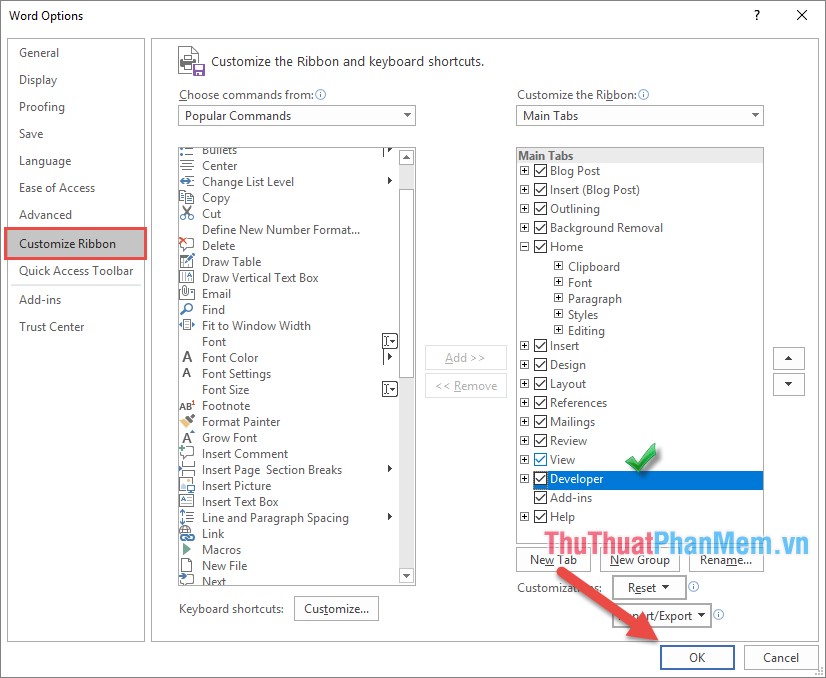
To do this, you need to bring the Developer tab out. Go to File -> Option -> dialog box appears, click Customize Ribbon -> select Developer -> OK:
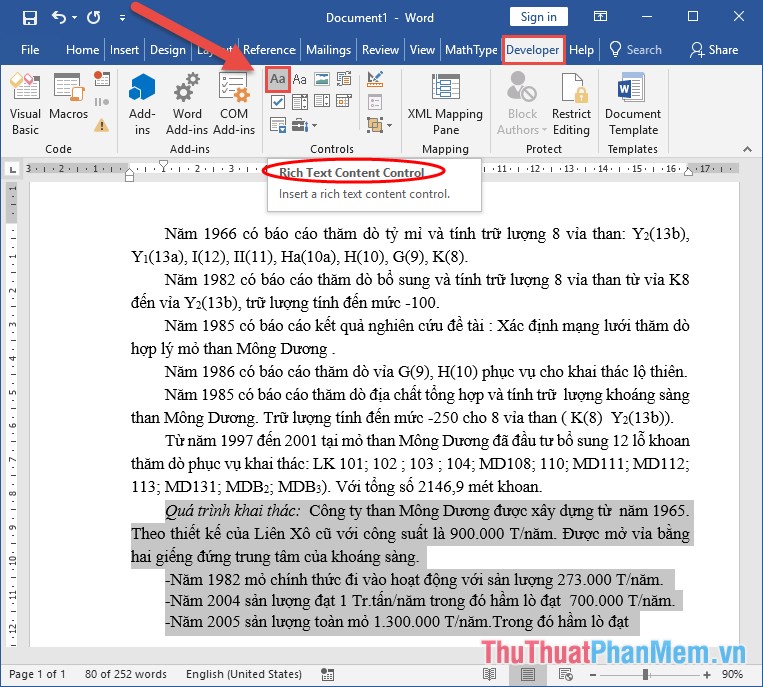
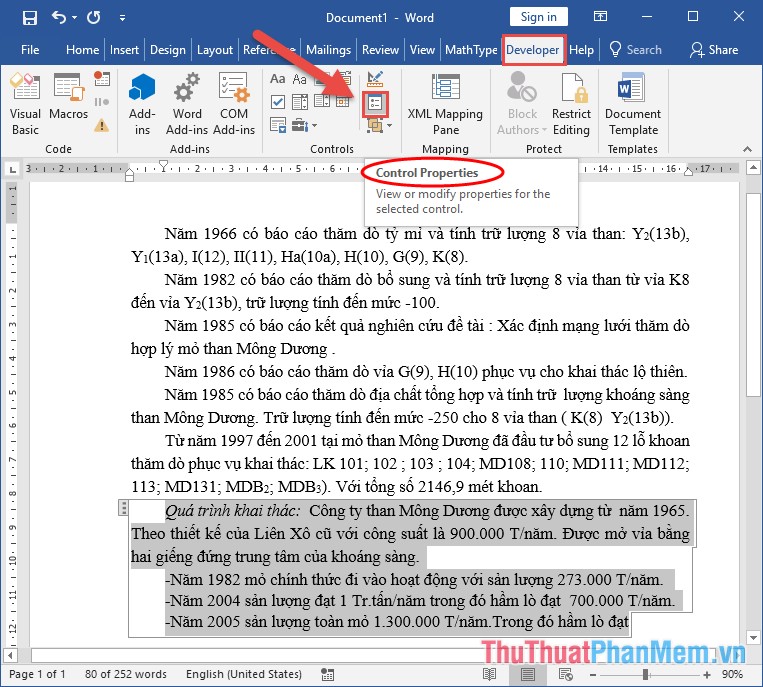
Step 1: Select the data area you want to lock -> on the Developer tab, click the Rich text Content Control icon :
Step 2: Click Control Properties in the Developer tab :
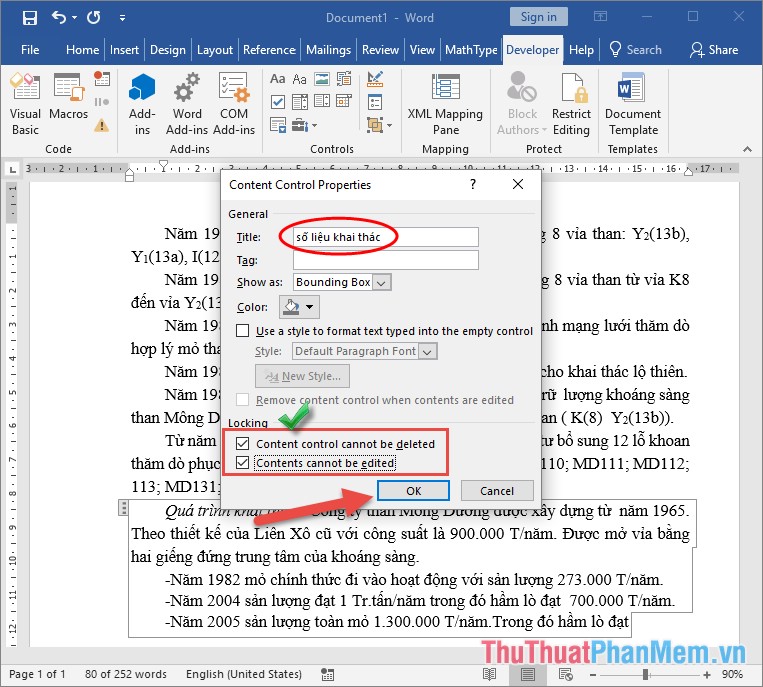
Step 3: A dialog box appears enter the following content:
- Title: Enter a title for the data you want to lock.
- Locking item is checked into 2 items:
+ Content Control canot be delete.
+ Content canot be edit.
Finally, click OK:
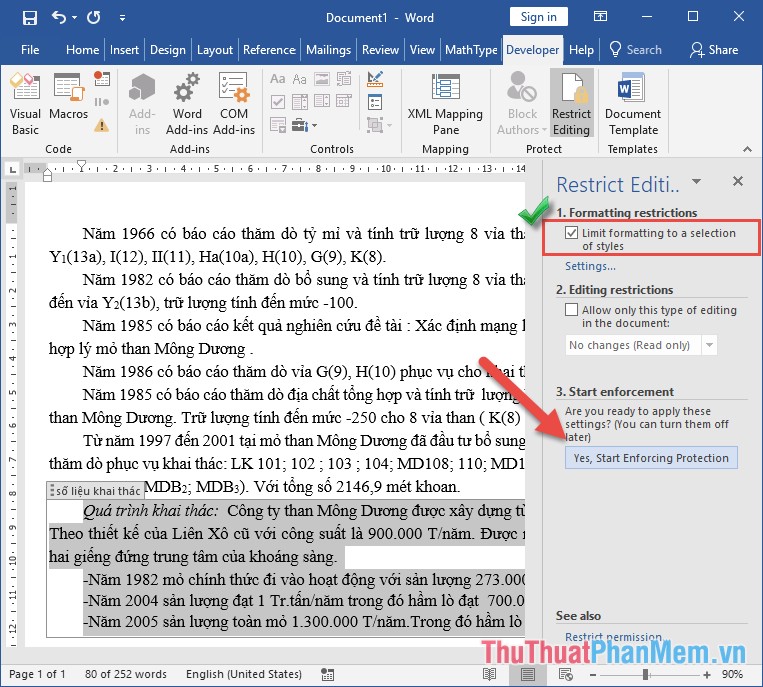
Step 4: Go to Developer tab -> Restric Editing to turn on the data protection mode:

Step 5: A window appears, select the following:
- Section 1. Formating restrictions tick the Limit Formating to a selection of styles box
- Next in section 3 click Yes start Enforcing Protection:
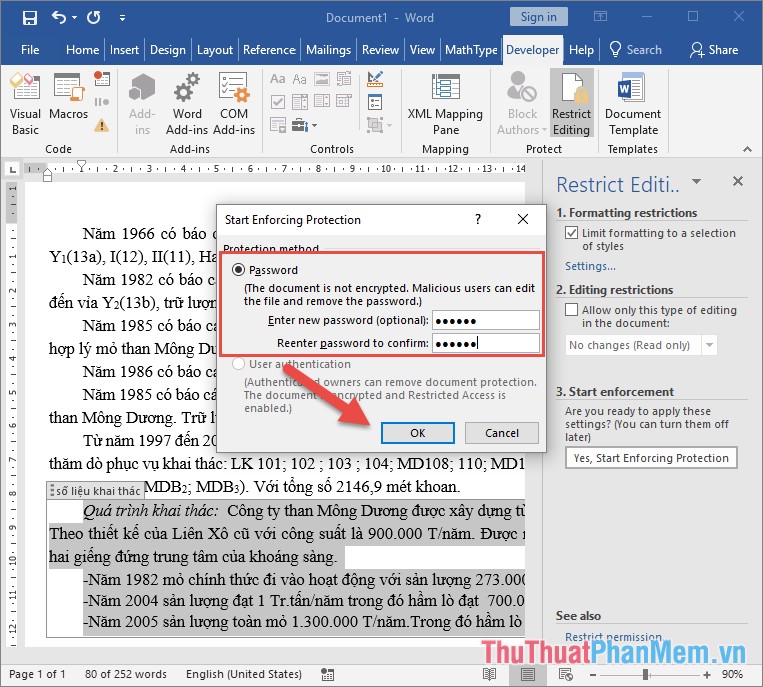
Step 6: A dialog box appears to enter a password to protect the selected data area -> click OK:
So you've locked the selected data area, you cannot manipulate copying or editing content on the locked data area, then there is a notice at the bottom of the text page:

Similar to how to lock a section to be able to edit the locked data area, click Stop Protection to enter the password to edit the content.
Above TipsMake share to you how to protect, lock 1 section or 1 data area in Word 2016. Hope to help you. Good luck!
Was this article helpful?
Your feedback helps us improve.
Related Articles
 How to lock a data area on Word6 minutes read
 What is Area 51? What happens in Area 51?6 minutes read
 How to secure data with Document Lock2 minutes read
 How to lock Header, Footer in Word4 minutes read
 How to copy data from Excel to Word?6 minutes read
 MS Word - Lesson 3: Customize the Word environment4 minutes read
Reader Comments 0
Sign in with email or Google to join the discussion.